


Manual upgrade of an S8300A and G700 to R4.0
590 Installing and Upgrading the Avaya G700 Media Gateway and Avaya S8300 Media Server
2. Select
FTP
.
Fill in the
User Name
,
Password
,
Host Name (
enter host IP Address
),
and
Directory
fields for the location of the backup file on the customer’s server.
3. Click
View
.
The system displays the
View/Restore Data Results
screen.
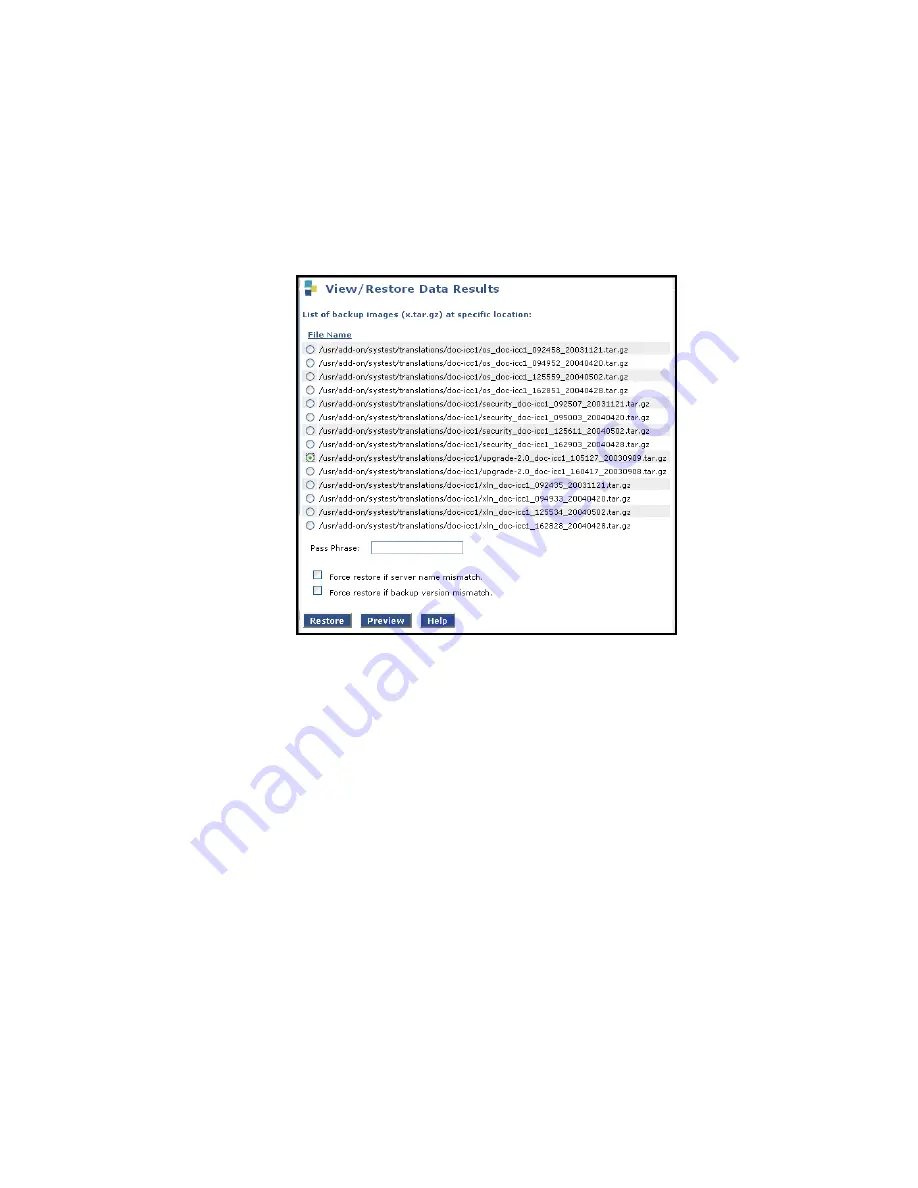
View/Restore Data Results screen
4. Select the backup file to restore.
If you started with a software release between 1.2.0 and 1.3.x and you used the
Linux-Migration Backup procedure, the backup file name will start with "upgrade-2.0."
If you started with a 2.0.x software release and you used the Backup Now procedure, there
are three backup files with names starting with "os," "xln," and "security." Restore only the
"os" file first.
Note that the time and date are embedded in the file name. Select the backup sets with the
current time and date stamp.
5. Select both
Force
options, and click
Restore
.
6. To monitor the restore progress:
a. Select
Restore History
The
Restore History
screen displays.
Summary of Contents for G700
Page 38: ...38 Installing and Upgrading the Avaya G700 Media Gateway and Avaya S8300 Media Server ...
Page 404: ...404 Installing and Upgrading the Avaya G700 Media Gateway and Avaya S8300 Media Server ...
Page 808: ...808 Installing and Upgrading the Avaya G700 Media Gateway and Avaya S8300 Media Server Index ...