


On-site Preparation for the Upgrade
Issue 10.2 May 2007
271
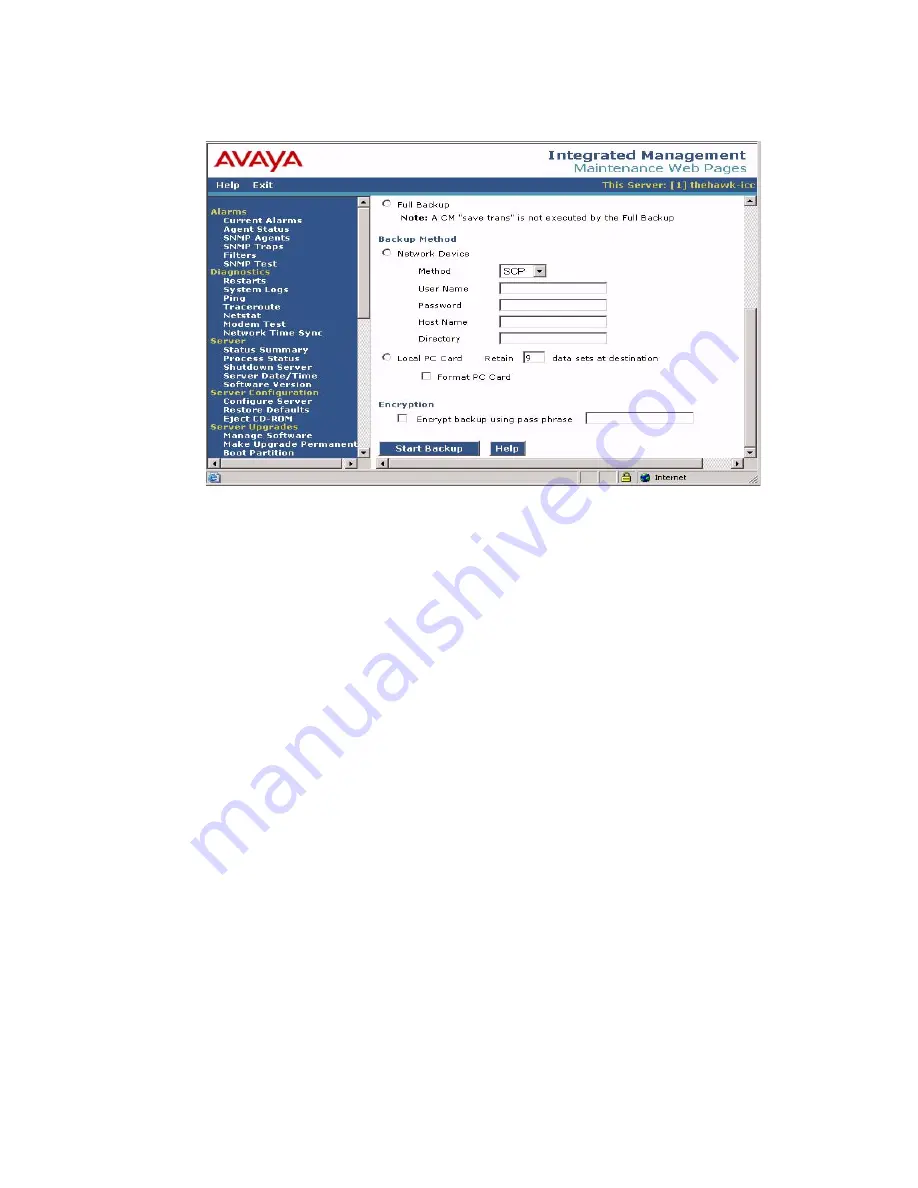
Backup Now screen (Part Two)
4. Select the
FTP
for the backup method and fill in the appropriate fields with information
provided by the customer.
5. Click
Start Backup
to back up the files.
Note:
Note:
The backup and restore processes use the ping service to check connectivity to
the backup server. If a backup or restore operation fails, ensure that the ping
service is enabled.
i. On the Maintenance Web Interface, under
Security
select
Firewall
.
ii. In the
Service
column, find
ping
.
The checkboxes for both
Input to Server
and
Output from Server
should be
checked.
6. To check the status of the backup:
a. Under
Data Backup/Restore
, click
Backup History
.
b. Select the backup file and click
Check Status
to open the
Backup History Results
screen.
When the backup is finished, the
Backup History Results
screen displays
The final status for your backup job is shown below.
For each backup set, the message
BACKUP SUCCESSFUL
displays, if the set was backed up successfully.
7. If the AUDIX options are available, repeat Steps 3–6 for AUDIX Announcements.
Summary of Contents for G700
Page 38: ...38 Installing and Upgrading the Avaya G700 Media Gateway and Avaya S8300 Media Server ...
Page 404: ...404 Installing and Upgrading the Avaya G700 Media Gateway and Avaya S8300 Media Server ...
Page 808: ...808 Installing and Upgrading the Avaya G700 Media Gateway and Avaya S8300 Media Server Index ...