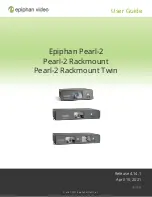
Pearl-2 User Guide
Start here
Start here
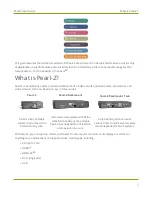
Welcome, and thank you for buying Epiphan Pearl-2™, Pearl-2 Rackmount™ or Pearl-2 Rackmount Twin™.
You'll find information on how to set up and use all three models in this user guide. When you see the name
Pearl-2 used in this guide, it means that the content applies to all three models. Differences are explicitly called
out. For a product description, see
for basic steps to get a single video source (and optional audio) set up so you can stream
and record some output right away. The rest of the guide shows you how to tweak the system exactly how
you want it so you can take advantage of the many advanced features.
Pearl-2 is fully integrated with Kaltura and Panopto Content Management Systems (CMSs) and is easily setup
using the Admin panel. The Integration section of this guide details how to register and set up Pearl-2 as a
remote recording and streaming device for Kaltura and Panopto.
For information about using Pearl-2's RS-232 API, HTTP API, and HTTPS API with third-party applications, refer
to the
.
About this Guide
After the introductory section and quick start, the next chapter describes the main user interfaces that are
used to operate and configure Pearl-2. You'll find everything that you need to use and setup these interfaces :
l
Touch screen
l
Admin Panel
l
Epiphan Live
The rest of the user guide covers setting up and operating your Pearl-2 system for a successful experience.
The chapters are organized into these main categories:
,
, and
.
1
Содержание Pearl-2
Страница 137: ...Pearl 2 User Guide Disable the network discovery port 123 ...
Страница 157: ...Pearl 2 User Guide Mute audio 143 ...
Страница 178: ...Pearl 2 User Guide 4K feature add on 164 ...
Страница 434: ...Pearl 2 User Guide Delete a recorder 3 Click Delete this recorder and click OK when prompted 420 ...
Страница 545: ...Pearl 2 User Guide Register your device 531 ...
Страница 583: ... and 2021 Epiphan Systems Inc ...

