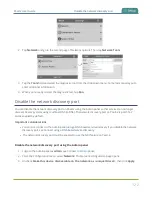
Pearl-2 User Guide
Configure DHCP
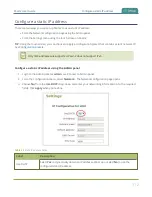
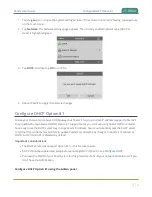
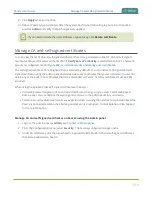
3. Tap
Static IP Address
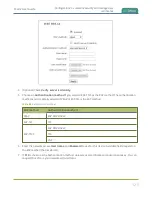
. The Static IP Address configuration page opens.
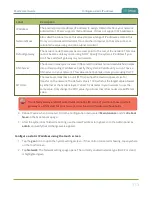
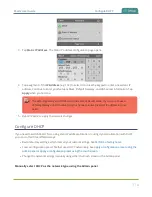
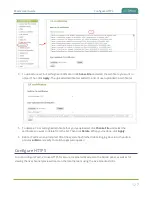
4. Tap a segment of the
IP Address
(e.g. 192) to select it and use the keypad to enter a new static IP
address. Continue to enter your Network Mask, Default Gateway, and DNS server information. Tap
Apply
when you're done.
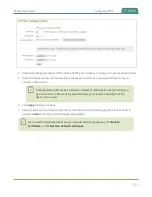
The default gateway and DNS Server fields cannot be left blank. If you do not have a
default gateway or a DNS server for your network, enter the static IP address in those
fields.
5. Reboot Pearl-2 to apply the network changes.
Configure DHCP
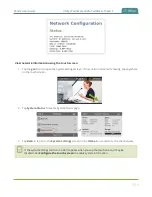
If you need to switch Pearl-2 from using static IP address allocation to using dynamic allocation with DHCP,
you can do this three different ways:
l
Restore factory settings, which clear all your custom settings. See
.
l
Load a configuration preset file that uses DHCP networking. See
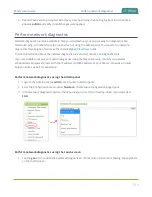
Apply a configuration preset using the
Apply a configuration preset using the touch screen
.
l
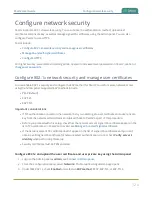
Change the network settings manually using either the touch screen or the Admin panel.
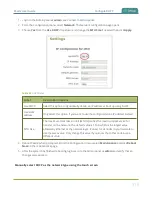
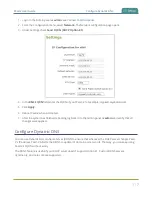
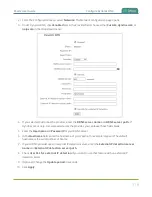
Manually select DHCP as the network type using the Admin panel
114
Содержание Pearl-2
Страница 137: ...Pearl 2 User Guide Disable the network discovery port 123 ...
Страница 157: ...Pearl 2 User Guide Mute audio 143 ...
Страница 178: ...Pearl 2 User Guide 4K feature add on 164 ...
Страница 434: ...Pearl 2 User Guide Delete a recorder 3 Click Delete this recorder and click OK when prompted 420 ...
Страница 545: ...Pearl 2 User Guide Register your device 531 ...
Страница 583: ... and 2021 Epiphan Systems Inc ...

