Pearl-2 User Guide
Configure a static IP address
Configure a static IP address
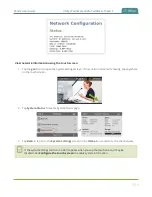
There are two ways you can set up Pearl-2 to use a static IP address:
l
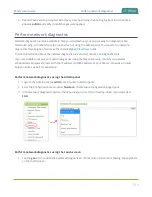
From the Network configuration page using the Admin panel.
l
From the Settings menu using the touch screen on Pearl-2
TIP
: Using the touch screen, you can choose to apply a configuration preset that contains a static network IP.
.
Only IPv4 addresses are supported. Pearl-2 does not support IPv6.
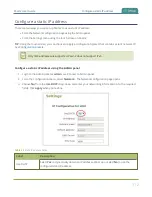
Configure a static IP address using the Admin panel
1. Login to the Admin panel as
admin
.
2. From the Configuration menu, select
Network
. The Network configuration page opens.
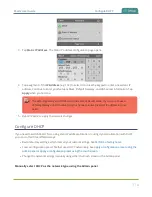
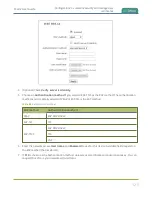
3. Choose
No
from the
Use DHCP
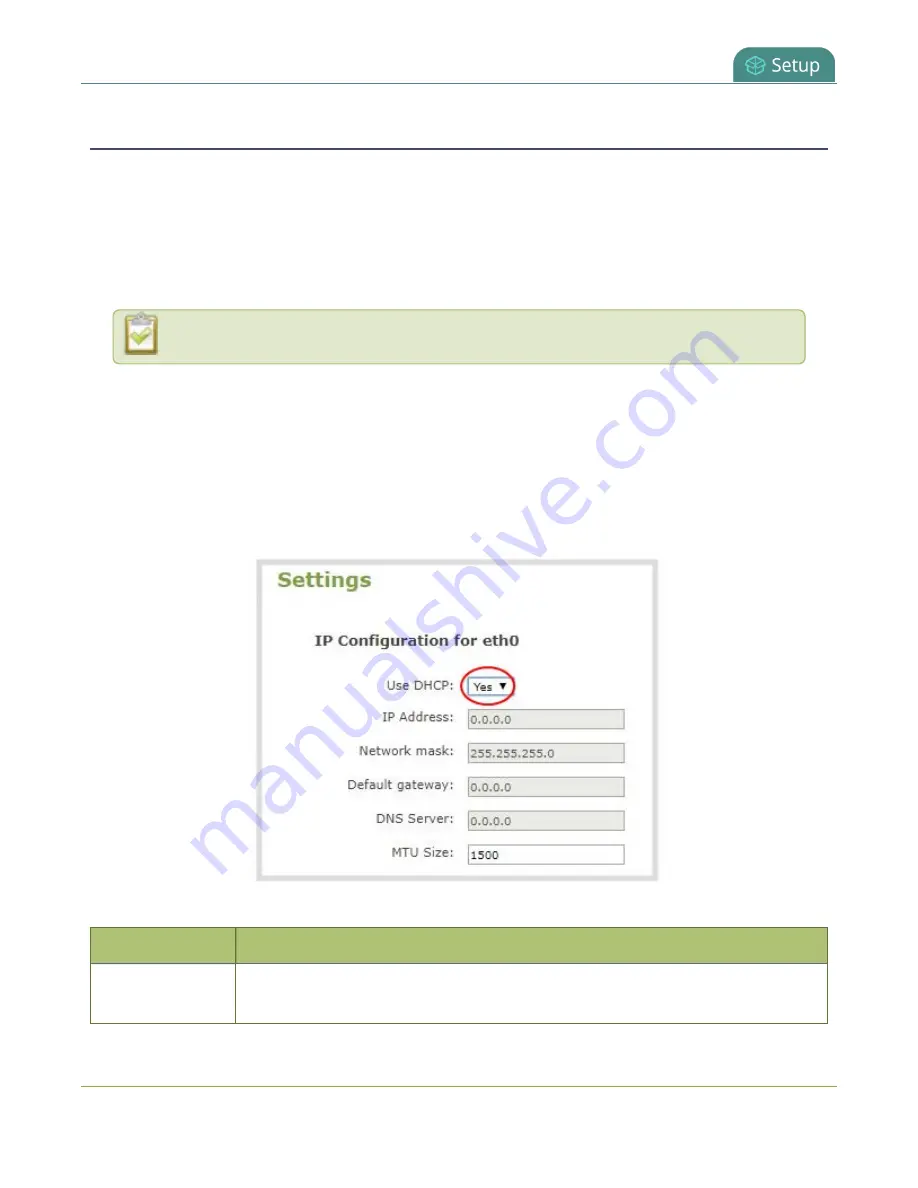
drop-down and enter your networking information in to the required
fields. Click
Apply
when you're done.
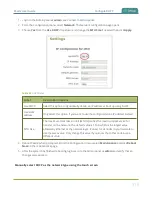
Table 21
Static IP Address Fields
Label
Description
Use DHCP
Select
Yes
to dynamically obtain an IP address at boot up or select
No
to use the
configured static IP address.
112
Содержание Pearl-2
Страница 137: ...Pearl 2 User Guide Disable the network discovery port 123 ...
Страница 157: ...Pearl 2 User Guide Mute audio 143 ...
Страница 178: ...Pearl 2 User Guide 4K feature add on 164 ...
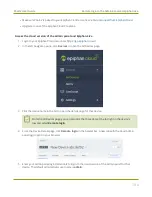
Страница 434: ...Pearl 2 User Guide Delete a recorder 3 Click Delete this recorder and click OK when prompted 420 ...
Страница 545: ...Pearl 2 User Guide Register your device 531 ...
Страница 583: ... and 2021 Epiphan Systems Inc ...

