Drive set-up procedure
14.2.11 Vibration-damping control
14-50
14.2.11 Vibration-damping control
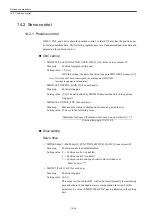
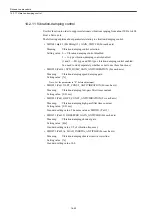
Use this function in order to suppress stationary vibrations ranging from about 50 Hz to 400
Hz at a Servo axis.
The following explains about parameters relating to vibration-damping control.
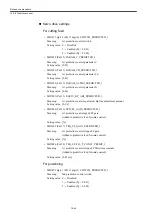
• MD3041 digit 3 (Pn10B digit 3) GAIN_SWITCH (For each axis)
Meaning:
Vibration-damping control selection
Setting value: 0 --- Vibration-damping control disabled.
3 --- A-type vibration-damping control enabled.
(1 and 2 --- M1-type and M2-type vibration-damping control enabled.
You need to study separately whether or not to use those functions.)
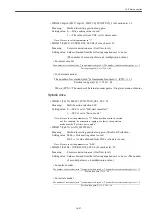
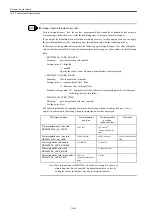
• MD3050 (Pn114) SPD_DUMP_GAIN_ANTIVIBRATION (For each axis)
Meaning:
Vibration-damping speed damping gain
Setting value: [%]
Note: Set the parameter to "0" before adjustment.
• MD3051 (Pn115) LPF_CONST_ANTIVIBRATION (For each axis)
Meaning:
Vibration-damping low-pass filter time constant
Setting value: [0.01 ms]
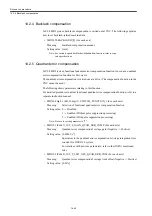
• MD3052 (Pn116) HPF_CONST_ANTIVIBRATION (For each axis)
Meaning:
Vibration-damping high-pass filter time constant
Setting value: [0.01 ms]
Standard setting value: The same value as MD3051 (Pn115)
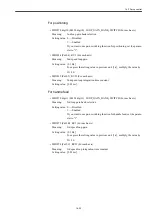
• MD3071 (Pn129) OBSERVER_GAIN_ANTIVIBR (For each axis)
Meaning: Vibration-damping
observer
gain
Setting value: [Hz]
Standard setting value: 1/2 of vibration frequency
• MD3072 (Pn12A) LOAD_INERTIA_ANTIVIBR (For each axis)
Meaning:
Vibration-damping observer inertia correction
Setting value: [%]
Standard setting value: 100
Summary of Contents for CNC Series
Page 1: ...Maintenance Manual Serviceman Handbook MANUAL No NCSIE SP02 19 Yaskawa Siemens CNC Series...
Page 26: ...Part 1 Hardware...
Page 38: ...System Configuration 1 2 3 Spindle motor designations 1 12...
Page 58: ...Installing the control panels 2 3 5 Installing lightning surge absorbers 2 20...
Page 62: ...Installing the motors 3 4...
Page 84: ...Connection method 4 3 2 Setting the rotary switches on the inverters and servo units 4 22...
Page 96: ...Part 2 Software...
Page 102: ...Software configuration 6 6...
Page 113: ...7 2 Network settings 7 11 8 Click on the radio button to the left of Specify an IP address...
Page 121: ...7 2 Network settings 7 19...
Page 122: ...Part 3 PLC...
Page 154: ...Part 4 Setting up and maintenance...
Page 160: ...Overview of System 10 1 2 Basic operation 10 6...
Page 204: ...How to use Digital Operation 12 2 9 Setting the password setting for write prohibit 12 32...
Page 327: ...Error and Troubleshooting 15 4...
Page 328: ...15 1 Errors without Alarm Display and Troubleshooting 15 5...
Page 329: ...Error and Troubleshooting 15 6...
Page 343: ...Maintenance and Check 16 3 3 Setting up Initializing Absolute encoder 16 14...

