Setup & Operation 8. TP/OP Port
RC180 Rev.17
51
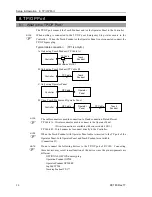
8.2 Teach Pendant Connection
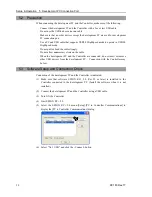
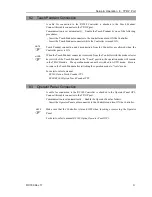
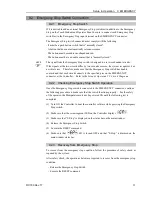
A cable for connection to the RC180 Controller is attached to the Teach Pendant.
Connect this cable connector to the TP/OP port.
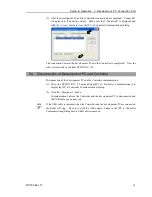
Communication is set automatically. Enable the Teach Pendant by one of the following
procedures.
-
Insert the Teach Pendant connector to the Controller and turn ON the Controller.
-
Insert the Teach Pendant connector while the Controller is turned ON.
Teach Pendant connection and disconnection from the Controller are allowed when the
Controller power is ON.
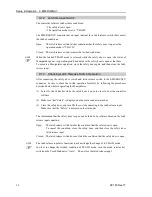
When the Teach Pendant connector is removed from the Controller with the mode selector
key switch of the Teach Pendant in the “Teach” position, the operation mode will remain
in the TEACH mode. The operation mode cannot be switched to AUTO mode. Be sure
to remove the Teach Pendant after switching the operation mode to “Auto” mode.
For details, refer to manual
RC180 Option Teach Pendant TP1
.
RC90/RC180 Option Teach Pendant TP2
.
8.3 Operator Panel Connection
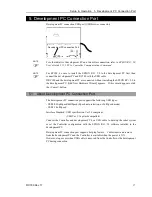
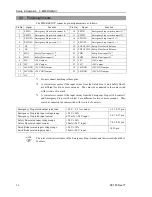
A cable for connection to the RC180 Controller is attached to the Operator Panel OP1.
Connect this cable connector to the TP/OP port.
Communication is set automatically. Enable the Operator Panel as follows.
-
Insert the Operator Panel cable connector to the Controller and turn ON the Controller.
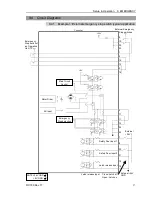
Make sure that the Controller is turned OFF when inserting or removing the Operator
Panel.
For details, refer to manual
RC180 Option Operator Panel OP1
.
NOTE
NOTE
NOTE
Summary of Contents for RC180
Page 1: ...Rev 17 EM164C3205F ROBOT CONTROLLER RC180 ...
Page 2: ...ROBOT CONTROLLER RC180 Rev 17 ...
Page 13: ...Safety This section contains information for safety of the Robot System ...
Page 14: ......
Page 20: ......
Page 124: ...Setup Operation 12 Option Units 112 RC180 Rev 17 ...
Page 125: ...Maintenance This section contains maintenance procedures for the Robot Controller ...
Page 126: ...114 ...

