Setup & Operation 12. Option Units
102
RC180 Rev.17
(6)
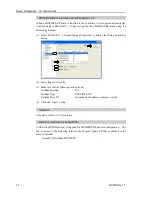
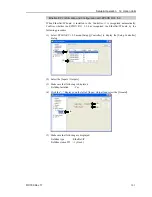
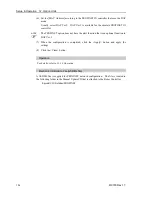
Click the “+” displayed on the left of [Input / Output] and select the [EtherNet/IP].
(7)
(7)
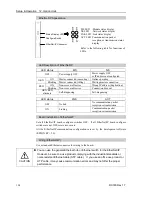
Set each item to the specific value to connect the Ethernet network.
For information about the setting values, contact your network administrator.
Address Configuration is set to “DHCP/BOOTP/ARP” at shipment.
(8)
When the configuration is completed, click the <Apply> button to apply the setting.
(9)
Click the <Close> button.
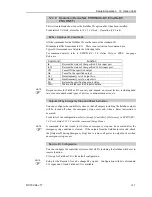
When Address Configuration is set to “DHCP/BOOTP/ARP”, the Controller waits for
DHCP/BOOTP/ARP sever response for 30 seconds at Controller startup. When
DHCP/BOOTP/ARP does not response within a time, the Controller stops the request to
the DHCP/BOOTP/ARP server and waits ARP.
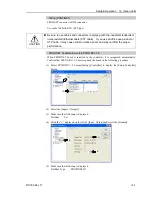
Operation
For details, refer to
12.3.9 Operation
.
Electronic Information File (EDS file)
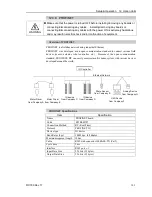
An EDS file is supplied for EtherNet/IP network configuration. The file is located in the
following folder in the Manual Update CD that is attached to the Robot Controller.
\EpsonRC50\Fieldbus\EtherNet/IP
NOTE
Summary of Contents for RC180
Page 1: ...Rev 17 EM164C3205F ROBOT CONTROLLER RC180 ...
Page 2: ...ROBOT CONTROLLER RC180 Rev 17 ...
Page 13: ...Safety This section contains information for safety of the Robot System ...
Page 14: ......
Page 20: ......
Page 124: ...Setup Operation 12 Option Units 112 RC180 Rev 17 ...
Page 125: ...Maintenance This section contains maintenance procedures for the Robot Controller ...
Page 126: ...114 ...

