


Appendix E: Resetting to Factory Defaults
587
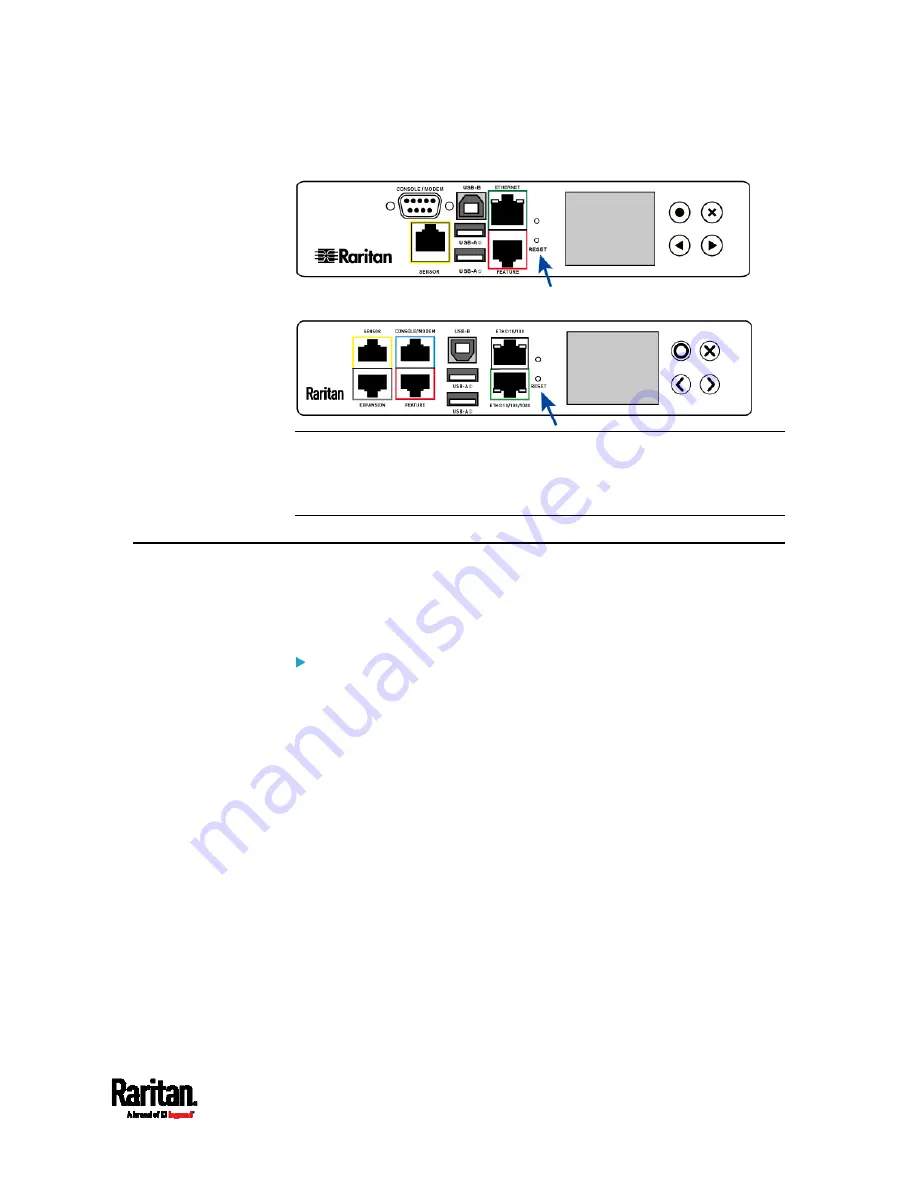
PX3 models:
PX3-iX7 models:
Note: HyperTerminal is available on Windows operating systems prior to
Windows Vista. For Windows Vista or later versions, you may use PuTTY,
which is a free program you can download from the Internet. See
PuTTY's documentation for details on configuration.
Using the CLI Command
The Command Line Interface (CLI) provides a reset command for
restoring the PX3 to factory defaults. For information on CLI, see
Using
the Command Line Interface
(on page 365).
To reset to factory defaults after logging in to the CLI:
1.
Connect to the PX3 device. See
Logging in to CLI
(on page 366) or
Connecting the PX3 to a Computer
(on page 28).
2.
Launch a terminal emulation program such as HyperTerminal,
Kermit, or PuTTY, and open a window on the PX3. For information on
the serial port configuration, see Step 2 of
Initial Network
Configuration via CLI
(on page 32).
3.
Log in to the CLI by typing the user name "admin" and its password.
4.
After the # system prompt appears, type either of the following
commands and press Enter.
#
reset factorydefaults
-- OR --
#
reset factorydefaults
/y
5.
If you entered the command without "
/y
" in Step 4, a message
appears prompting you to confirm the operation. Type y to confirm
the reset.
Содержание PX3-1000 series
Страница 5: ......
Страница 92: ...Chapter 4 Connecting External Equipment Optional 70...
Страница 668: ...Appendix J RADIUS Configuration Illustration 646 Note If your PX3 uses PAP then select PAP...
Страница 669: ...Appendix J RADIUS Configuration Illustration 647 10 Select Standard to the left of the dialog and then click Add...
Страница 670: ...Appendix J RADIUS Configuration Illustration 648 11 Select Filter Id from the list of attributes and click Add...
Страница 673: ...Appendix J RADIUS Configuration Illustration 651 14 The new attribute is added Click OK...
Страница 674: ...Appendix J RADIUS Configuration Illustration 652 15 Click Next to continue...
Страница 722: ...Appendix L Integration 700 3 Click OK...


