Chapter 6: Using the Web Interface
214
5.
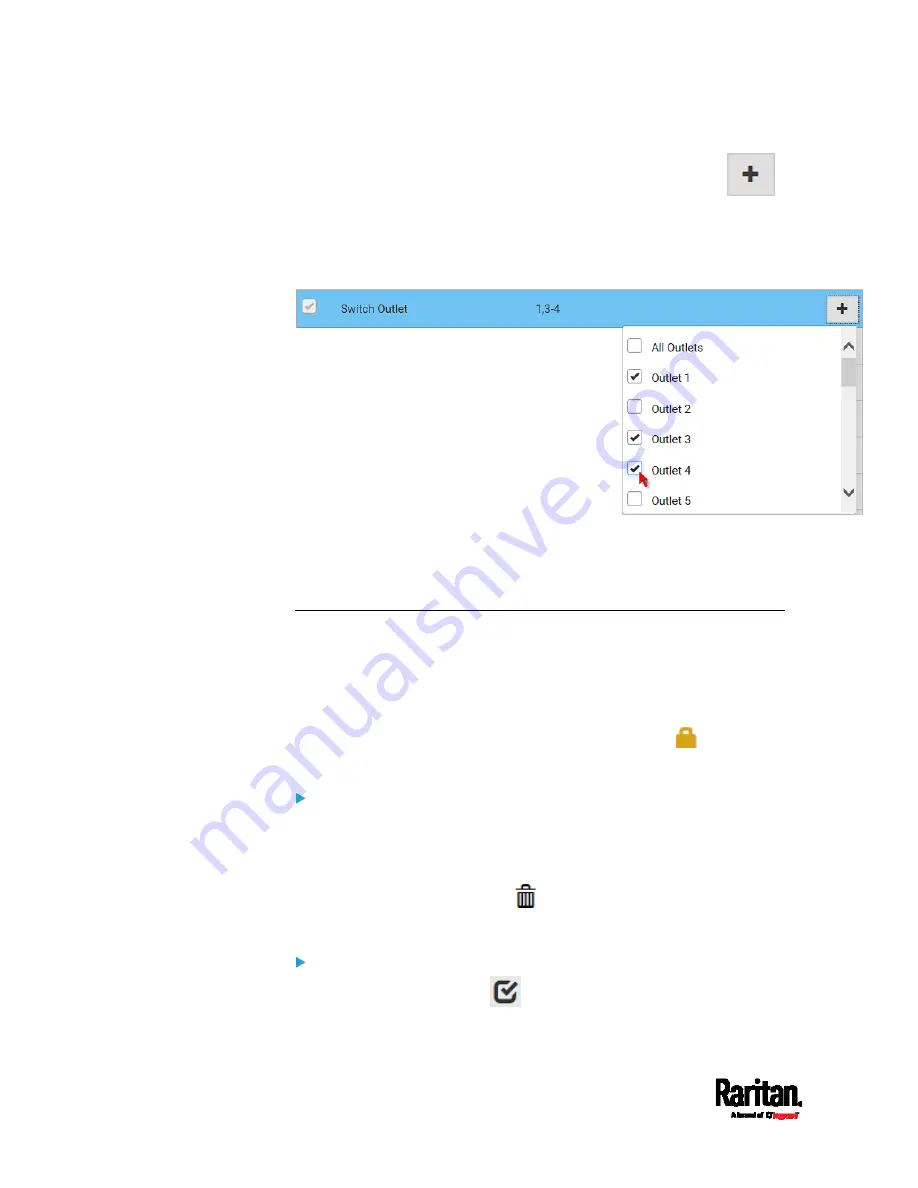
To select any privilege requiring the argument setting, click
to select the desired arguments.
For example, on an outlet-switching capable model, you can
specify the outlets that are allowed to be switched on/off for the
'Switch Outlet' privilege as shown below.
6.
Click Save.
Now you can assign the role to any user. See
Creating Users
(on page
Editing or Deleting Users
(on page 212).
Editing or Deleting Roles
Choose User Management > Roles to open the Roles page, which lists all
roles.
If wanted, you can resort the list by clicking the desired column header.
See
Sorting a List
(on page 134).
The Admin role is not user-configurable so the lock icon
displays,
indicating that you are not allowed to configure it.
To edit a role:
1.
On the Roles page, click the desired role. The Edit Role page opens.
2.
Make changes as needed.
The role name cannot be changed.
To delete this role, click
, and confirm the operation.
3.
Click Save.
To delete any roles:
1.
On the Roles page, click
to make checkboxes appear in front of
roles.
Содержание PX3-1000 series
Страница 5: ......
Страница 92: ...Chapter 4 Connecting External Equipment Optional 70...
Страница 668: ...Appendix J RADIUS Configuration Illustration 646 Note If your PX3 uses PAP then select PAP...
Страница 669: ...Appendix J RADIUS Configuration Illustration 647 10 Select Standard to the left of the dialog and then click Add...
Страница 670: ...Appendix J RADIUS Configuration Illustration 648 11 Select Filter Id from the list of attributes and click Add...
Страница 673: ...Appendix J RADIUS Configuration Illustration 651 14 The new attribute is added Click OK...
Страница 674: ...Appendix J RADIUS Configuration Illustration 652 15 Click Next to continue...
Страница 722: ...Appendix L Integration 700 3 Click OK...


