


Appendix G: Old PX3 Character LCD Display
613
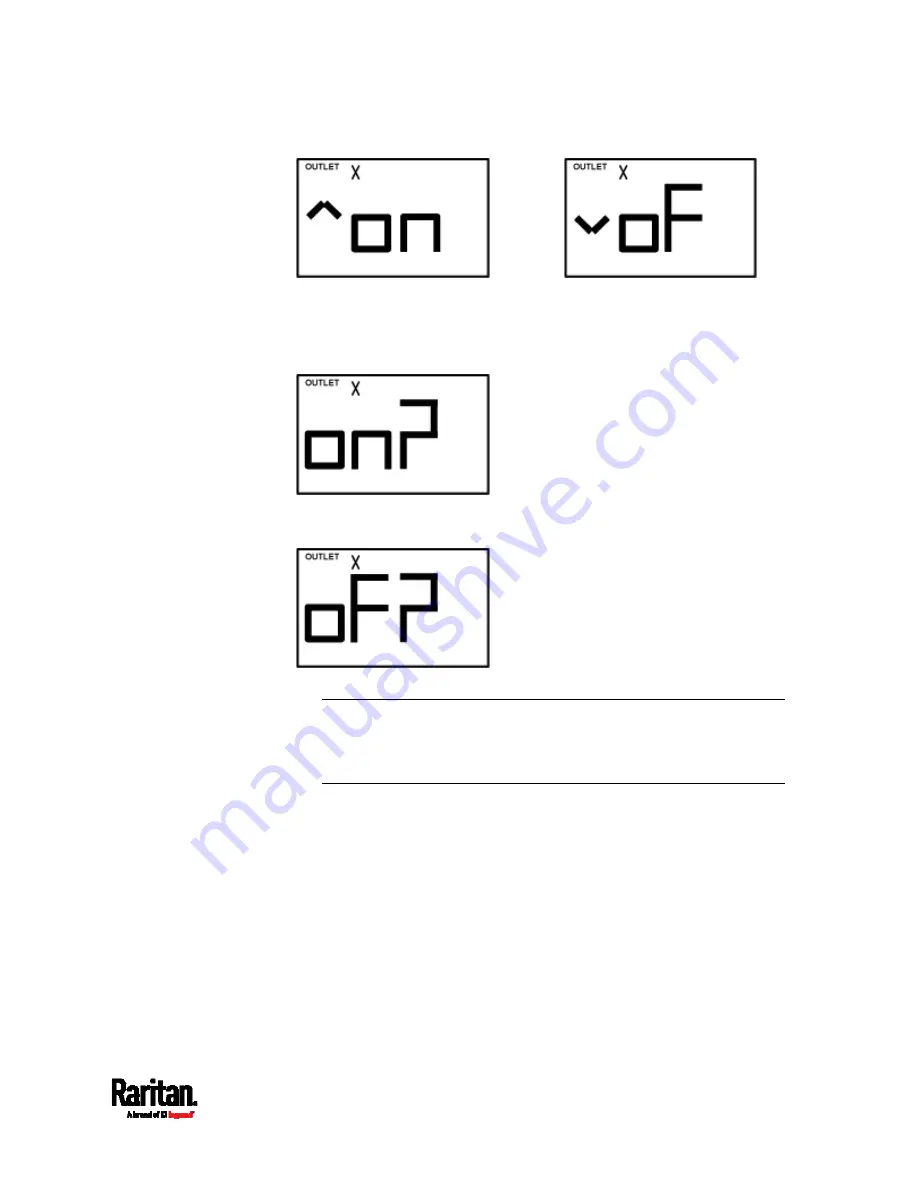
To cancel the outlet switching operation, press the FUNC button
again.
4.
To turn on the outlet, press the Up button. The "on?" confirmation
message displays.
To turn off the outlet, press the Down button. The "oF?" confirmation
message displays.
5.
Press the same button as step 4 again to confirm the operation.
Note: If you press a different button in this step, for example,
pressed the Down button in step 4 but the Up button in step 5, the
outlet switching operation is not confirmed and the LCD display will
return to the messages in step 3.
6.
The outlet switching operation is confirmed now and the LCD display
indicates the latest power state of the selected outlet.
on: The outlet has been turned on.
oFF: The outlet has been turned off.
7.
You can verify the power state of the selected outlet by checking its
LED color. Green indicates the power off state and red indicates the
power on state.
Содержание PX3-1000 series
Страница 5: ......
Страница 92: ...Chapter 4 Connecting External Equipment Optional 70...
Страница 668: ...Appendix J RADIUS Configuration Illustration 646 Note If your PX3 uses PAP then select PAP...
Страница 669: ...Appendix J RADIUS Configuration Illustration 647 10 Select Standard to the left of the dialog and then click Add...
Страница 670: ...Appendix J RADIUS Configuration Illustration 648 11 Select Filter Id from the list of attributes and click Add...
Страница 673: ...Appendix J RADIUS Configuration Illustration 651 14 The new attribute is added Click OK...
Страница 674: ...Appendix J RADIUS Configuration Illustration 652 15 Click Next to continue...
Страница 722: ...Appendix L Integration 700 3 Click OK...


