Chapter 6: Using the Web Interface
309
Then the PX3 will send out an email containing the specified temperature
sensor readings hourly every day.
Whenever you want the PX3 to stop sending the temperature report,
simply deselect the Enabled checkbox in the timer.
Email and SMS Message Placeholders
Actions of "Send email" and "Send SMS message" allow you to
customize event messages. See
Send Email
(on page 296) or
Send SMS
Message
(on page 299).
When clicking anywhere inside the text box, the Event Context
Information displays, showing a list of placeholders and their definitions.
Simply drag the scroll bar and then click the desired placeholder to
insert it into the custom message. Or you can type a keyword in the
"search" box to quickly find the desired placeholder.
If wanted, you can resort the list by clicking the desired column header.
See
Sorting a List
(on page 134).
To make the Event Context Information disappear, click anywhere
outside its window.
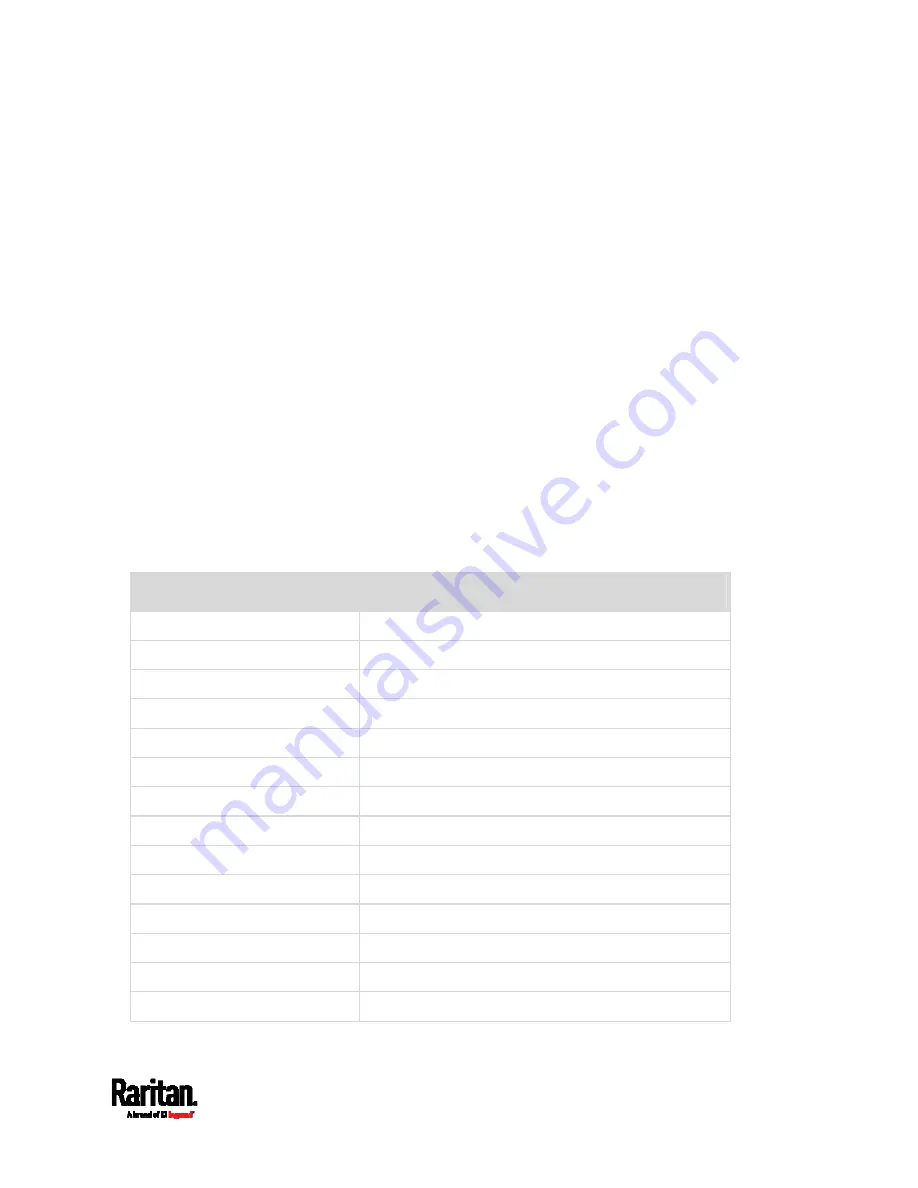
Following are placeholders that can be used in custom messages.
Placeholder
Definition
[ACTIVEINLET]
The label of the newly activated inlet
[AMSBLADESLOTPOSITION]
The (horizontal) slot position, an action applies to
[AMSLEDCOLOR]
The RGB LED color
[AMSLEDMODE]
The LED indication mode
[AMSLEDOPMODE]
The LED operating mode
[AMSNAME]
The name of an asset strip
[AMSNUMBER] The
numeric
ID of an asset strip
[AMSRACKUNITPOSITION]
The (vertical) rack unit position, an action applies to
[AMSSTATE]
The human readable state of an asset strip
[AMSTAGID]
The asset tag ID
[CIRCUITCTRATING]
The circuit CT rating
[CIRCUITCURRENTRATING] The circuit current rating
[CIRCUITNAME] The
circuit
name
[CIRCUITPOLE]
The circuit power line identifier
Содержание PX3-1000 series
Страница 5: ......
Страница 92: ...Chapter 4 Connecting External Equipment Optional 70...
Страница 668: ...Appendix J RADIUS Configuration Illustration 646 Note If your PX3 uses PAP then select PAP...
Страница 669: ...Appendix J RADIUS Configuration Illustration 647 10 Select Standard to the left of the dialog and then click Add...
Страница 670: ...Appendix J RADIUS Configuration Illustration 648 11 Select Filter Id from the list of attributes and click Add...
Страница 673: ...Appendix J RADIUS Configuration Illustration 651 14 The new attribute is added Click OK...
Страница 674: ...Appendix J RADIUS Configuration Illustration 652 15 Click Next to continue...
Страница 722: ...Appendix L Integration 700 3 Click OK...


