Chapter 6: Using the Web Interface
135
2.
To have it resorted in the descending order based on the same
column, click the Timestamp header.
3.
The arrow turns to
, indicating the list is sorted in the
"descending" order.
4.
To resort the list based on a different column, click a different
column header.
5.
The arrow
now appears adjacent to the selected column header,
indicating the list is sorted in the ascending order based on that
column.
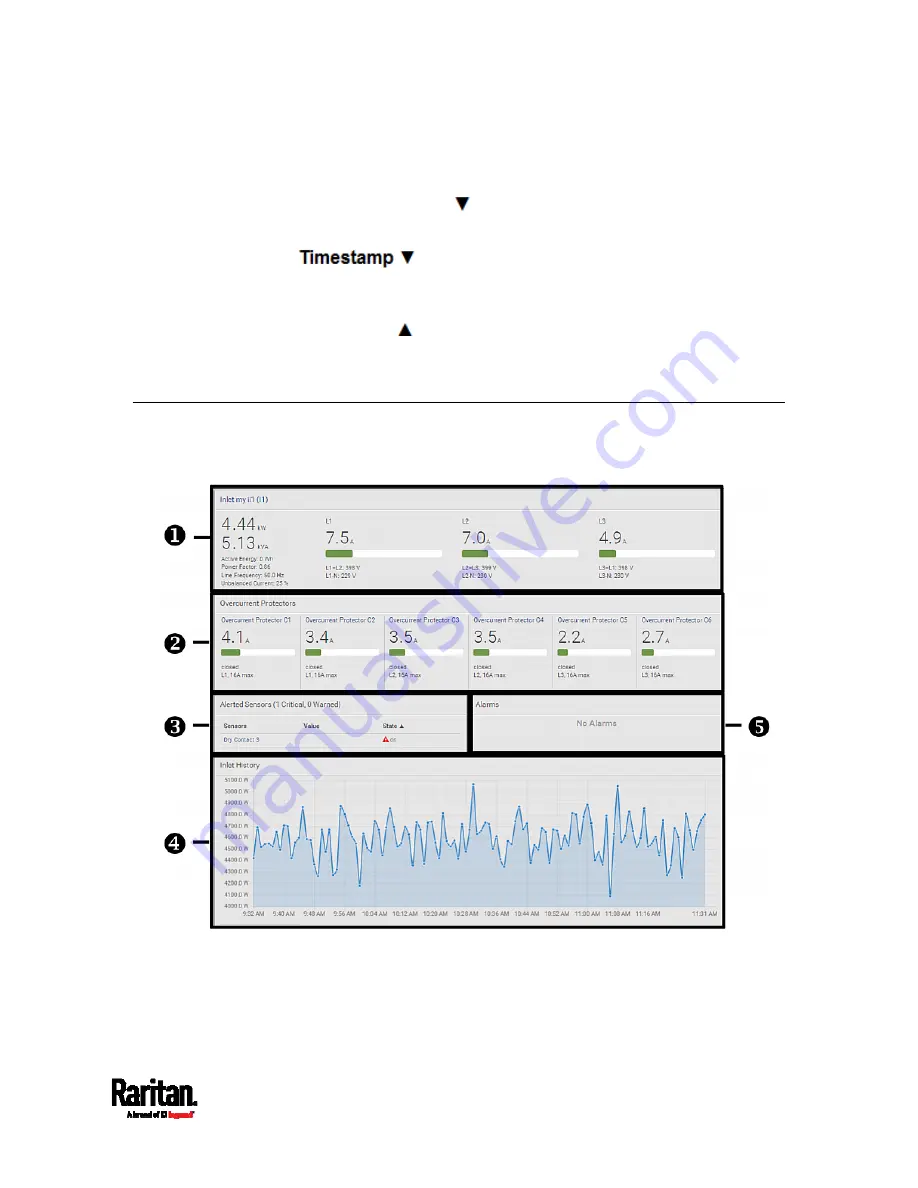
Dashboard
The Dashboard page contains four to five sections, depending on your
model.
Содержание PX3-1000 series
Страница 5: ......
Страница 92: ...Chapter 4 Connecting External Equipment Optional 70...
Страница 668: ...Appendix J RADIUS Configuration Illustration 646 Note If your PX3 uses PAP then select PAP...
Страница 669: ...Appendix J RADIUS Configuration Illustration 647 10 Select Standard to the left of the dialog and then click Add...
Страница 670: ...Appendix J RADIUS Configuration Illustration 648 11 Select Filter Id from the list of attributes and click Add...
Страница 673: ...Appendix J RADIUS Configuration Illustration 651 14 The new attribute is added Click OK...
Страница 674: ...Appendix J RADIUS Configuration Illustration 652 15 Click Next to continue...
Страница 722: ...Appendix L Integration 700 3 Click OK...


