Chapter 4: Connecting External Equipment (Optional)
64
Numbers
Components
Removable rackmount brackets.
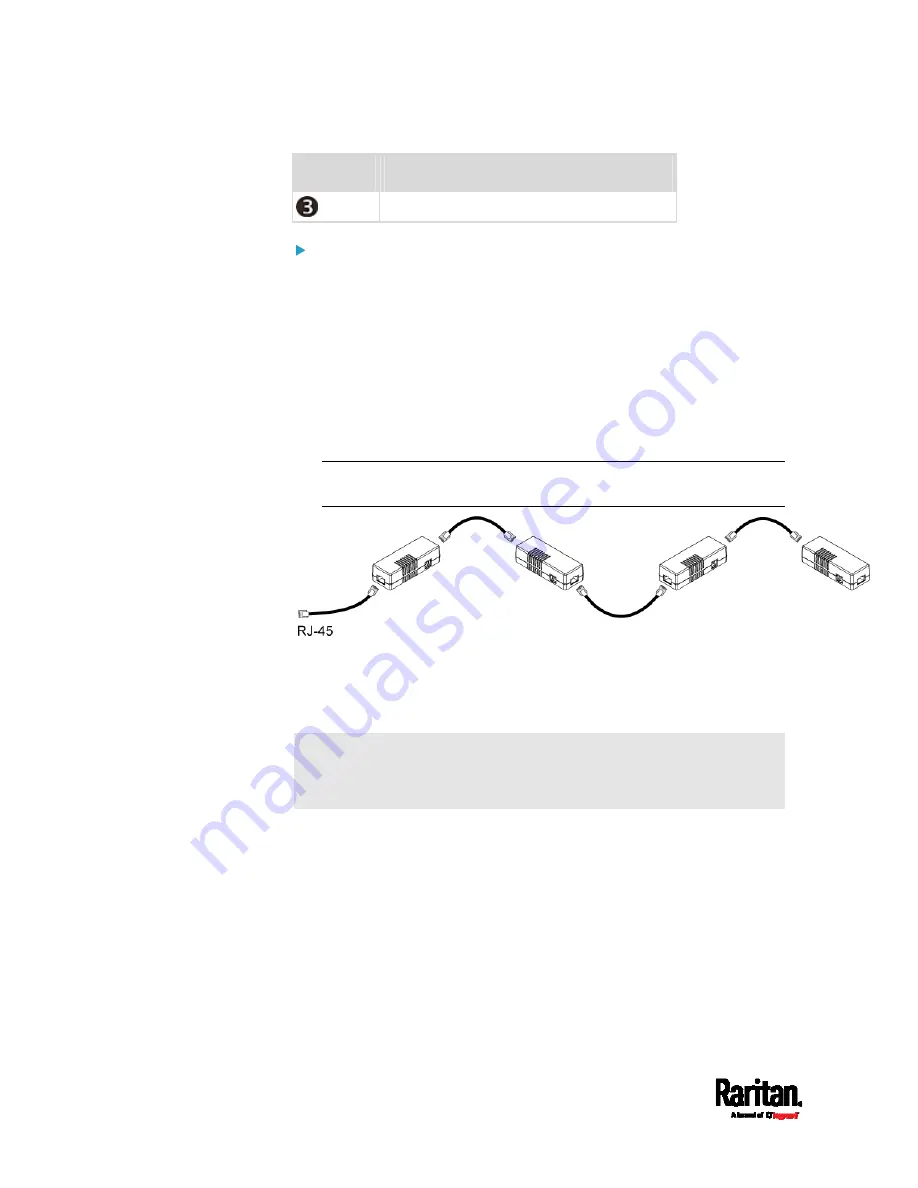
Connect DX sensor packages to the PX3:
1.
Connect a standard network patch cable (CAT5e or higher) to either
RJ-45 port on a DX sensor package.
2.
If you want to cascade DX packages, get an additional standard
network patch cable (CAT5e or higher) and then:
a.
Plug one end of the cable into the remaining RJ-45 port on the
prior DX package.
b.
Plug the other end into either RJ-45 port on an additional DX
package.
Repeat the same steps to cascade more DX packages.
Exception: You CANNOT cascade DX-PD2C5 sensor packages. A PX3
device supports only one DX-PD2C5.
3.
Connect the first DX sensor package to the PX3 by plugging its
cable's connector into the RJ-45 SENSOR port of the PX3.
4.
If needed, connect a DPX2 sensor package to the end of the DX chain.
See
Connecting a DPX2 Sensor Package to DX
(on page 65).
Warning: The PX3 does NOT support simultaneous connection of both
DX-PD2C5 and asset management strip(s) so do NOT connect both of
them at the same time.
Содержание PX3-1000 series
Страница 5: ......
Страница 92: ...Chapter 4 Connecting External Equipment Optional 70...
Страница 668: ...Appendix J RADIUS Configuration Illustration 646 Note If your PX3 uses PAP then select PAP...
Страница 669: ...Appendix J RADIUS Configuration Illustration 647 10 Select Standard to the left of the dialog and then click Add...
Страница 670: ...Appendix J RADIUS Configuration Illustration 648 11 Select Filter Id from the list of attributes and click Add...
Страница 673: ...Appendix J RADIUS Configuration Illustration 651 14 The new attribute is added Click OK...
Страница 674: ...Appendix J RADIUS Configuration Illustration 652 15 Click Next to continue...
Страница 722: ...Appendix L Integration 700 3 Click OK...


