Chapter 6: Using the Web Interface
154
2.
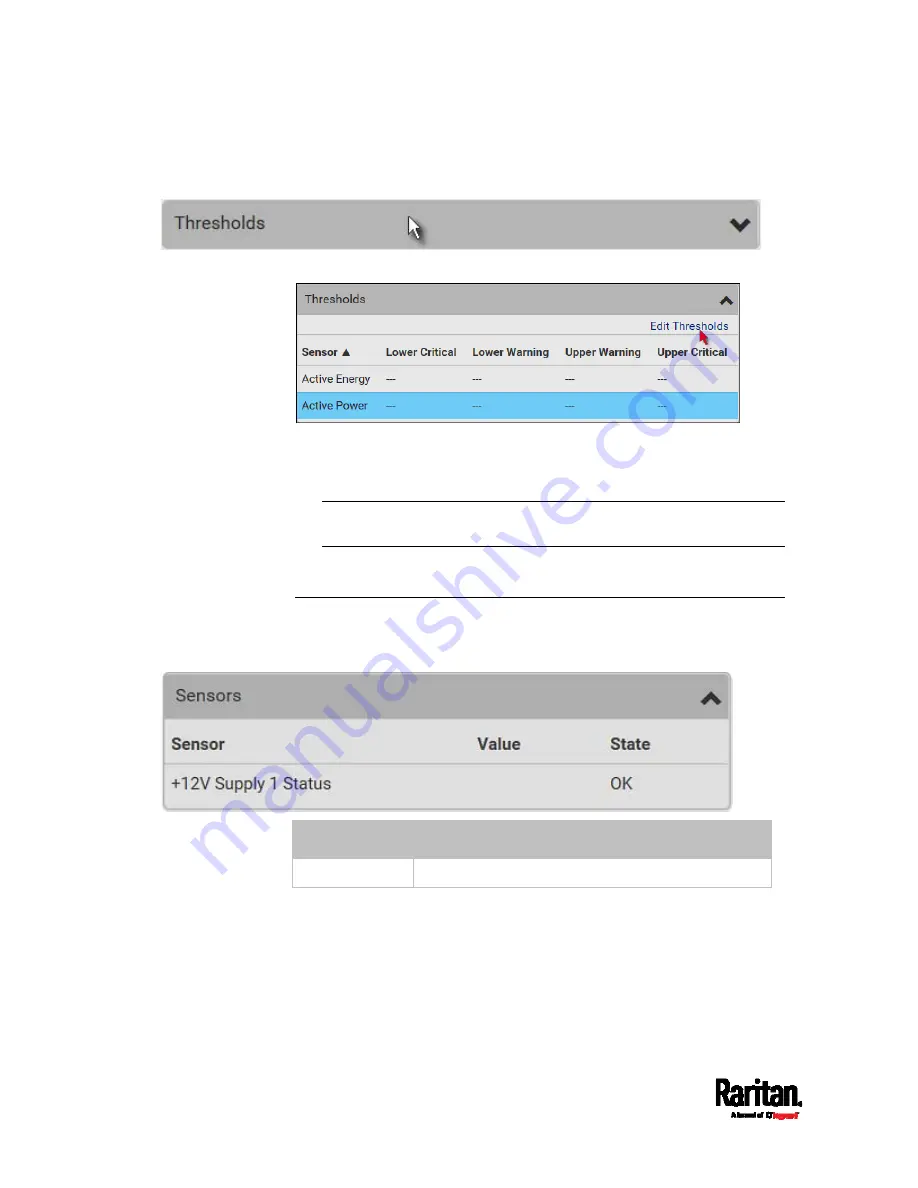
Click the Thresholds title bar at the bottom of the page to display
thresholds.
3.
Click the desired sensor (required), and then click Edit Thresholds.
4.
Make changes as needed.
To enable any threshold, select the corresponding checkbox.
Type a new value in the accompanying text box.
For concepts of thresholds, deassertion hysteresis and assertion
timeout, see
Sensor Threshold Settings
(on page 675).
5.
Click Save.
+12V Power Supply Sensor (for iX7™ Only)
An iX7
™
PDU's controller receives DC 12V power from its inlet. A sensor
monitors the power supply status and indicates it on the PDU page.
State
Description
OK The
iX7
™
controller is receiving power from its inlet.
Содержание PX3-1000 series
Страница 5: ......
Страница 92: ...Chapter 4 Connecting External Equipment Optional 70...
Страница 668: ...Appendix J RADIUS Configuration Illustration 646 Note If your PX3 uses PAP then select PAP...
Страница 669: ...Appendix J RADIUS Configuration Illustration 647 10 Select Standard to the left of the dialog and then click Add...
Страница 670: ...Appendix J RADIUS Configuration Illustration 648 11 Select Filter Id from the list of attributes and click Add...
Страница 673: ...Appendix J RADIUS Configuration Illustration 651 14 The new attribute is added Click OK...
Страница 674: ...Appendix J RADIUS Configuration Illustration 652 15 Click Next to continue...
Страница 722: ...Appendix L Integration 700 3 Click OK...


