Chapter 6: Using the Web Interface
345
4.
Click 'Upload & Restore Bulk Configuration' to copy it.
5.
A message appears, prompting you to confirm the operation and
enter the admin password.
Enter the admin password, and click Restore.
6.
Wait until the PX3 device resets and the login page re-appears.
Note: On startup, the PX3 performs all of its functions, including event
rules and logs, based on the new configuration you have copied instead
of the previous configuration prior to the device reset. For example, the
"Bulk configuration copied" event is logged only when the new
configuration file contains the "Bulk configuration copied" event rule.
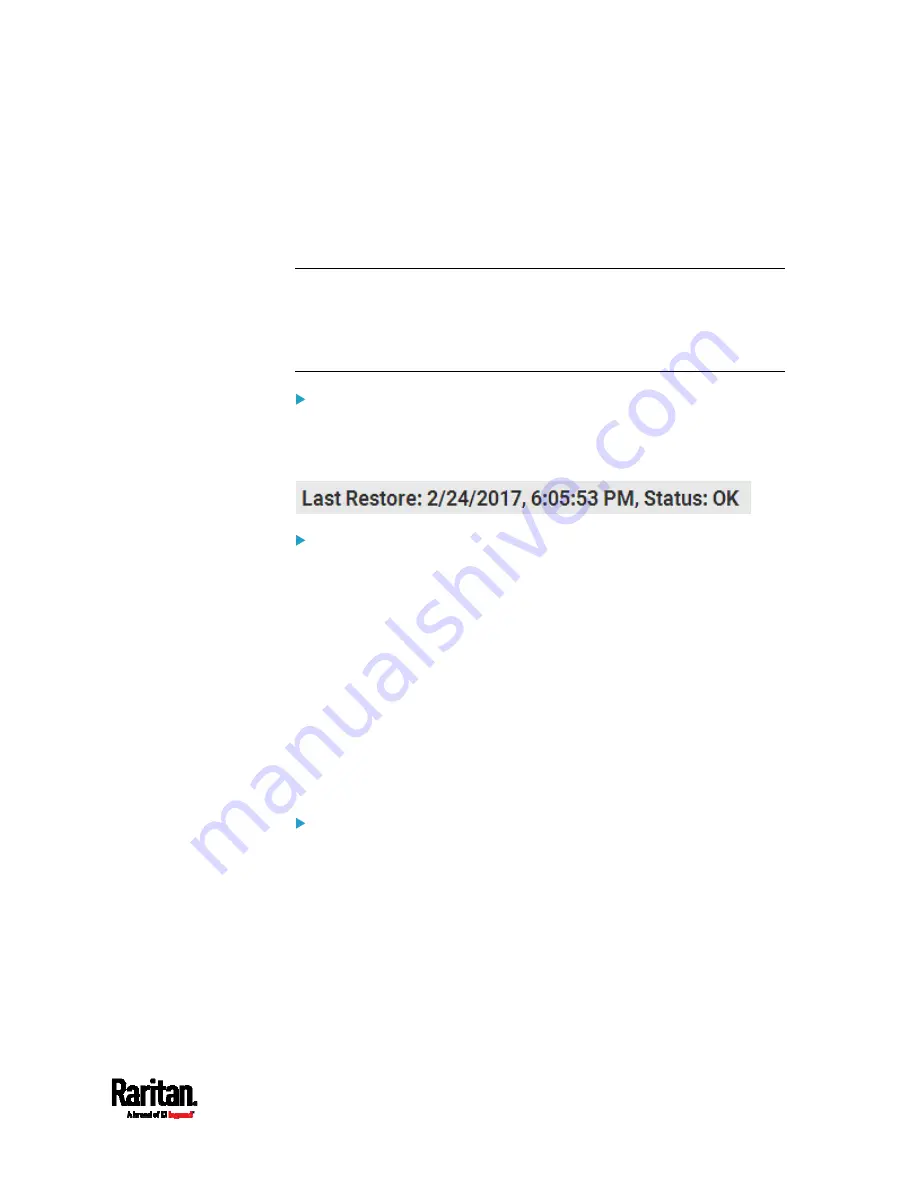
The last configuration-copying record:
If you once copied any bulk configuration or device backup file to the PX3,
the last record similar to the following is displayed at the bottom of both
the Bulk Configuration and Backup/Restore pages.
Alternatives:
To use a different method to perform bulk configuration, refer to:
Bulk Configuration via SCP
(on page 536)
Bulk Configuration or Firmware Upgrade via DHCP/TFTP
(on
page 562)
Configuration or Firmware Upgrade with a USB Drive
(on page
Bulk Configuration Restrictions
A source device is the PX3 device where the bulk configuration file is
downloaded/saved.
A target device is the PX3 device that loads this bulk configuration file.
Restrictions for bulk configuration:
The target device must be running the same firmware version as the
source device.
The target device must be of the same model type as the source
device.
Bulk configuration is permitted if the differences between the target
and source devices are only "mechanical" designs which are
indicated in a model name's suffix as listed below. In the following
list,
n represents a number.
- PDU chassis color, which is indicated as
Kn, such as K1 and K601
Содержание PX3-1000 series
Страница 5: ......
Страница 92: ...Chapter 4 Connecting External Equipment Optional 70...
Страница 668: ...Appendix J RADIUS Configuration Illustration 646 Note If your PX3 uses PAP then select PAP...
Страница 669: ...Appendix J RADIUS Configuration Illustration 647 10 Select Standard to the left of the dialog and then click Add...
Страница 670: ...Appendix J RADIUS Configuration Illustration 648 11 Select Filter Id from the list of attributes and click Add...
Страница 673: ...Appendix J RADIUS Configuration Illustration 651 14 The new attribute is added Click OK...
Страница 674: ...Appendix J RADIUS Configuration Illustration 652 15 Click Next to continue...
Страница 722: ...Appendix L Integration 700 3 Click OK...


