2. Select the category for the device parameter to be recorded.
The "Frequently used" category contains the most common device parameters.
3. Select device parameters to be recorded.
4. Actuate "Apply trace channel" button.
Ä
The recording channel is created and listed in the overview.
Activating, editing and deleting recording channels
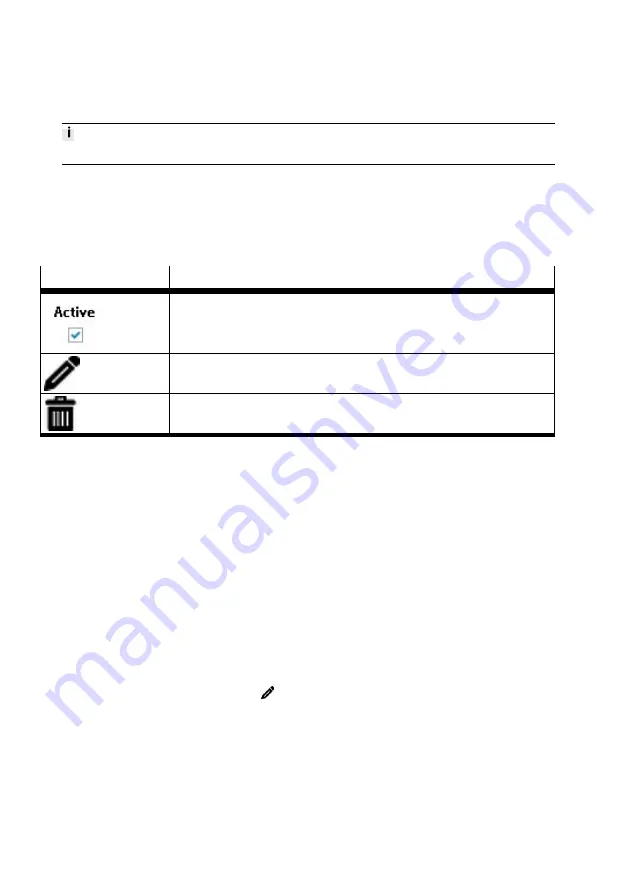
Existing recording channels can be activated, edited or deleted via the following buttons:
Symbol
Description
Activate or deactivate the existing recording channel;
The recording channel can be temporarily removed from the recording
without being deleted.
Edit existing recording channel
Delete existing recording channel
Tab. 52 Description of the diagnostics panel buttons
"Record settings"
This parameter group is only visible if at least one recording channel is created.
The recording duration can be set in this parameter group.
The resolution is also displayed in this parameter group. The resolution depends on the recording dur-
ation, the number of recording channels and the data type and is automatically calculated.
"Trigger preferences"
The trigger can be selected and configured in this parameter group. The parameter group is only vis-
ible if at least one recording channel is created.
If the trigger time should be set by pressing the button "Start trace", a trigger does not need to be
added. No trigger settings are needed (trigger type 0).
If data in the parameter directory for the device (trigger type 1) or a diagnostic result (trigger type 2)
should be used as a trigger, the trigger is selected as follows:
1. If a trigger has not yet been configured, actuate the button "Add new trigger" . If a trigger was
already configured, actuate the symbol
("Edit trigger") .
Ä
The pop-up to edit a trigger is opened. If a trigger was already configured, the pop-up displays
the last edit step directly. Buttons in the pop-up enable scrolling to the previous or next step.
2. In the first edit step of the pop-up, select the trigger type (trigger type 1 or 2).
Ä
The following steps depend on the selected trigger type.
If the data trigger (1) trigger type is selected, the following steps are required:
1. Select trigger condition.
CMMT-ST Plug-in
84
Festo — CMMT-ST-SW — 2019-02
Содержание CMMT-ST-SW
Страница 615: ......


