


97
SKYROS Corporation VideoNet 8.4 User guide
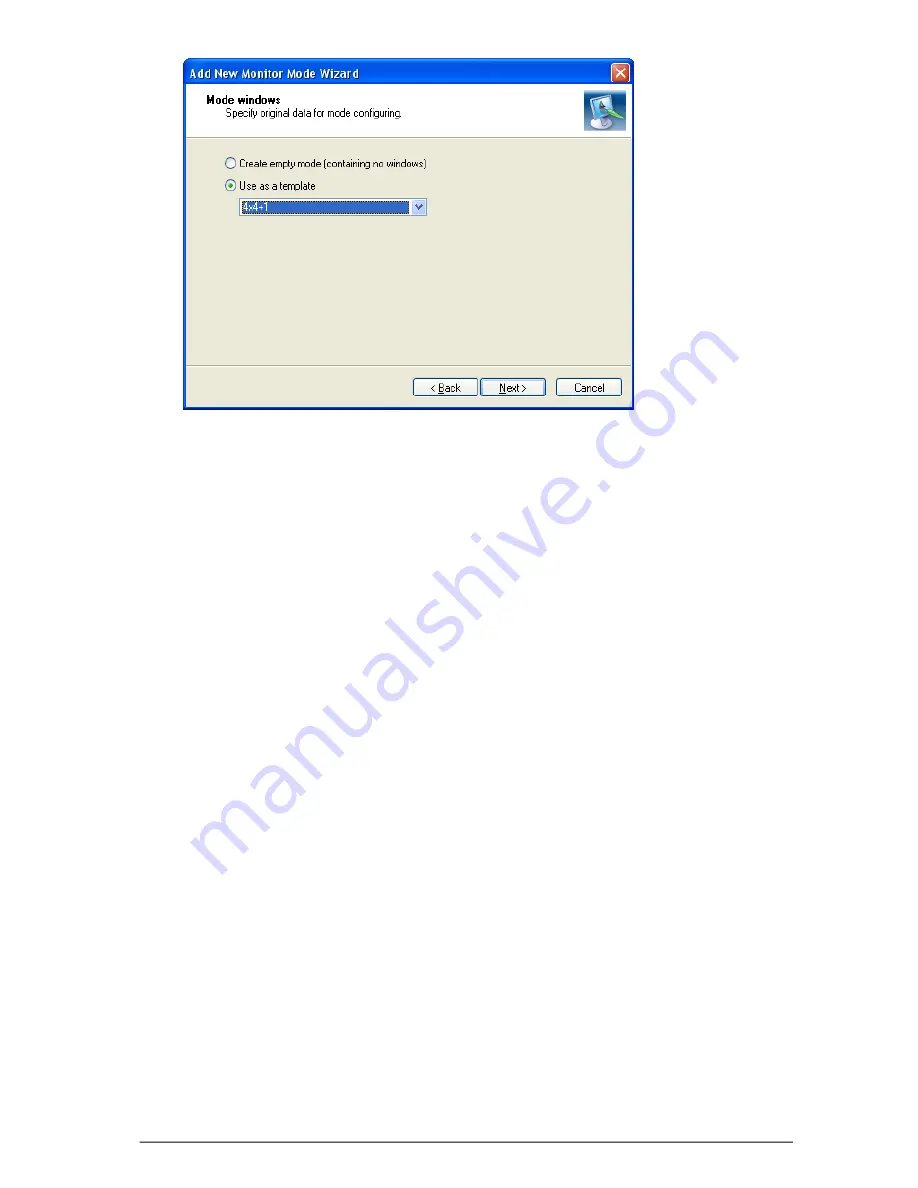
8. Click
F
INISH
. Created
mode
will appear on the demonstrational display of the
Monitor modes
tab.
Now you can start the created
monitor mode
parameters configuring:
unique
number
and icon assigning.
9. Select the created
mode
in the list and right-click on it to open the context
menu.
10. Select
Properties
item.
Mode Properties
dialogue box opens.
11. Specify a unique mode
number
on the
General
tab, if necessary. Just select
the corresponding check-box and enter a number. For quick switching to this
mode use hotkeys
A
LT
+F
UNCKEYS
(For example,
A
LT
+F1
).
12. Open
Icon
tab. Select an
icon
for the created mode. This icon will be displayed
near mode name on the
mode panel
.
13. Click
OK
.
Now you can start adding new
windows
and setting up their position. Besides, it
is also necessary to set up properties of the created
monitor mode
. After you have
added all the windows to the mode, click
Apply
button on the toolbar to save
configuration changes. After creation of the monitor mode you can save it to the
special file with “.vnmm” extension. You also can load previously created monitor
mode to the configuration.
You can add the following kinds of windows in
monitor mode
:
•
video window
;
•
player window
;
•
sound control window
;
•
plans control window
;
•
status panel
;
•
mode panel
;
•
Event Log
;
•
background window
;
•
popup window
.


