


7-2
This section explains what to do when a paper misfeed occurs in the machine.
REMOVING MISFEEDS
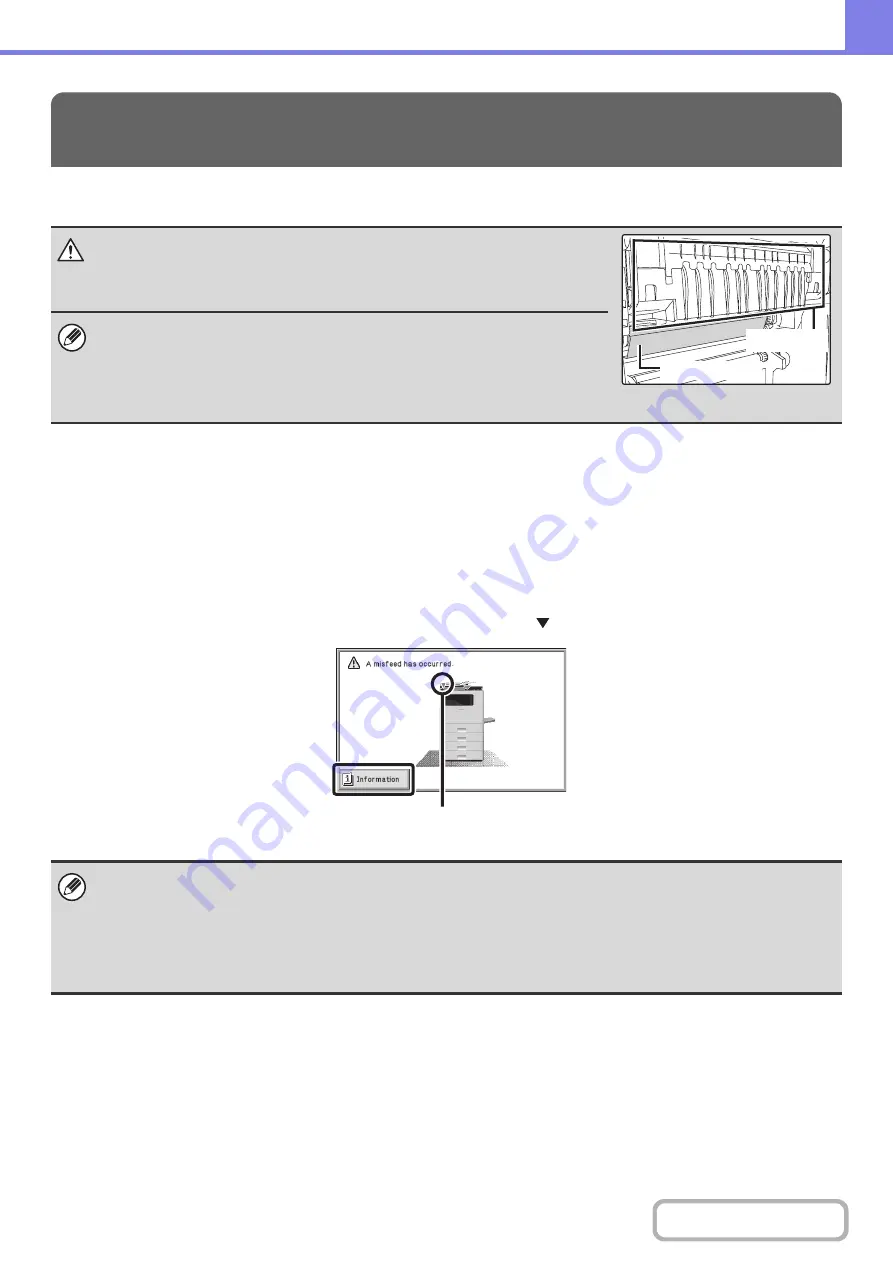
When a paper misfeed occurs, the message "A misfeed has occurred." will appear in the display and printing and
scanning will stop. In this event, select the [Information] key in the display. When the key is selected, instructions for
removing the misfeed will appear. Follow the instructions. When the misfeed is cleared, the message will automatically
clear.
The approximate locations of possible misfeeds are indicated by blinking
marks as shown below.
REMOVING MISFEEDS
Caution
The fusing unit is hot. Take care not to burn yourself when
removing a misfeed.
• When removing misfed paper, do not touch or damage the transfer belt.
• Carefully pull the paper out without tearing it.
• A misfeed may have occurred inside the machine. Check carefully and remove the
misfeed.
• If the paper tears, be sure to remove all pieces from the machine.
• While the message appears, printing and scanning cannot be resumed.
• If the message does not clear even after the misfeed has been removed, the causes below are possible. Check once
again.
- The misfeed was not correctly removed.
- A torn piece of paper remains in the machine.
- A cover or unit that was opened or moved to remove the misfeed was not returned to its original position.
Transfer belt
Fusing unit
misfeed location
Summary of Contents for DX-C310 Operation
Page 5: ...Make a copy on this type of paper Envelopes and other special media Transparency film ...
Page 10: ...Conserve Print on both sides of the paper Print multiple pages on one side of the paper ...
Page 33: ...Search for a file abc Search for a file using a keyword ...
Page 34: ...Organize my files Delete a file Periodically delete files ...
Page 226: ...3 18 PRINTER Contents 4 Click the Print button Printing begins ...