


2-38
Enter the paper size of the bypass tray
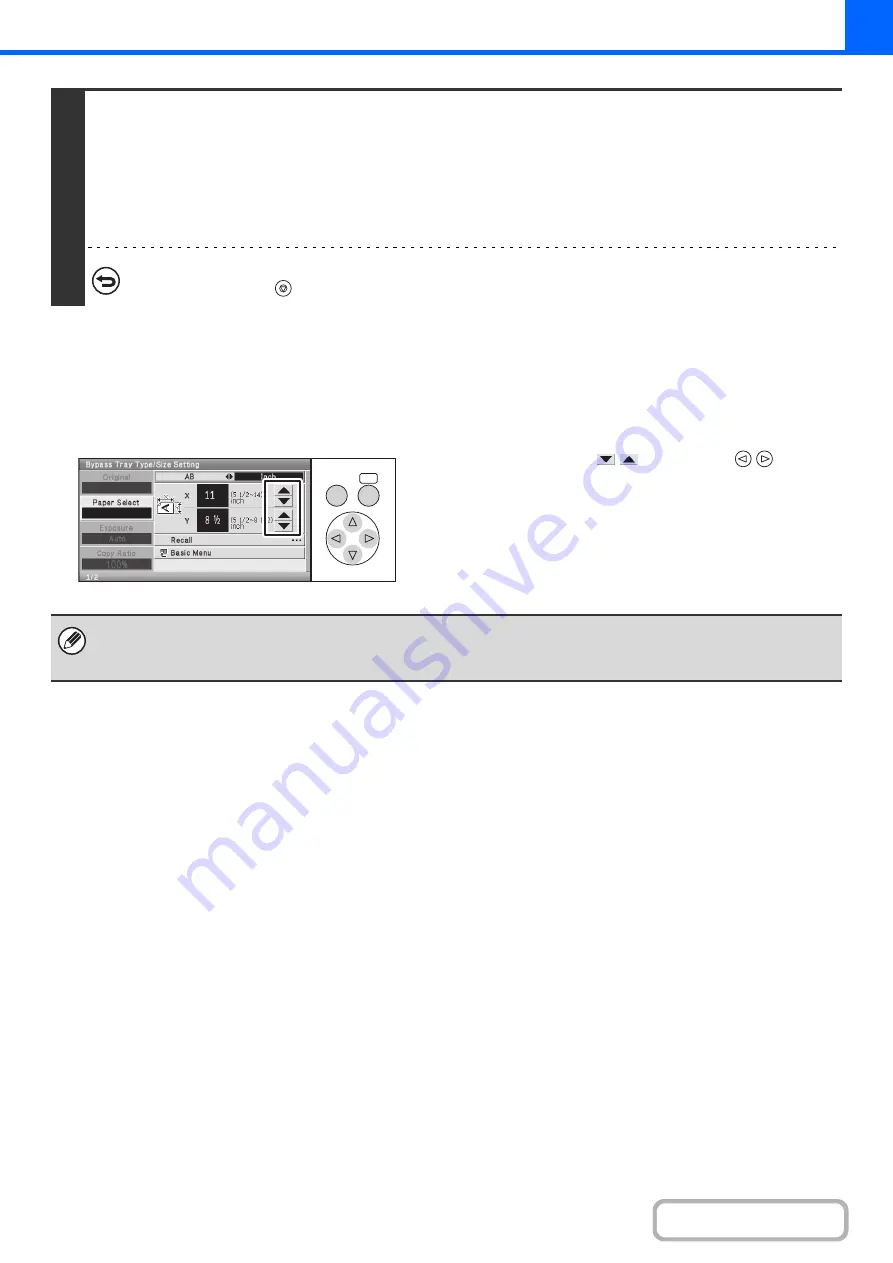
When the [Custom Size] key is selected, the paper size entry screen appears.
Select either of the
keys with the
keys and
press the [OK] key repeatedly to change the number.
8
Press the [COLOR START] key or the [BLACK & WHITE START] key.
Scanning begins.
• If the originals were placed in the document feeder tray, the originals are copied.
• If you placed the originals on the document glass, scan each page one page at a time.
When using sort mode, change originals and press the [START] key. Repeat until all pages have been scanned and then
select the [Read-End] key.
(For the second original and following originals, use the same [START] key as you did for
the first original.)
To cancel scanning of the original and copying...
Press the [STOP] key (
).
OK
BACK
A stored custom paper size can be selected. Custom paper sizes are stored in the system settings. For details, see "
" (page 6-13) in "6. SYSTEM SETTINGS". To display the custom paper sizes that have been stored, select the
[Recall] key in the paper size entry screen. If the key for the size that you wish to enter appears, select that key.
Summary of Contents for DX-C310 Operation
Page 5: ...Make a copy on this type of paper Envelopes and other special media Transparency film ...
Page 10: ...Conserve Print on both sides of the paper Print multiple pages on one side of the paper ...
Page 33: ...Search for a file abc Search for a file using a keyword ...
Page 34: ...Organize my files Delete a file Periodically delete files ...
Page 226: ...3 18 PRINTER Contents 4 Click the Print button Printing begins ...