


4-63
3
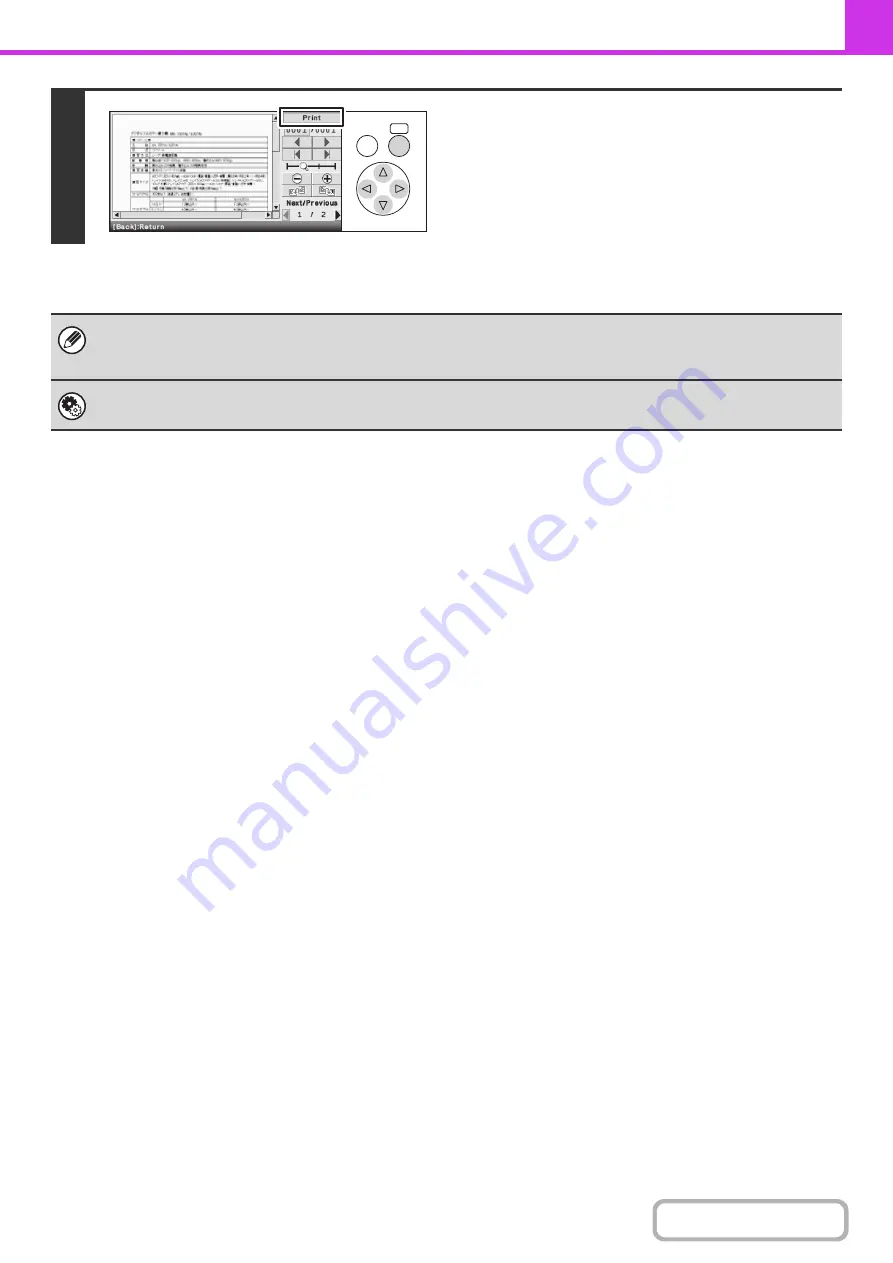
Check the received image and then
select the [Print] key.
Printing begins.
For information on the image check screen, see "
" (page 4-64).
If the screen of step 1 appears when you are configuring settings in the setting screens of any of the modes, the configured
settings will be canceled if you view the image. After viewing the image, you will return to the base screen of image send
mode, regardless of which mode you were in previously.
System Settings (Administrator): Received Data Image Check Setting (Web page only)
Use this to specify whether or not a received fax can be viewed before it is printed.
OK
BACK
Summary of Contents for DX-C310 Operation
Page 5: ...Make a copy on this type of paper Envelopes and other special media Transparency film ...
Page 10: ...Conserve Print on both sides of the paper Print multiple pages on one side of the paper ...
Page 33: ...Search for a file abc Search for a file using a keyword ...
Page 34: ...Organize my files Delete a file Periodically delete files ...
Page 226: ...3 18 PRINTER Contents 4 Click the Print button Printing begins ...