


5-111
PRINTING A PASSWORD-PROTECTED FAX
(Hold Setting For Received Data Print)
"Hold Setting for Received Data Print" in the system settings (administrator) can be enabled to have faxes received to
memory without being printed. To print the faxes, a password must be entered. When this function is enabled, a
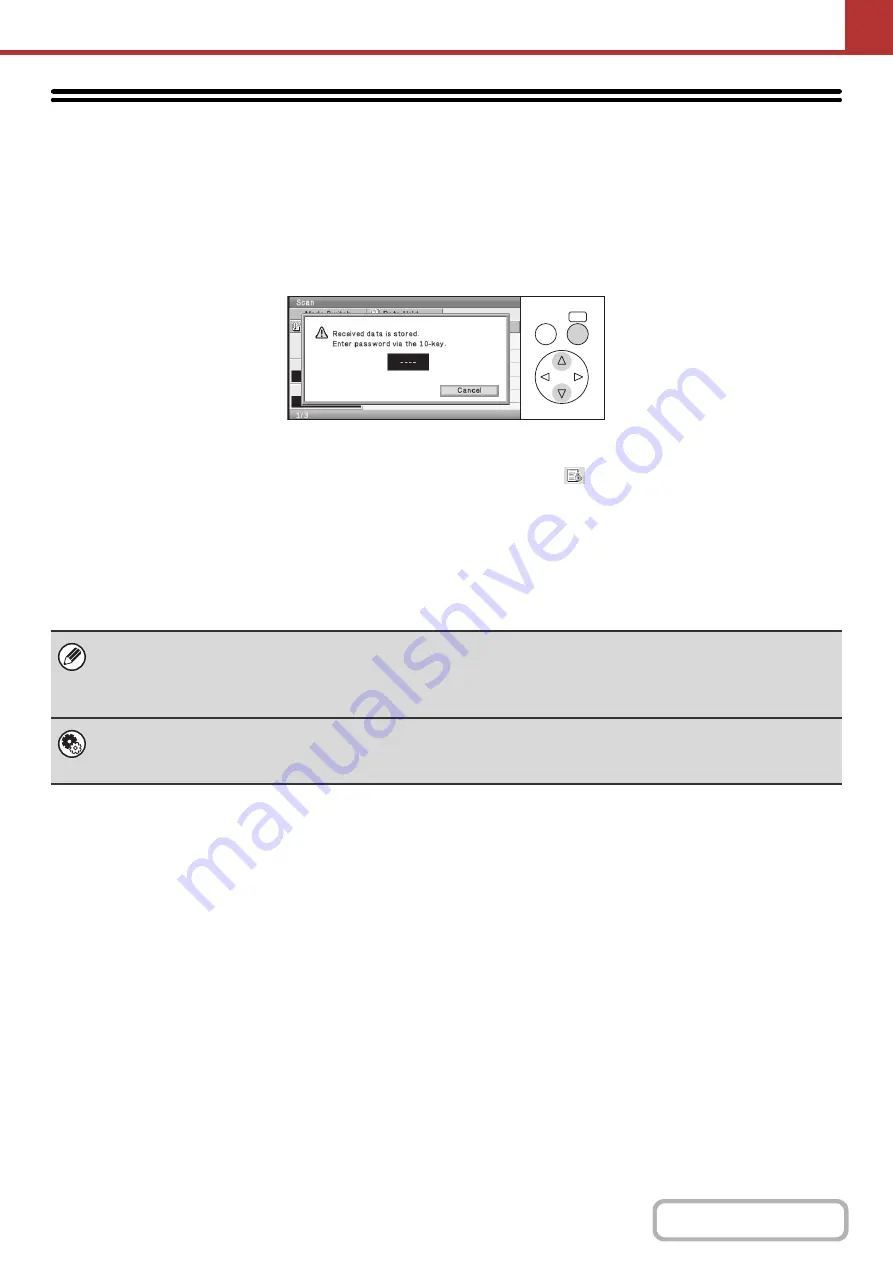
password entry screen appears in the display when received Internet faxes are retrieved.
When the previously programmed 4-digit password is entered with the numeric keys, printing begins.
If the [Cancel] key is selected, the password entry screen will close; however,
will blink in the display to indicate that
there is stored data. To open the password entry screen again, select the [Data Hold] key or change the mode.
When "Received Data Image Check Setting" (Web page only) is enabled in the system settings (administrator), a
password can be entered to display the received data list screen. If you wish to check an image before printing it,
continue from step 2 on the next page.
• The received faxes will be retained in memory regardless of whether they were received automatically or manually.
• If "Fax Data Receive/Forward" is enabled in the system settings so that received faxes are forwarded to another machine,
faxes retained in memory are also forwarded. At that time, the same password entry screen will appear as for printing.
Forwarding will not take place unless the password is entered.
System Settings (Administrator): Hold Setting for Received Data Print
Enable this setting to have faxes received to memory without being printed. This setting is also used to program the
password that must be entered to print the faxes.
OK
BACK
Summary of Contents for DX-C310 Operation
Page 5: ...Make a copy on this type of paper Envelopes and other special media Transparency film ...
Page 10: ...Conserve Print on both sides of the paper Print multiple pages on one side of the paper ...
Page 33: ...Search for a file abc Search for a file using a keyword ...
Page 34: ...Organize my files Delete a file Periodically delete files ...
Page 226: ...3 18 PRINTER Contents 4 Click the Print button Printing begins ...