


Adjusting crop, rotation, and canvas
Cropped Area
Note:
Crop Guide Overlay
Crop images
Transform perspective while cropping | CS5
Crop and straighten scanned photos
Straighten an image
Rotate or flip an entire image
Change the canvas size
Make a frame
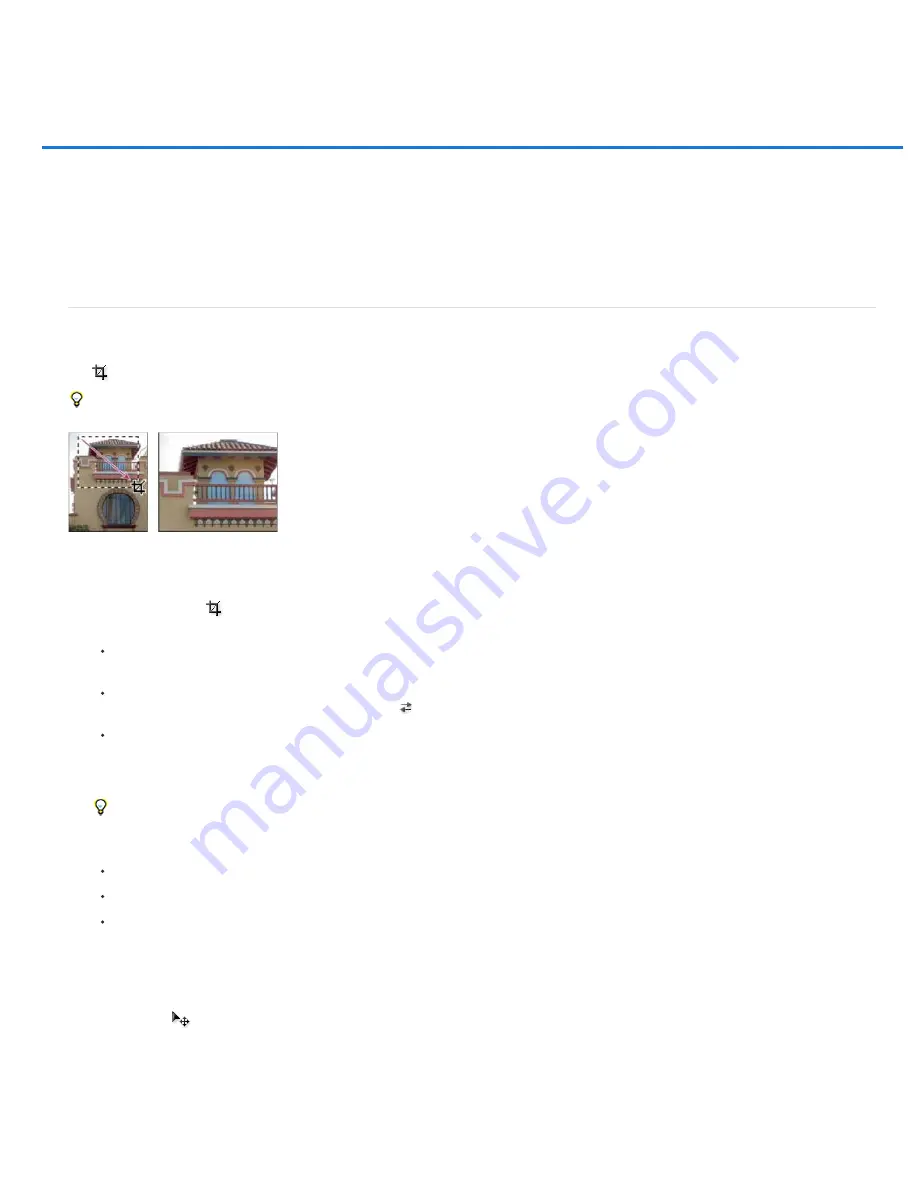
Crop images
Cropping is the process of removing portions of an image to create focus or strengthen the composition. You can crop an image using the Crop
tool
and the Crop command. You can also trim pixels using the Crop And Straighten and the Trim commands.
To learn how to use the new Cropping tools in CS6, see Crop and Straighten Photos in CS6.
Using the Crop tool
Crop an image using the Crop tool | CS5
1. Select the Crop tool
.
2. (Optional) Set resample options in the options bar.
To crop the image without resampling (default), make sure that the Resolution text box in the options bar is empty. You can click the
Clear button to quickly clear all text boxes.
To resample the image during cropping, enter values for height, width, and resolution in the options bar. To switch the height and width
dimensions, click the Swaps Height And Width icon
.
To resample an image based on the dimensions and resolution of another image, open the other image, select the Crop tool, and click
Front Image in the options bar. Then make the image you want to crop active.
Resampling while cropping uses the default interpolation method set in the General preferences.
To select or create a resampling preset, click the triangle next to the Crop tool icon in the options bar. (See Create and use tool presets.)
3. Drag over the part of the image you want to keep to create a marquee.
4. If necessary, adjust the cropping marquee:
To move the marquee to another position, place the pointer inside the bounding box and drag.
To scale the marquee, drag a handle. To constrain the proportions, hold down Shift as you drag a corner handle.
To rotate the marquee, position the pointer outside the bounding box (the pointer turns into a curved arrow), and drag. To move the
center point around which the marquee rotates, drag the circle at the center of the bounding box. (The marquee can’t be rotated in
Bitmap mode.)
5. In the options bar, set the following:
Select Hide to preserve the cropped area in the image file. You can make the hidden area visible by moving the image with
the Move tool
. Select Delete to discard the cropped area.
The Hide option is not available for images that contain only a background layer; you must convert the background to a regular layer.
Select Rule Of Thirds to add guides that help you place compostional elements at 1/3 increments. Select Grid to
display fixed guidelines with spacing that depends upon crop size.
Summary of Contents for Photoshop CS6
Page 1: ...ADOBE PHOTOSHOP Help and tutorials...
Page 65: ...Legal Notices Online Privacy Policy...
Page 100: ...Image and color basics...
Page 108: ...Legal Notices Online Privacy Policy...
Page 176: ...Legal Notices Online Privacy Policy...
Page 182: ...Legal Notices Online Privacy Policy...
Page 193: ...applied to the original Smart Object More Help topics Legal Notices Online Privacy Policy...
Page 236: ...Legal Notices Online Privacy Policy...
Page 286: ...More Help topics Adjusting image color and tone in CS6 Legal Notices Online Privacy Policy...
Page 376: ...Legal Notices Online Privacy Policy...
Page 457: ...Text...
Page 461: ...Legal Notices Online Privacy Policy...
Page 548: ...Legal Notices Online Privacy Policy...
Page 570: ...Saving and exporting...
Page 598: ...Printing...
Page 627: ...Legal Notices Online Privacy Policy...
Page 646: ...Web graphics...
Page 662: ...Legal Notices Online Privacy Policy...
Page 722: ...Legal Notices Online Privacy Policy...
Page 730: ...Color Management...
Page 739: ......
Page 748: ......


