Note:
Mode
Source
Aligned
Sample
Note:
In the Clone Source panel, select the source you want to use and enter the x and y pixel values for the Offset option.
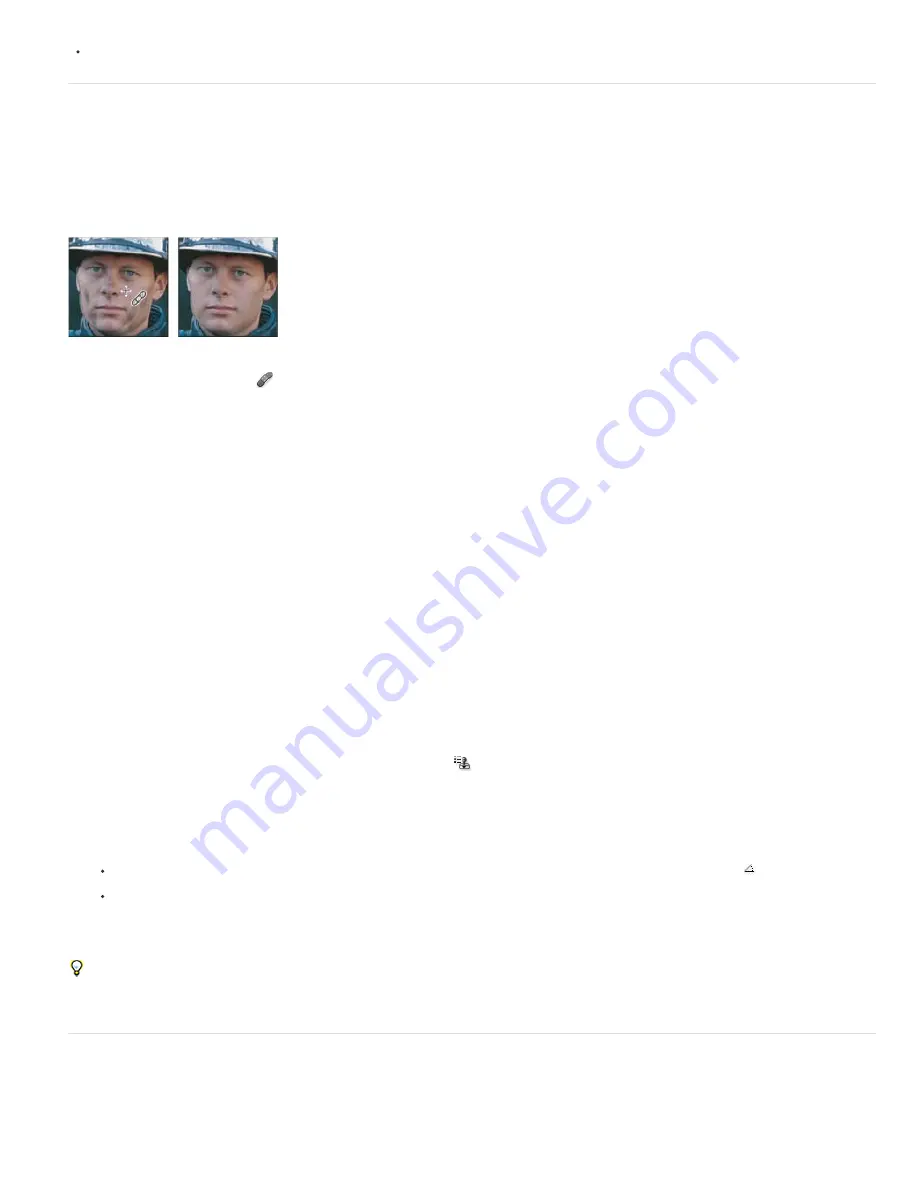
Retouch with the Healing Brush tool
The Healing Brush tool lets you correct imperfections, causing them to disappear into the surrounding image. Like the cloning tools, you use the
Healing Brush tool to paint with sampled pixels from an image or pattern. However, the Healing Brush tool also matches the texture, lighting,
transparency, and shading of the sampled pixels to the pixels being healed. As a result, the repaired pixels blend seamlessly into the rest of the
image.
(Photoshop Extended) The Healing Brush tool can be applied to video or animation frames.
Sampled pixels and healed image
1. Select the Healing Brush tool
.
2. Click the brush sample in the options bar and set brush options in the pop
-
up panel:
If you’re using a pressure-sensitive digitizing tablet, choose an option from the Size menu to vary the size of the healing brush over
the course of a stroke. Choose Pen Pressure to base the variation on the pen pressure. Choose Stylus Wheel to base the variation on the
position of the pen thumbwheel. Choose Off if you don’t want to vary the size.
Specifies the blending mode. Choose Replace to preserve noise, film grain, and texture at the edges of the brush stroke when using
a soft
-
edge brush.
Specifies the source to use for repairing pixels. Sampled to use pixels from the current image, or Pattern to use pixels from a
pattern. If you chose Pattern, select a pattern from the Pattern pop
-
up panel.
Samples pixels continuously, without losing the current sampling point, even if you release the mouse button. Deselect Aligned to
continue to use the sampled pixels from the initial sampling point each time you stop and resume painting.
Samples data from the layers you specify. To sample from the active layer and visible layers below it, choose Current And Below.
To sample only from the active layer, choose Current Layer. To sample from all visible layers, choose All Layers. To sample from all visible
layers except adjustment layers, choose All Layers and click the Ignore Adjustment Layers icon to the right of the Sample pop
-
up menu.
3. Set the sampling point by positioning the pointer over an area of the image and Alt-clicking (Windows) or Option-clicking (Mac OS).
If you are sampling from one image and applying to another, both images must be in the same color mode unless one of the images
is in Grayscale mode.
4. (Optional) In the Clone Source panel, click a clone source button
and set an additional sampling point.
You can set up to 5 different sampling sources. The Clone Source panel remembers the sampled sources until you close the document
you’re editing.
5. (Optional) In the Clone Source panel, click a clone source button to select the sampled source you want.
6. (Optional) Do any of the following in the Clone Source panel:
To scale or rotate the source that you’re cloning, enter a value for W (width), H (height), or the rotation in degrees
.
To show an overlay of the source that you’re cloning, select Show Overlay and specify the overlay options.
7. Drag in the image.
The sampled pixels are melded with the existing pixels each time you release the mouse button.
If there is a strong contrast at the edges of the area you want to heal, make a selection before you use the Healing Brush tool. The selection
should be bigger than the area you want to heal and precisely follow the boundary of contrasting pixels. When you paint with the Healing Brush
tool, the selection prevents colors from bleeding in from the outside.
Retouch with the Spot Healing Brush tool
The Spot Healing Brush tool quickly removes blemishes and other imperfections in your photos. The Spot Healing Brush works similarly to the
Healing Brush: it paints with sampled pixels from an image or pattern and matches the texture, lighting, transparency, and shading of the sampled
pixels to the pixels being healed. Unlike the Healing Brush, the Spot Healing Brush doesn’t require you to specify a sample spot. The Spot Healing
Summary of Contents for Photoshop CS6
Page 1: ...ADOBE PHOTOSHOP Help and tutorials...
Page 65: ...Legal Notices Online Privacy Policy...
Page 100: ...Image and color basics...
Page 108: ...Legal Notices Online Privacy Policy...
Page 176: ...Legal Notices Online Privacy Policy...
Page 182: ...Legal Notices Online Privacy Policy...
Page 193: ...applied to the original Smart Object More Help topics Legal Notices Online Privacy Policy...
Page 236: ...Legal Notices Online Privacy Policy...
Page 286: ...More Help topics Adjusting image color and tone in CS6 Legal Notices Online Privacy Policy...
Page 376: ...Legal Notices Online Privacy Policy...
Page 457: ...Text...
Page 461: ...Legal Notices Online Privacy Policy...
Page 548: ...Legal Notices Online Privacy Policy...
Page 570: ...Saving and exporting...
Page 598: ...Printing...
Page 627: ...Legal Notices Online Privacy Policy...
Page 646: ...Web graphics...
Page 662: ...Legal Notices Online Privacy Policy...
Page 722: ...Legal Notices Online Privacy Policy...
Page 730: ...Color Management...
Page 739: ......
Page 748: ......


