Rostock MAX v2 Assembly Guide
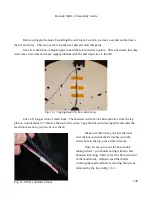
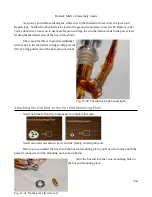
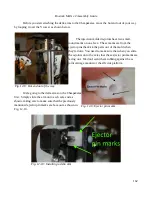
Before you start attaching the delta arms to the Cheapskates, move the hot end out of your way
by looping it over the Y tower as shown below.
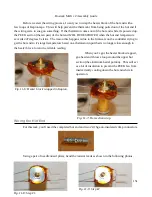
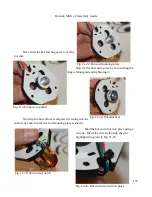
The injection molded u-joints have two small,
round marks on one face. These marks are from the
ejector pins that kick the parts out of the mold when
they're done. You need to make sure that when you slide
the u-joints on to the axles that these ejector pin marks are
facing out. We don't want them rubbing against the u-
joint carriage mounts or the effector platform.
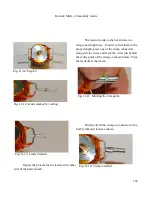
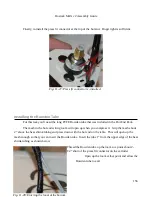
We're going to the delta arms on the Cheapskates
first. Simply slide the arm on to each axle end as
shown, taking care to make sure that the previously
mentioned ejector pin marks are face out as shown in
Fig. 12-10.
162
Fig. 12-8: Hot end out of the way.
Fig. 12-9: Ejector pin marks.
Fig. 12-10: Installing a delta arm.
Содержание Rostock MAX v2
Страница 25: ...Rostock MAX v2 Assembly Guide Melamine Parts Sheet 1 25 ...
Страница 26: ...Rostock MAX v2 Assembly Guide Melamine Parts Sheet 2 Melamine Parts Sheet 3 26 ...
Страница 27: ...Rostock MAX v2 Assembly Guide Melamine Parts Sheet 4 27 ...
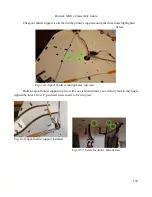
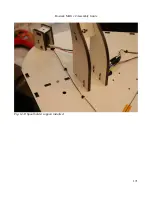
Страница 171: ...Rostock MAX v2 Assembly Guide 171 Fig 14 8 Spool holder support installed ...


