Rostock MAX v2 Assembly Guide
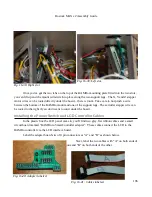
your wiring in the Rostock MAX v2. Make sure no bare wire is touching any other bare wire, etc.
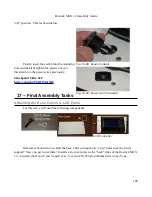
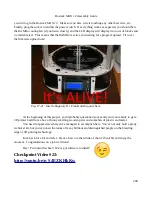
Finally, plug the sucker in and hit the power switch. If everything works as expected, you should here
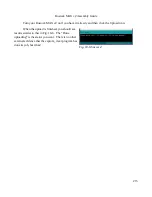
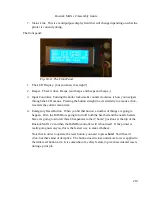
the RAMBo cooling fan (if you listen closely) and the LCD display will display two rows of blocks and
no readable text. This means that the RAMBo is active and waiting for a program upload. I'll cover
the firmware upload next!
At the beginning of this project, you'd probably questioned your sanity and your ability to get a
3D printer built from a box of funny smelling wooden parts and some bits of plastic and metal.
You need to appreciate what you've managed to accomplish here. You've not only built a pretty
technical kit, but you've joined the ranks of many brilliant and distinguished people on the bleeding
edge of 3D printing technology.
Kick back for a bit and relax. Have a beer or other drink of choice (Scotch!) and enjoy the
moment. Congratulations on a job well done!
Hey! Put down that beer! We've got software to install!
Checkpoint Video #22:
209
Fig. 17-21: Insert obligatory Dr. Frankenstein quote here.
Содержание Rostock MAX v2
Страница 25: ...Rostock MAX v2 Assembly Guide Melamine Parts Sheet 1 25 ...
Страница 26: ...Rostock MAX v2 Assembly Guide Melamine Parts Sheet 2 Melamine Parts Sheet 3 26 ...
Страница 27: ...Rostock MAX v2 Assembly Guide Melamine Parts Sheet 4 27 ...
Страница 171: ...Rostock MAX v2 Assembly Guide 171 Fig 14 8 Spool holder support installed ...


