Rostock MAX v2 Assembly Guide
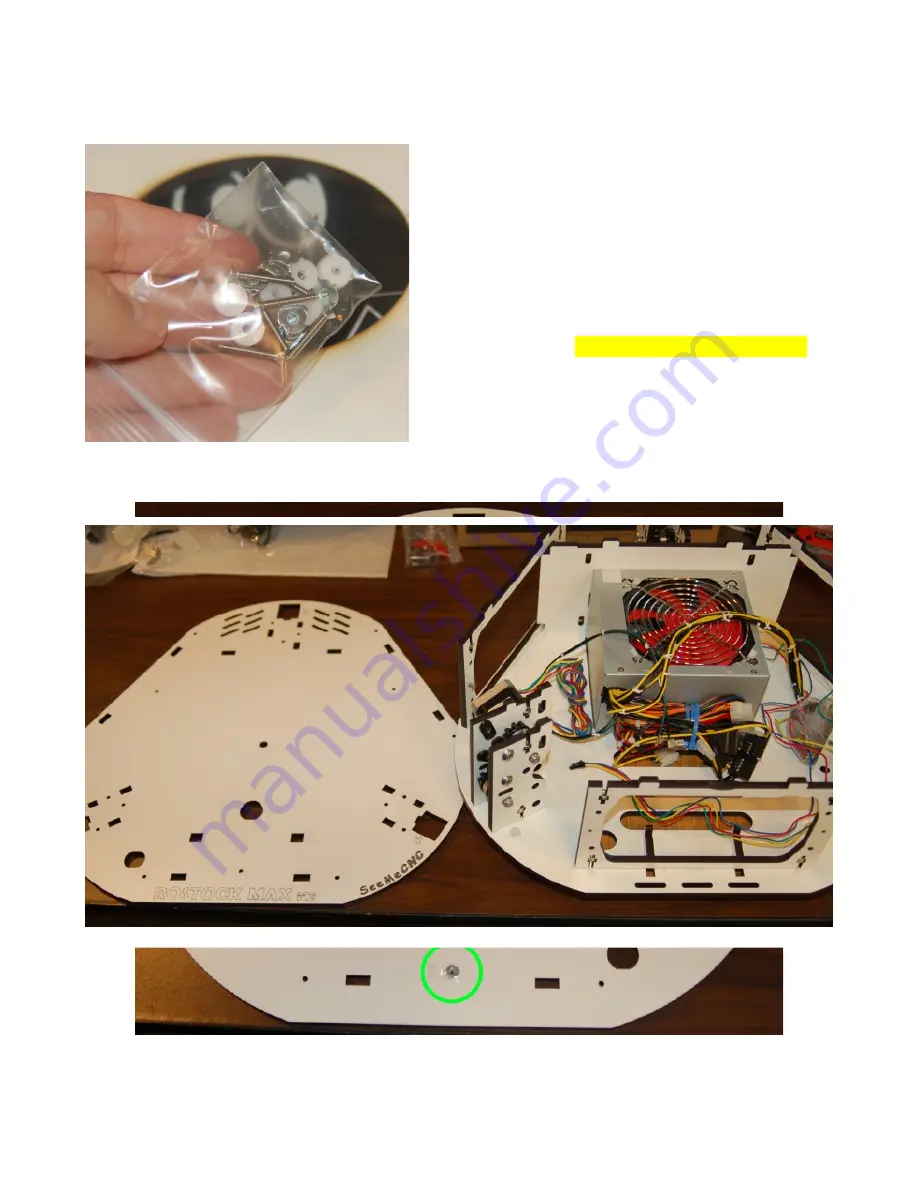
The next step requires that you open up the Onyx
Heated Bed package and remove the included #4-40 T-
Nuts.
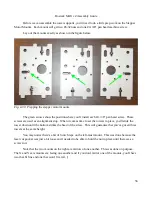
Using Fig. 4-48 below as a guide, flip the top plate
upside down and tap in the six t-nuts in the locations
circled in green. The t-nuts have barbs that will penetrate
into the Melamine when pressed in with enough force. I'd
recommend using a hammer – a single sharp tap should be
enough to set the t-nut flush with the Melamine surface.
After the t-nut is in place, cover it with a short length of
Scotch or masking tape to hold it in place. You don't want
them to pop out on you when you're installing the Onyx.
63
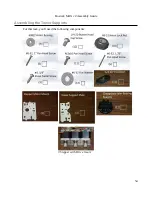
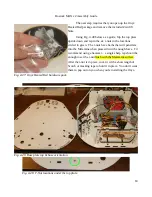
Fig. 4-47: Onyx Heated Bed hardware pack.
Fig. 4-48: T-Nut locations under the top plate.
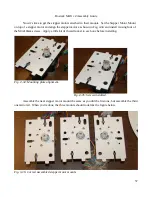
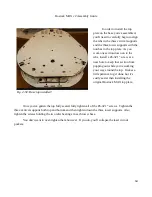
Fig. 4-49: Base plate top & base orientation.
Содержание Rostock MAX v2
Страница 25: ...Rostock MAX v2 Assembly Guide Melamine Parts Sheet 1 25 ...
Страница 26: ...Rostock MAX v2 Assembly Guide Melamine Parts Sheet 2 Melamine Parts Sheet 3 26 ...
Страница 27: ...Rostock MAX v2 Assembly Guide Melamine Parts Sheet 4 27 ...
Страница 171: ...Rostock MAX v2 Assembly Guide 171 Fig 14 8 Spool holder support installed ...

