Rostock MAX v2 Assembly Guide
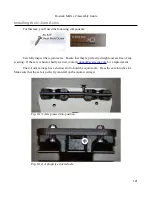
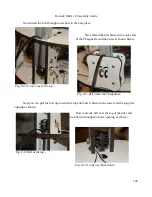
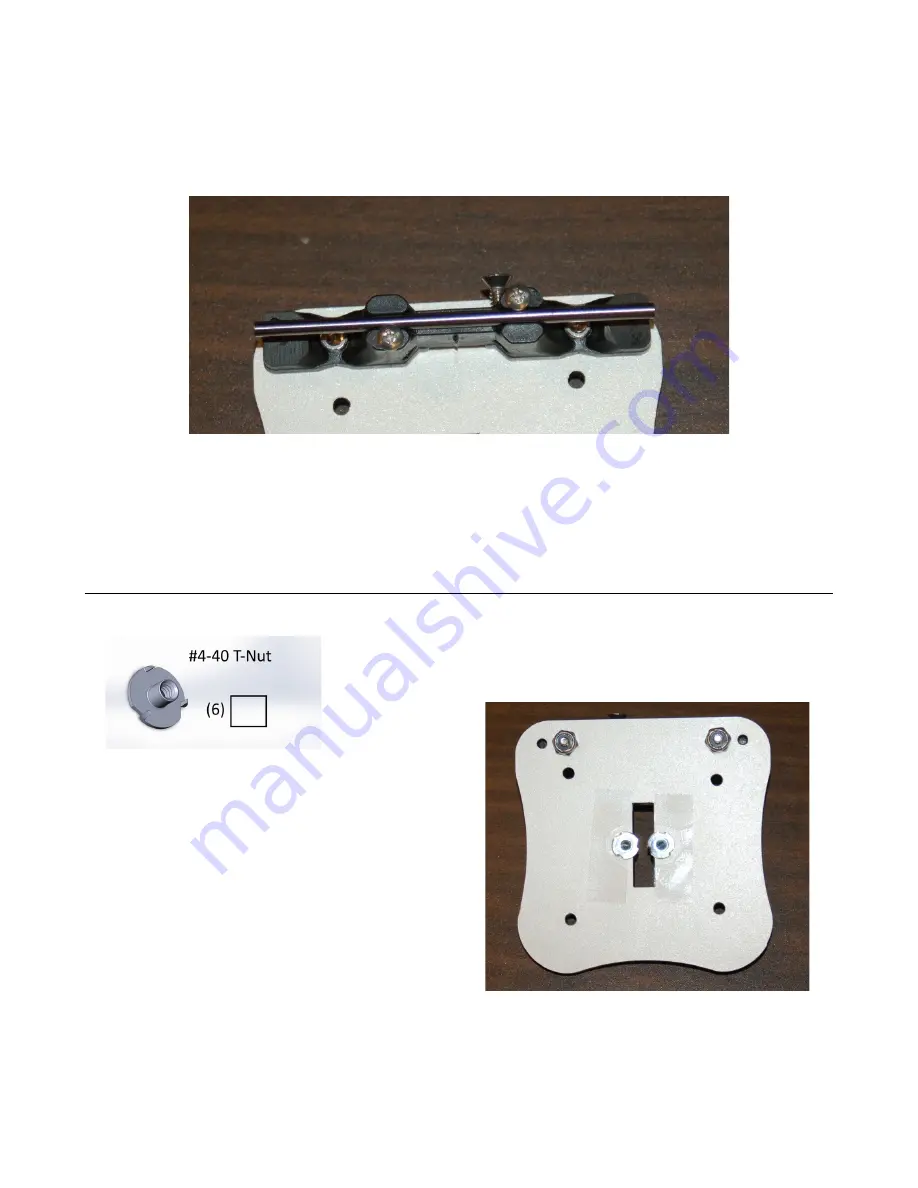
Now take two #4, 3/8” sheet metal screws and install them into the locations shown to hold the
axle in place.
When fully tightened, the #4 screws should be in full contact with the u-joint carrier and should
slightly overlap the axle as shown above.
Repeat this task for all three u-joint carriages.
Installing the Belt Clip T-Nuts
For this task you'll need the following components:
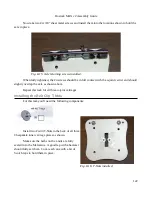
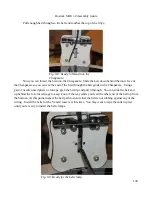
Install two #4-40 T-Nuts in the back of all three
Cheapskate inner carriage plates as shown.
Make sure the barbs on the t-nuts are fully
seated in to the Melamine. A good tap with a hammer
should fully set them. Cover each one with a bit of
Scotch tape to hold them in place.
122
Fig. 8-15: Axle retaining screws installed.
Fig. 8-16: T-Nuts installed.
Содержание Rostock MAX v2
Страница 25: ...Rostock MAX v2 Assembly Guide Melamine Parts Sheet 1 25 ...
Страница 26: ...Rostock MAX v2 Assembly Guide Melamine Parts Sheet 2 Melamine Parts Sheet 3 26 ...
Страница 27: ...Rostock MAX v2 Assembly Guide Melamine Parts Sheet 4 27 ...
Страница 171: ...Rostock MAX v2 Assembly Guide 171 Fig 14 8 Spool holder support installed ...


