Rostock MAX v2 Assembly Guide
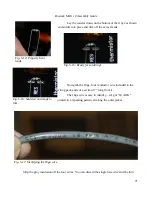
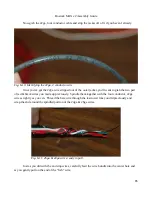
Inside each cable is a very thin, very strong Nylon string. You're going to use this string to split
the gray outer jacket of the cable along its full length. Strip the 18ga, 4 conductor wire now and we'll
get to the 22ga wire in a bit.
Start by carefully removing about 6” worth of the outer jacket by using an X-Acto knife to score
the jacket all the way around. When you've got it scored, pull the end away from the rest of the cable
and the jacket should come off at the score line.
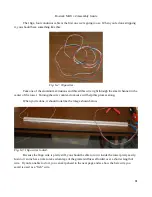
You'll be left with four colored wires, a bare wire, a very thin foil wrap and that magic little
Nylon string. Wrap the string around your fingers to get a good grip on it and holding the exposed
wires in one hand, pull the Nylon string away from you, along the length of the cable. Continue doing
this until it's split the whole gray outer jacket.
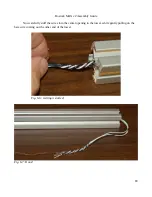
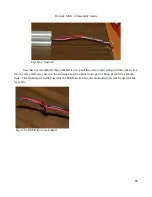
When you're done, you can discard the outer jacket and the thin aluminum wrap. However,
don't discard the bare wire that was woven around the four conductors. You're going to use that shortly
as a pull line to get the thinner wires down the towers.
The Z axis tower will get the 18ga hot end wires, the X axis tower will get the end-stop wires
and the Y axis tower will get the 22ga wires for the extruder as well as two pair of 26ga wires for the
PEEK fan and the layer fan.
The 18ga wire is the largest in diameter, followed by the 22ga wire and the 26ga wire is the
thinnest.
80
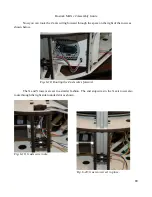
Fig. 6-1: Splitting the outer insulation.
Содержание Rostock MAX v2
Страница 25: ...Rostock MAX v2 Assembly Guide Melamine Parts Sheet 1 25 ...
Страница 26: ...Rostock MAX v2 Assembly Guide Melamine Parts Sheet 2 Melamine Parts Sheet 3 26 ...
Страница 27: ...Rostock MAX v2 Assembly Guide Melamine Parts Sheet 4 27 ...
Страница 171: ...Rostock MAX v2 Assembly Guide 171 Fig 14 8 Spool holder support installed ...

