Rostock MAX v2 Assembly Guide
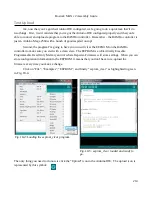
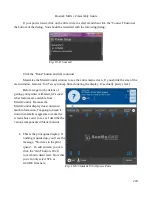
If your port is listed, click on the little circle to select it and then click the “Connect” button at
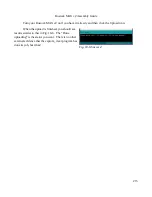
the bottom of the dialog. You should be rewarded with the following dialog:
Click the “Done” button and let's continue!
Maximize the MatterControl window to see the entire main screen. If you shrink the size of the
main window, features “fold” away to keep from cluttering the display. It's actually pretty clever.
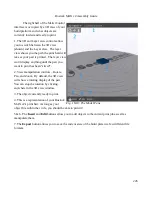
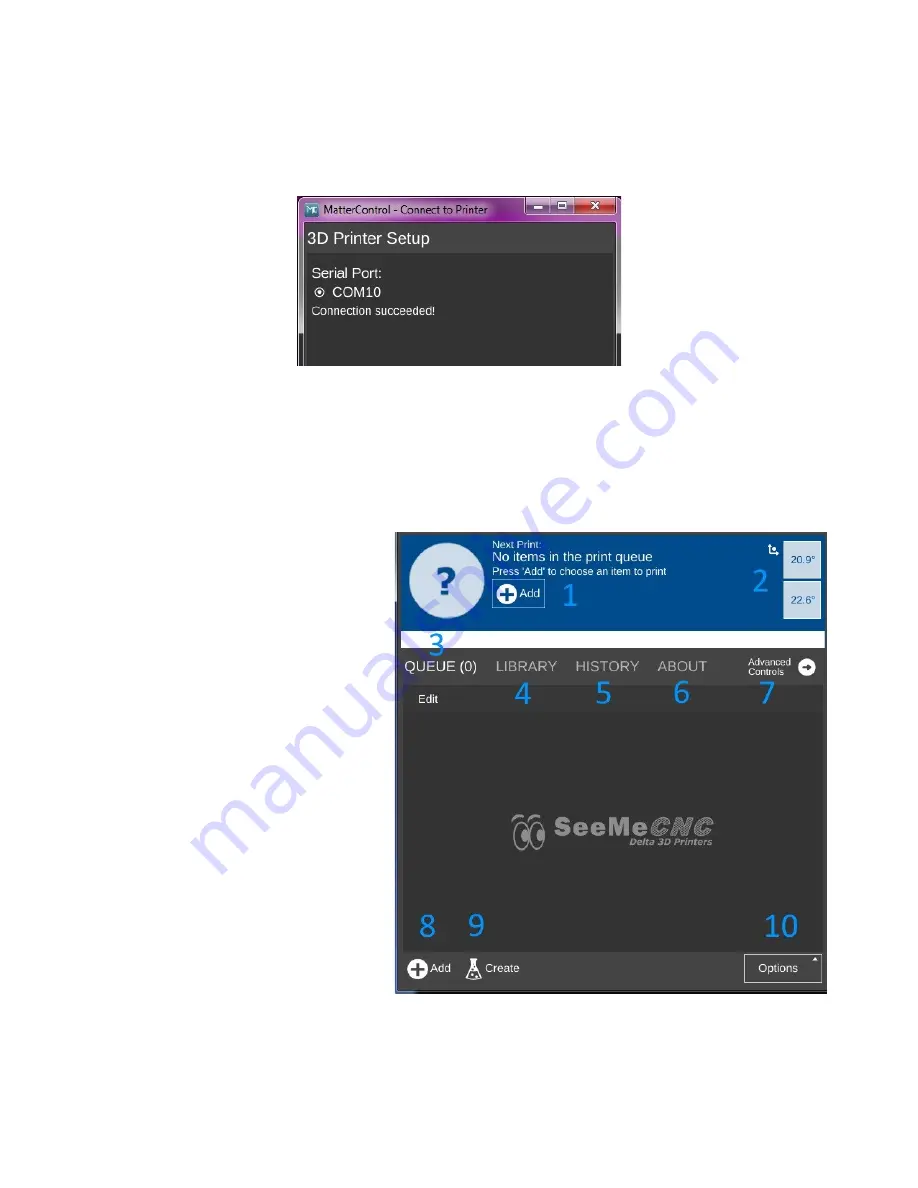
Before we get to the details of
getting your printer calibrated, let's cover
what features are available from
MatterControl. Because the
MatterControl display does contain so
much information, I'm going to break it
down into smaller segments to make the
screen shots easier to see as I describe the
various components in MatterControl.
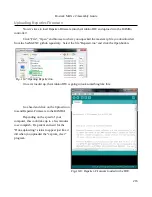
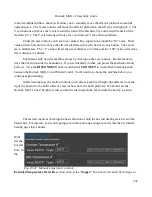
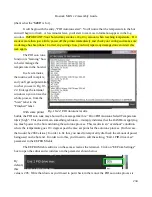
1. This is the print queue display. If
nothing is queued up, you'll see the
message, “No items in the print
queue”. To add an item, you can
click the “Add” button. We'll
cover this in detail later. Note that
you can only select STL or
GCODE files here.
224
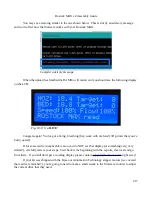
Fig. 19-8: Success!
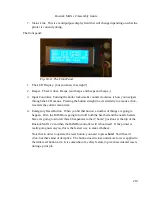
Fig. 19-6: Status & Print Queue Pane
Содержание Rostock MAX v2
Страница 25: ...Rostock MAX v2 Assembly Guide Melamine Parts Sheet 1 25 ...
Страница 26: ...Rostock MAX v2 Assembly Guide Melamine Parts Sheet 2 Melamine Parts Sheet 3 26 ...
Страница 27: ...Rostock MAX v2 Assembly Guide Melamine Parts Sheet 4 27 ...
Страница 171: ...Rostock MAX v2 Assembly Guide 171 Fig 14 8 Spool holder support installed ...


