Rostock MAX v2 Assembly Guide
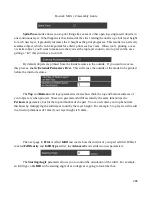
Spiral Vase
mode allows you to print things like vases or other open top, single-wall objects in
one continuous layer. What happens is that instead of the slicer raising the nozzle up a full layer height
for each new layer, it gradually increases the Z height as the print progresses. This results in a perfectly
seamless object, which can be important for artistic prints such as vases. When you're printing a vase
or similar object, you'll want to make sure that you set the top layer count to zero to prevent the vase
getting a “lid” that you'll have to cut off.
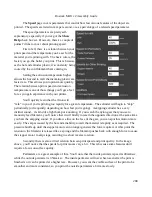
By default, objects are printed from the inside features to the outside. If you want to reverse
this process, enable
External Perimeters First
. This will cause the outside of the model to be printed
before the interior features.
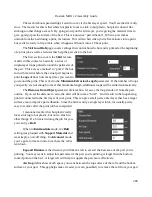
The
Top
and
Bottom
solid layer parameters dictate how thick the top and bottom surfaces of
your object are when printed. These two parameters fulfill essentially the same function as the
Perimeters
parameter, but for the top and bottom of the part. You can calculate your top & bottom
thickness by multiplying the solid layer count by the layer height. For example, 5 top layers will result
in a final top thickness of 1mm if your layer height is 0.2mm.
The next page in
is called
Infill
and covers how the interior of your part is filled. While I
covered
Fill Density
and
Infill Type
earlier, the
Advanced
mode adds two new parameters.
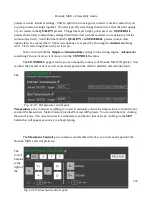
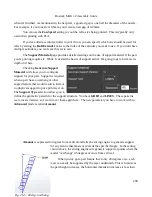
The
Starting Angle
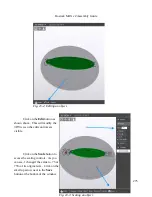
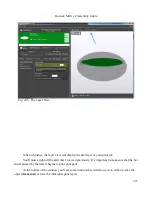
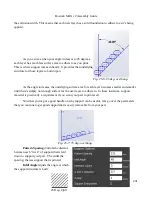
parameter allows you to control the orientation of the infill. For example,
an infill type of
GRID
with a starting angle of zero degrees is going to look like this:
286
Содержание Rostock MAX v2
Страница 25: ...Rostock MAX v2 Assembly Guide Melamine Parts Sheet 1 25 ...
Страница 26: ...Rostock MAX v2 Assembly Guide Melamine Parts Sheet 2 Melamine Parts Sheet 3 26 ...
Страница 27: ...Rostock MAX v2 Assembly Guide Melamine Parts Sheet 4 27 ...
Страница 171: ...Rostock MAX v2 Assembly Guide 171 Fig 14 8 Spool holder support installed ...

