
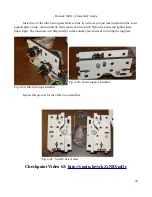


Rostock MAX v2 Assembly Guide
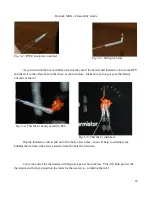
Note that the thermistor pack may contain two resistors and two LEDs. You'll only be using one
of each for this build. The additional parts are extras.
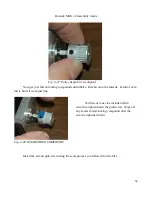
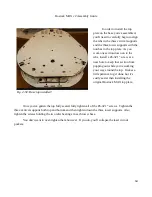
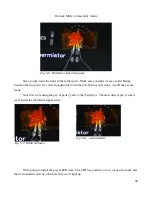
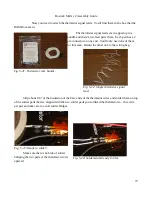
Before you begin wiring up the Onyx, please place a short length of Kapton tape over the
thermistor hole in the center of the heated bed. This will protect the top of the thermistor as well as
prevent RTV from leaking on the top of the board. Leave a little bit of the Kapton folded over. You'll
be removing the tape once the RTV has cured.
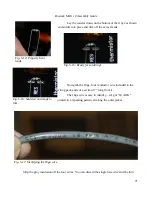
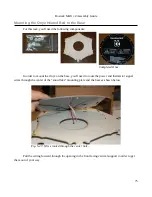
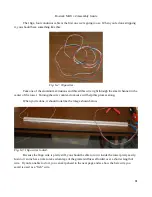
Once you've got the Kapton applied, open up the small package that contains the thermistor and
the PTFE tubing. Cut two 3/8” long bits from the PTFE tubing and slide them on to the thermistor
leads. You'll then bend the thermistor the same way you did when prepping the hot end.
66
Thermistor & LED Pack
Fig. 5-1: Covering the center hole.
Содержание Rostock MAX v2
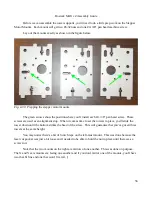
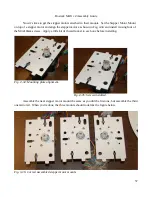
Страница 25: ...Rostock MAX v2 Assembly Guide Melamine Parts Sheet 1 25 ...
Страница 26: ...Rostock MAX v2 Assembly Guide Melamine Parts Sheet 2 Melamine Parts Sheet 3 26 ...
Страница 27: ...Rostock MAX v2 Assembly Guide Melamine Parts Sheet 4 27 ...
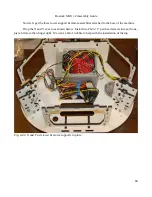
Страница 171: ...Rostock MAX v2 Assembly Guide 171 Fig 14 8 Spool holder support installed ...