Rostock MAX v2 Assembly Guide
tower, and finally will return to center.
You may notice an odd “arc” motion as the nozzle travels from point to point. This is a
mathematical phenomenon within the firmware and won't affect your calibration. You can safely
ignore it.
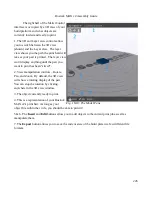
As the script runs, your focus should be on the nozzle where it pauses. You want to compare
the gap at the tower base to the gap at the center.
If the nozzle at the tower base is higher at the pause point in comparison to the center, you'll
want to turn the screw for that tower's end-stop counter-clockwise. Think “Turn Left to Lower”.
If the nozzle at the tower base is lower at the pause point in comparison to the center, you'll
want to turn the screw for that tower's end-stop clockwise. Think “Turn Right to Raise”.
Repeat this process for each of the three axes. Adjust only a single axis at a time. Doing all
three at once will make you crazy. Run the
Tower Cal
macro each time you make a change to an end-
stop screw.
When you're done, you need to re-set the Z height as it will have changed due to the calibration
process. Once you've re-set the Z height, run the
TOWER CAL
macro again. Pay close attention to
the distance between the nozzle and the glass bed.
If from the center position, the nozzle goes
down
toward the glass at
all three towers
, you'll
need to change the
Horizontal Radius
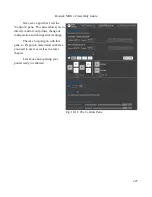
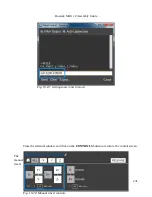
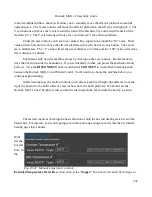
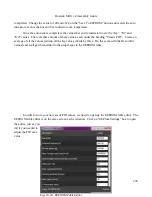
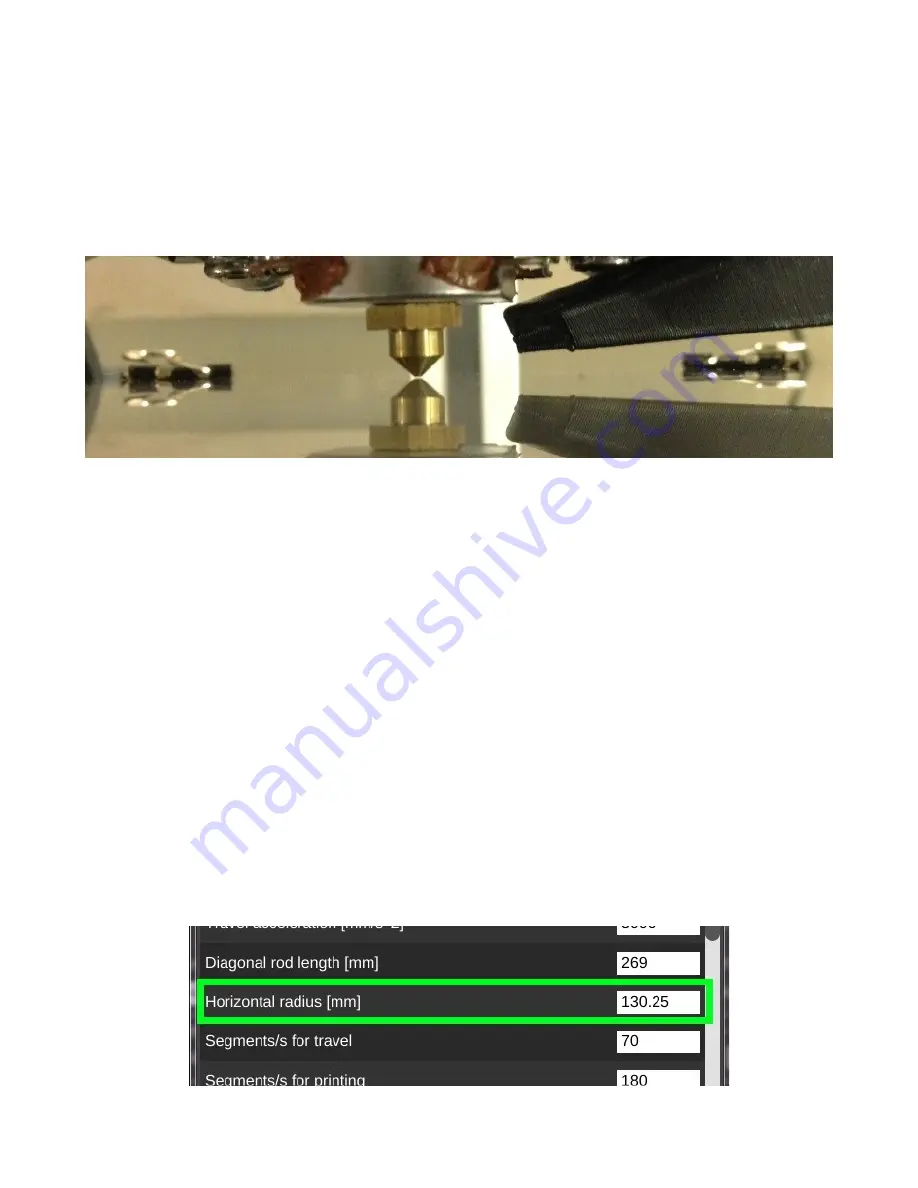
value in the EEPROM. Open up the EEPROM table editor and
scroll down until you see the field marked below.
240
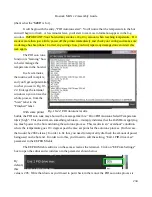
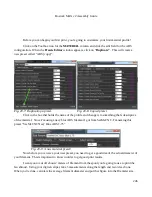
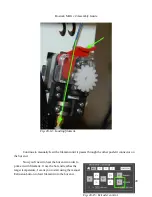
Fig. 19-34: Nozzle at the center, 0.2mm above the glass.
Fig. 19-35: Horizontal Radius setting.
Содержание Rostock MAX v2
Страница 25: ...Rostock MAX v2 Assembly Guide Melamine Parts Sheet 1 25 ...
Страница 26: ...Rostock MAX v2 Assembly Guide Melamine Parts Sheet 2 Melamine Parts Sheet 3 26 ...
Страница 27: ...Rostock MAX v2 Assembly Guide Melamine Parts Sheet 4 27 ...
Страница 171: ...Rostock MAX v2 Assembly Guide 171 Fig 14 8 Spool holder support installed ...

