Rostock MAX v2 Assembly Guide
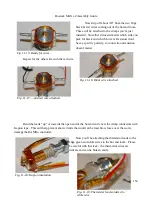
The reason you're installing the hot end with the nuts on top is that the interior sides of the
effector platform can make it problematic to reach the nut when it's close to being tight. This way, you
can hold a wrench on to the nut on the top and drive the screw in quickly from the bottom. This is
another spot where a power screwdriver is the perfect tool for the job!
Go ahead and tighten all three screws – you'll need a 5/16” wrench for the nuts.
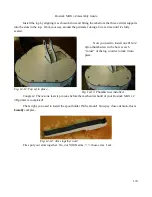
To complete this step, gently pull up on each
Cheapskate, one at a time in order to place the hot
end into “operating” position.
If you're transporting your printer anywhere,
it would be a good idea to invert the effector
platform before you take it for a ride. It'll prevent
the hot end from striking the bed or anything else.
Checkpoint Video #17:
167
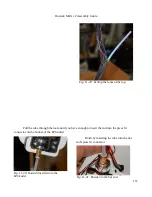
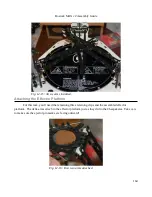
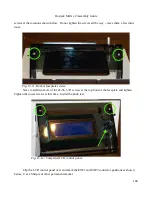
Fig. 13-4: Installation complete!
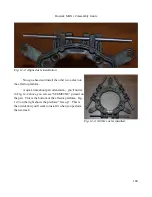
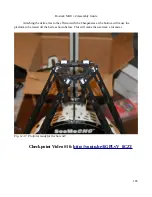
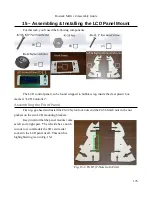
Fig. 13-5: Business end down!
Содержание Rostock MAX v2
Страница 25: ...Rostock MAX v2 Assembly Guide Melamine Parts Sheet 1 25 ...
Страница 26: ...Rostock MAX v2 Assembly Guide Melamine Parts Sheet 2 Melamine Parts Sheet 3 26 ...
Страница 27: ...Rostock MAX v2 Assembly Guide Melamine Parts Sheet 4 27 ...
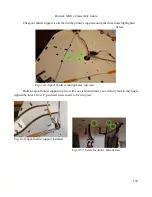
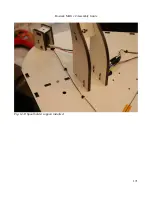
Страница 171: ...Rostock MAX v2 Assembly Guide 171 Fig 14 8 Spool holder support installed ...

