Rostock MAX v2 Assembly Guide
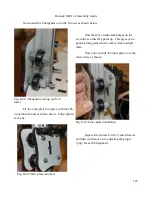
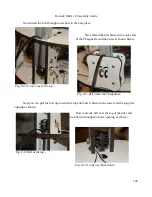
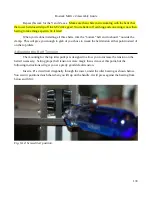
Pull enough belt through so the belt end touches the top of the Onyx.
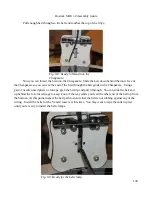
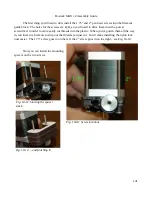
Now you can thread the belt into the Cheapskate. Slide the belt down behind the inner face of
the Cheapskate so you can see the end of the belt through the belt guide in the Cheapskate. Using a
pair of needle nosed pliers or forceps, grab the belt tip and pull it through. You can slide the belt end
up behind the U-Joint carriage to keep it out of the way while you feed the other end of the belt up from
the bottom. At this point, inspect the belt path to ensure that the belt is not rubbing against any of the
wiring. Install the belts for the Y and Z towers at this time. You may want to tape the ends in place
until you're ready to install the belt clamps.
130
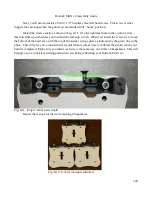
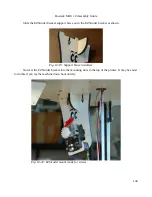
Fig. 9-8: Ready to thread into the
Cheapskate.
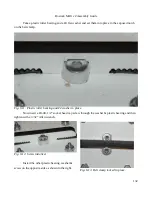
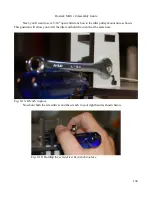
Fig. 9-9: Ready for the belt clamp.
Содержание Rostock MAX v2
Страница 25: ...Rostock MAX v2 Assembly Guide Melamine Parts Sheet 1 25 ...
Страница 26: ...Rostock MAX v2 Assembly Guide Melamine Parts Sheet 2 Melamine Parts Sheet 3 26 ...
Страница 27: ...Rostock MAX v2 Assembly Guide Melamine Parts Sheet 4 27 ...
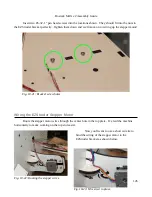
Страница 171: ...Rostock MAX v2 Assembly Guide 171 Fig 14 8 Spool holder support installed ...

