Rostock MAX v2 Assembly Guide
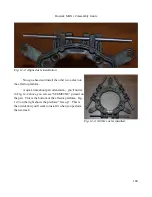
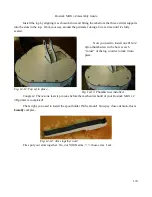
Now go ahead and install the other two axles into
the effector platform.
A quick note about part orientation – you'll notice
in Fig. 12-2 above, you can see “SEEMECNC” printed on
the part. This is the bottom of the effector platform. Fig.
12-3 on the right shows the platform “face up”. This is
the orientation you'll want to install it when you perform
the next task.
160
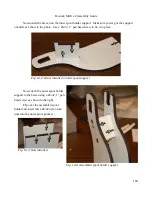
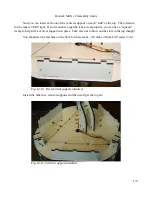
Fig. 12-2: Aligned axle installation.
Fig. 12-3: All three axles installed.
Содержание Rostock MAX v2
Страница 25: ...Rostock MAX v2 Assembly Guide Melamine Parts Sheet 1 25 ...
Страница 26: ...Rostock MAX v2 Assembly Guide Melamine Parts Sheet 2 Melamine Parts Sheet 3 26 ...
Страница 27: ...Rostock MAX v2 Assembly Guide Melamine Parts Sheet 4 27 ...
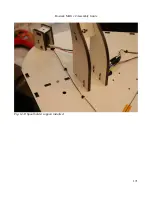
Страница 171: ...Rostock MAX v2 Assembly Guide 171 Fig 14 8 Spool holder support installed ...

