Rostock MAX v2 Assembly Guide
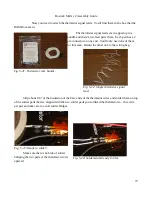
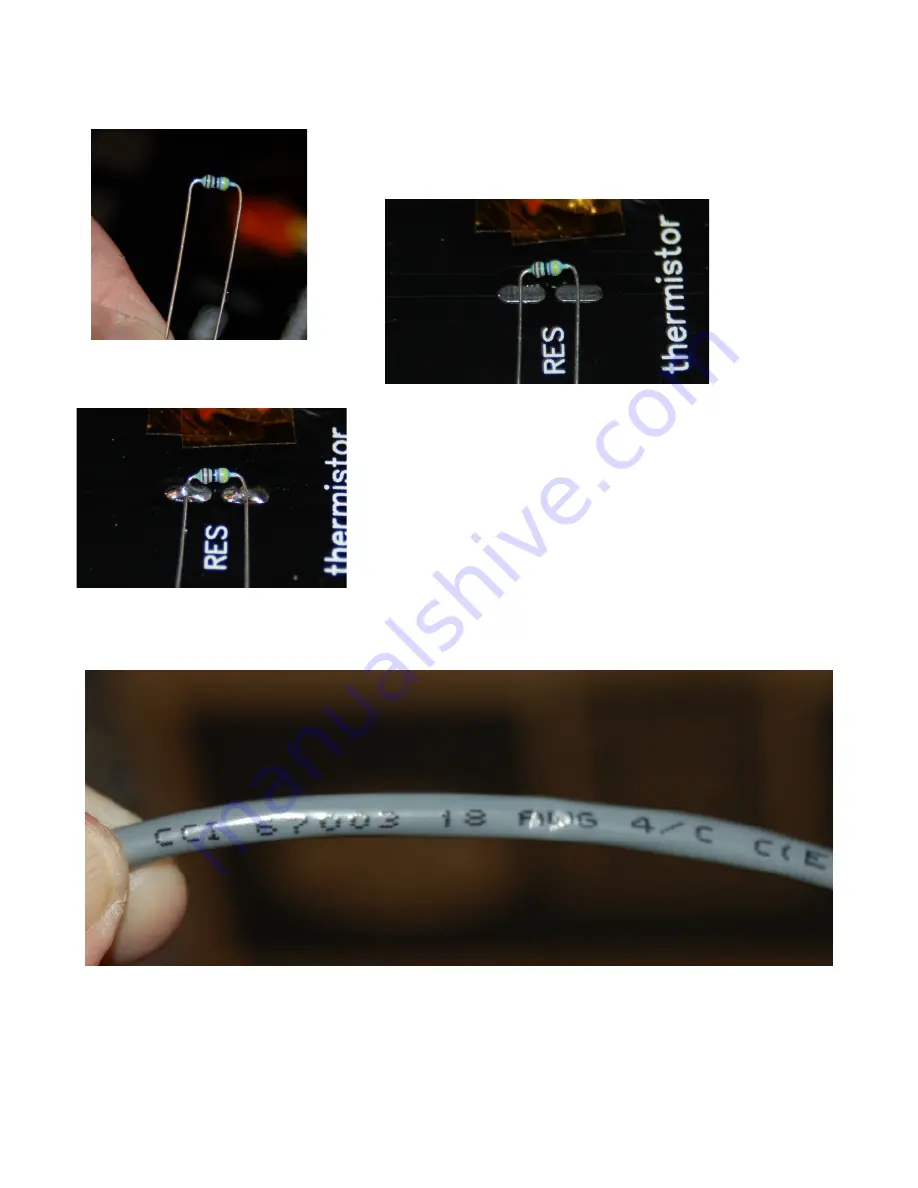
Lay the resistor down on the bottom of the Onyx as shown
and solder into place and trim off the excess leads.
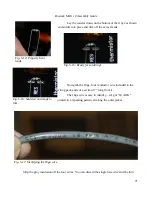
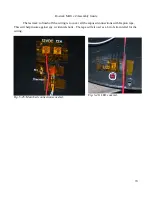
Now grab the 18ga, four conductor wire included in the
wiring pack and cut a section 17” long from it.
The 18ga wire is easy to identify – it's got “18 AWG”
printed in a repeating pattern all along the outer jacket.
Strip the gray insulation off the four wires. You can discard the single bare wire and the thin
71
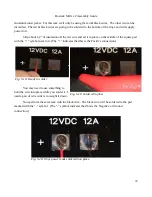
Fig. 5-14: Properly bent
leads.
Fig. 5-15: Ready for soldering!
Fig. 5-16: Soldered and ready to
trim.
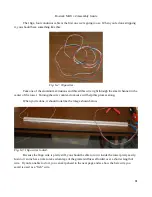
Fig. 5-17: Identifying the 18ga wire.
Содержание Rostock MAX v2
Страница 25: ...Rostock MAX v2 Assembly Guide Melamine Parts Sheet 1 25 ...
Страница 26: ...Rostock MAX v2 Assembly Guide Melamine Parts Sheet 2 Melamine Parts Sheet 3 26 ...
Страница 27: ...Rostock MAX v2 Assembly Guide Melamine Parts Sheet 4 27 ...
Страница 171: ...Rostock MAX v2 Assembly Guide 171 Fig 14 8 Spool holder support installed ...

