


Rostock MAX v2 Assembly Guide
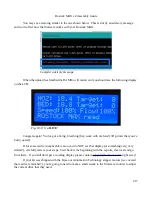
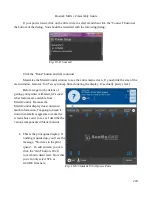
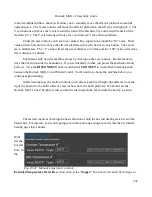
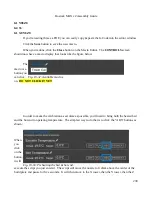
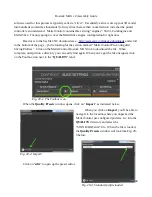
The next task is to make sure that you can “home” the machine. By clicking on the
ALL
button shown
in Fig. 19-17, it should send all three axes up to the end-stop switches.
With one finger on the power switch, click that
ALL
button! If
any
of the three axes do not
head up to the top of the machine,
turn off the power immediately!
You don't want to do any damage
to the machine due to an inverted axis. Don't worry though, fixing an inverted axis is VERY easy!
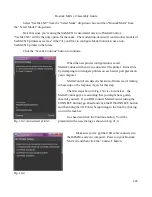
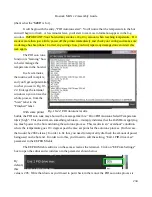
If you need to apply this fix, click the
DISCONNECT
button in MatterControl and then open
up Repetier-Firmware in the Arduino IDE. Click on the tab marked “Configuration.h”. You may need
to increase the width of the IDE window in order to see that tab.
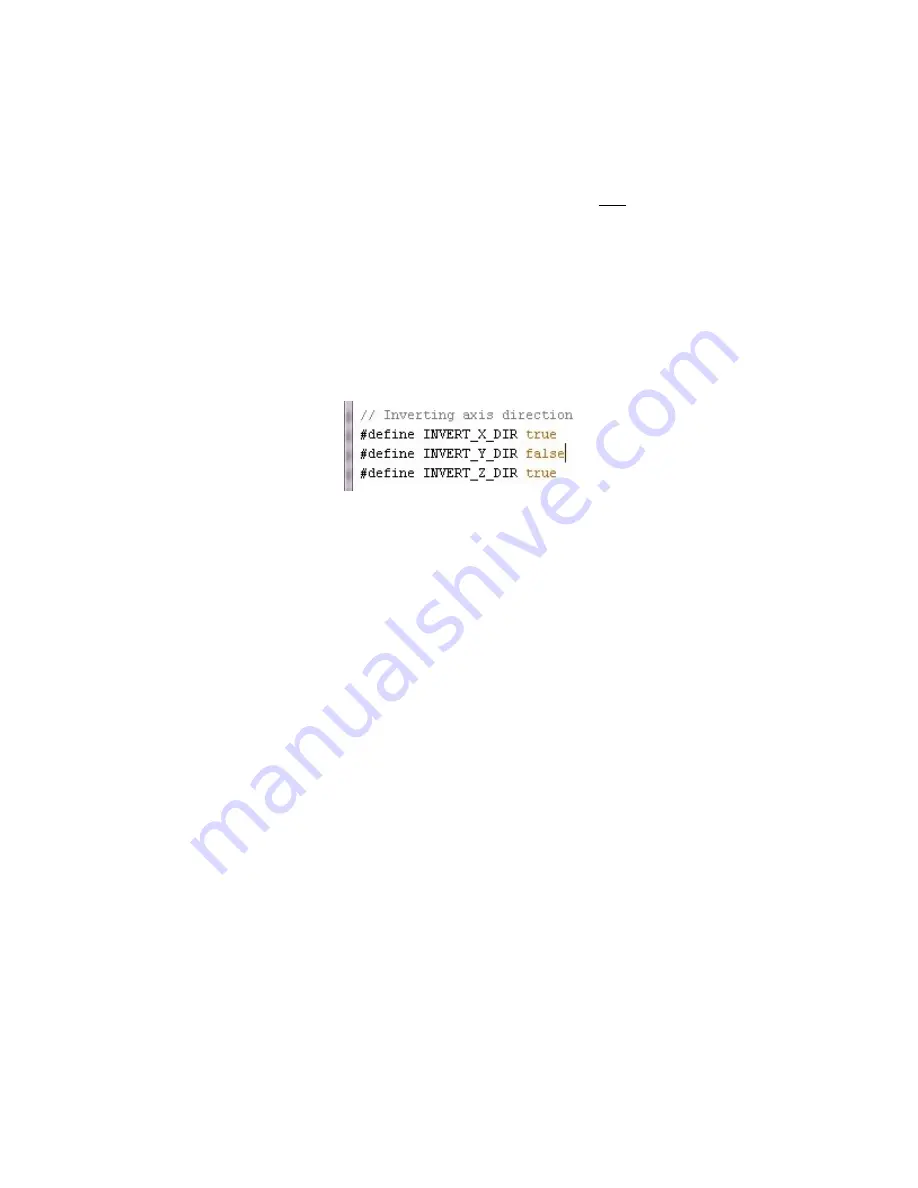
Scroll down until you find a small section marked “// Inverting axis direction”.
Once you've located this area, I want you to change the entry that corresponds to your
misbehaving motor to the opposite of its current setting. If it's currently
true
set it to
false
and vice
versa. If you have more than one, change those as well. For example, if your Y axis Cheapskate
headed for the floor when you hit the reset button, you'll change
INVERT_Y_DIR
to
true
. Once
you've made your changes, click “File”, “Save” and then hit the Upload icon to send your updated
firmware to the RAMBo controller.
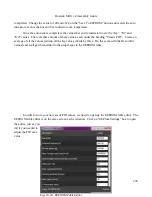
Once the upload finishes, click the
CONNECT
button in MatterControl to reconnect to the
printer. You'll need to click on the
Advanced Controls
button in order to return to the control screen.
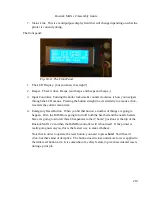
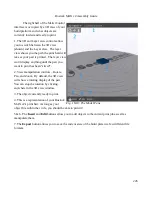
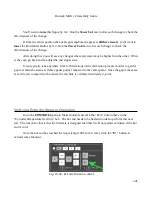
The next test involves moving the axes around to make sure they're free and clear and there's no
“bad” noises going on. Make sure that you're on the
CONTROLS
screen and hit the Home All icon
line you did before. All three axes should travel to the top of the machine and “bounce” off the end
stop switches.
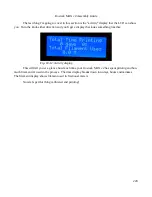
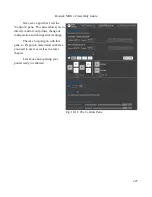
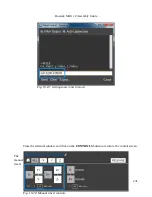
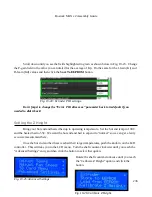
Click the
CONFIGURATION
button and then click the
SHOW TERMINAL
button.
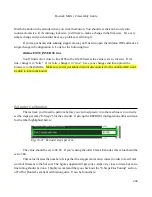
Send “
G0 Z200 F3500”
. This will move the effector platform down a few centimeters. The
idea is to get them off the end stops so we can move things around a bit.
230
Fig. 19-18: Axis directions.
Содержание Rostock MAX v2
Страница 25: ...Rostock MAX v2 Assembly Guide Melamine Parts Sheet 1 25 ...
Страница 26: ...Rostock MAX v2 Assembly Guide Melamine Parts Sheet 2 Melamine Parts Sheet 3 26 ...
Страница 27: ...Rostock MAX v2 Assembly Guide Melamine Parts Sheet 4 27 ...
Страница 171: ...Rostock MAX v2 Assembly Guide 171 Fig 14 8 Spool holder support installed ...