Rostock MAX v2 Assembly Guide
below. The
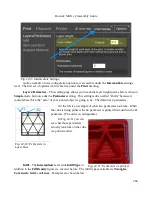
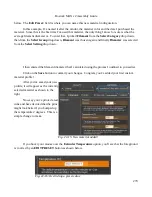
Edit Preset:
field is where you can name this new material configuration.
In this example, I've named it after the vendor, the material color and the date I purchased the
material. Since this is the first time I've used this material, the only thing I know for sure is what the
average filament diameter is. To enter that, I picked
Filament
from the
Select Category
drop down,
then from the
Select Group
drop down,
Filament
was chosen again and finally
Diameter
was selected
from the
Select Setting
drop down.
I then entered the filament diameter that I calculated using the process I outlined to you earlier.
Click on the
Save
button to commit your changes. Congrats, you've added your first custom
material profile!
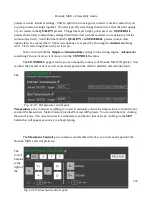
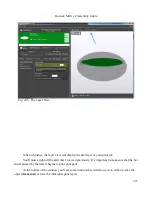
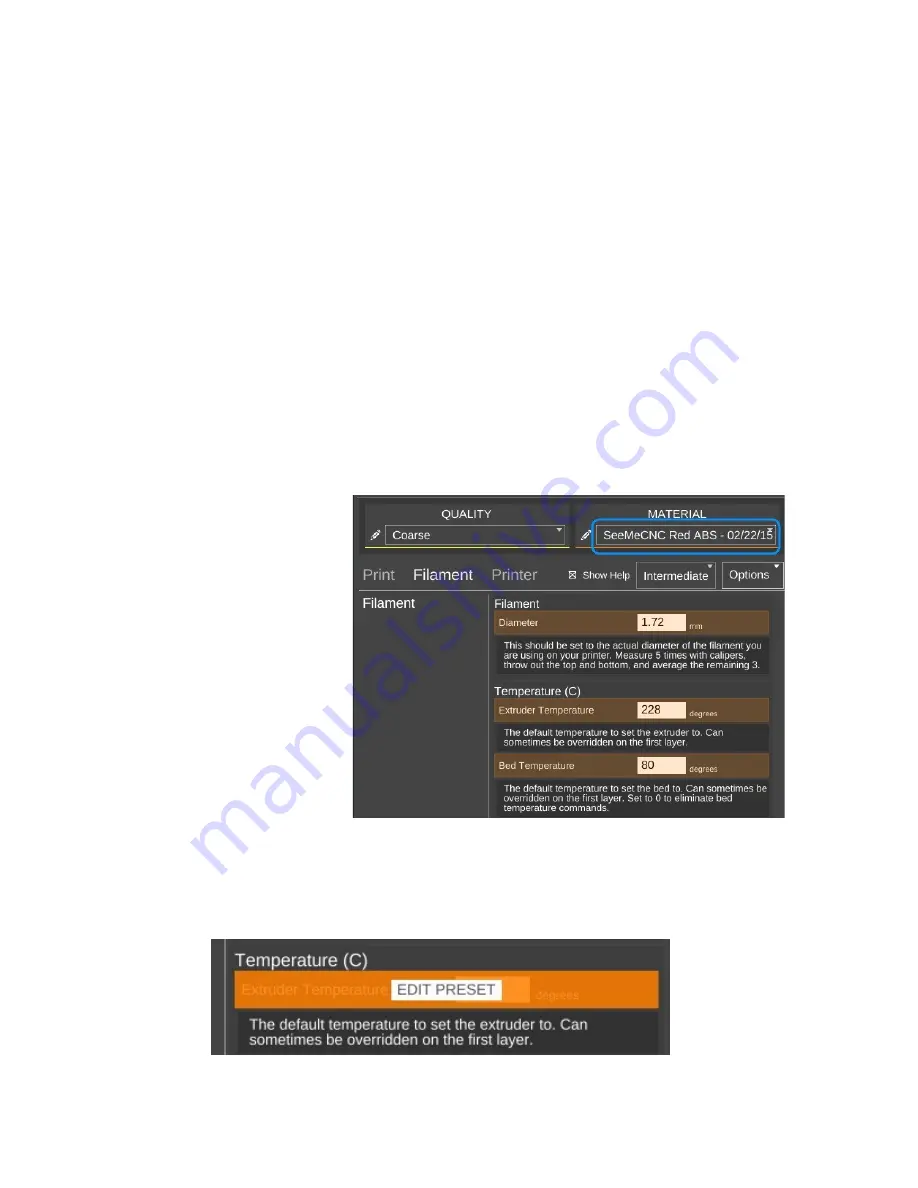
After you've saved your new
profile, it will appear as the currently
selected material as shown to the
right.
Now say you've printed a test
cube and have decided that the print
might look better if you bumped up
the temperature 2 degrees. This is a
simple change to make.
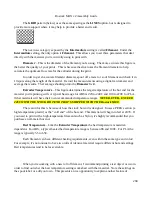
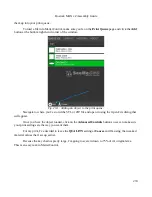
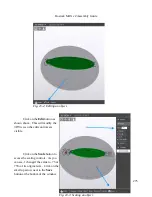
If you hover your mouse over the
Extruder Temperature
option, you'll see that the foreground
is covered by an
EDIT PRESET
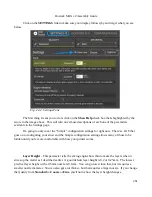
button as shown below.
270
Fig. 22-15: New material added!
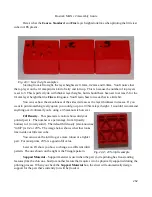
Fig. 22-16: Overriding a preset value.
Содержание Rostock MAX v2
Страница 25: ...Rostock MAX v2 Assembly Guide Melamine Parts Sheet 1 25 ...
Страница 26: ...Rostock MAX v2 Assembly Guide Melamine Parts Sheet 2 Melamine Parts Sheet 3 26 ...
Страница 27: ...Rostock MAX v2 Assembly Guide Melamine Parts Sheet 4 27 ...
Страница 171: ...Rostock MAX v2 Assembly Guide 171 Fig 14 8 Spool holder support installed ...

