Rostock MAX v2 Assembly Guide
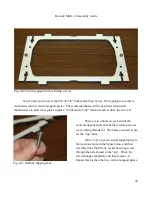
The primary method of assembling the Rostock MAX v2 relies on capturing #6-32 nylon lock
nuts in laser cut pockets. When a screw is threaded through a part and into that captured nut, it creates
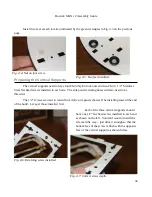
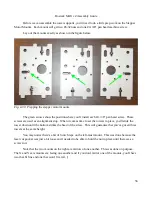
a very simple, strong joint. The nuts are installed in the laser cut pockets as shown below. Note how
the bottom face of the nut is facing the outer edge of the part.
As you can see, the nut is oriented such that the flat sides of the nut fit into the laser cut pocket.
The laser cut pockets are designed to be a very snug fit. However, sometimes the pockets may feel a
bit too tight. If this is the case, try inserting the nut in from the other face. It may be easier due to the
slight bevel the cut has in it due to the laser focus. You may also run into a situation where the nut
pocket doesn't hold the nut tightly enough to keep it from falling out. In that case, you should use a
small bit of tape to hold the nut in place until there's a screw driven into it.
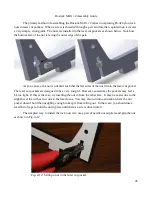
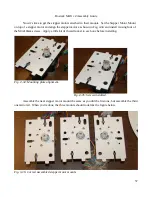
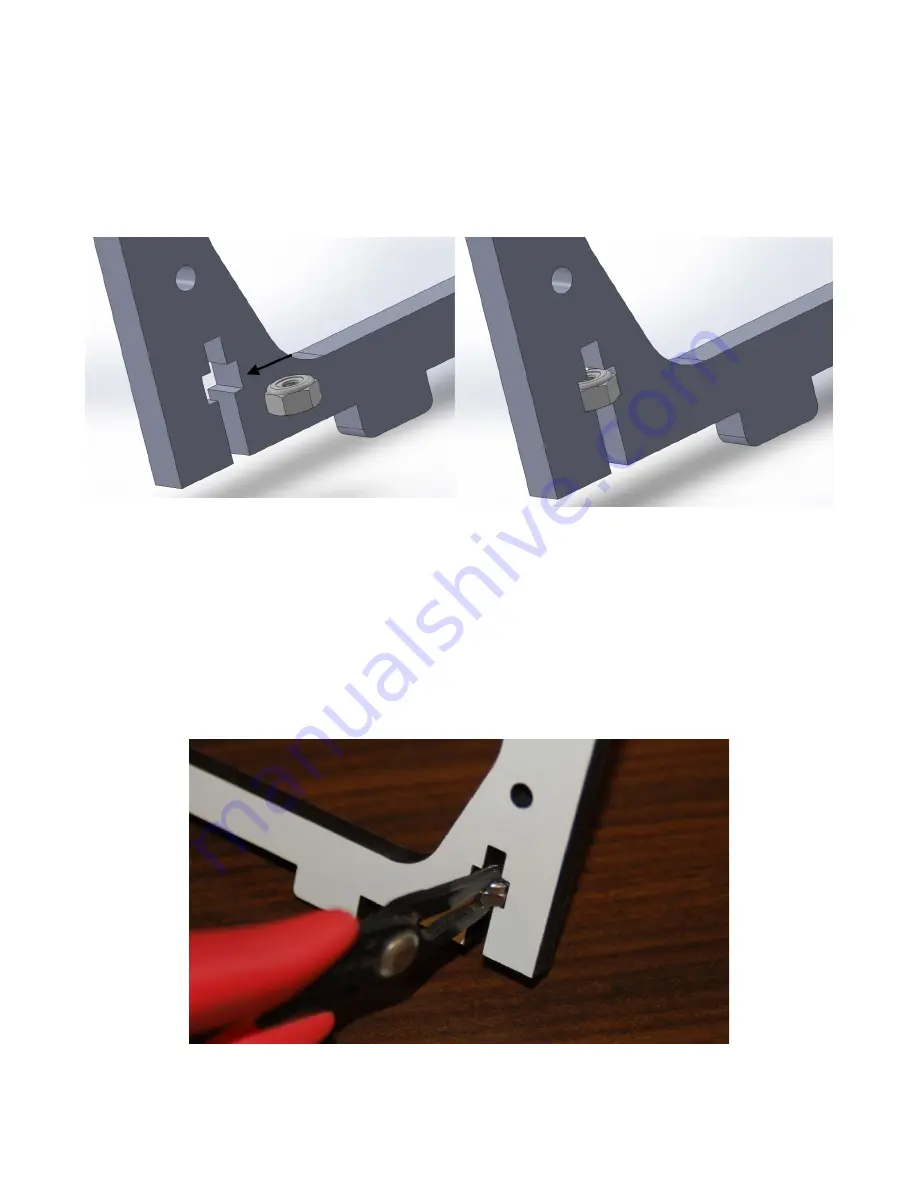
The simplest way to install the lock nuts is to use a pair of needle nosed pliers and grip the nut
as shown in Fig. 4-12.
45
Fig. 4-12: Setting a nut in the laser cut pocket.
Содержание Rostock MAX v2
Страница 25: ...Rostock MAX v2 Assembly Guide Melamine Parts Sheet 1 25 ...
Страница 26: ...Rostock MAX v2 Assembly Guide Melamine Parts Sheet 2 Melamine Parts Sheet 3 26 ...
Страница 27: ...Rostock MAX v2 Assembly Guide Melamine Parts Sheet 4 27 ...
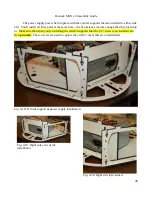
Страница 171: ...Rostock MAX v2 Assembly Guide 171 Fig 14 8 Spool holder support installed ...

