Rostock MAX v2 Assembly Guide
Installing the Belt Clamps
Installing the belt clamps is a pretty straightforward task. If you haven't already, lay the
machine down on the side you're going to be working on. It makes installing the clip & clip hardware a
LOT easier. Start with the X axis.
Hold the upper end of the belt in place (it'll be on your left with the machine laid horizontal).
Now pull the lower end of the belt a bit so that it eats up any available slack and starts to draw the
upper belt end out of the Cheapskate. You want about 1” of belt above the left or “top” edge of the
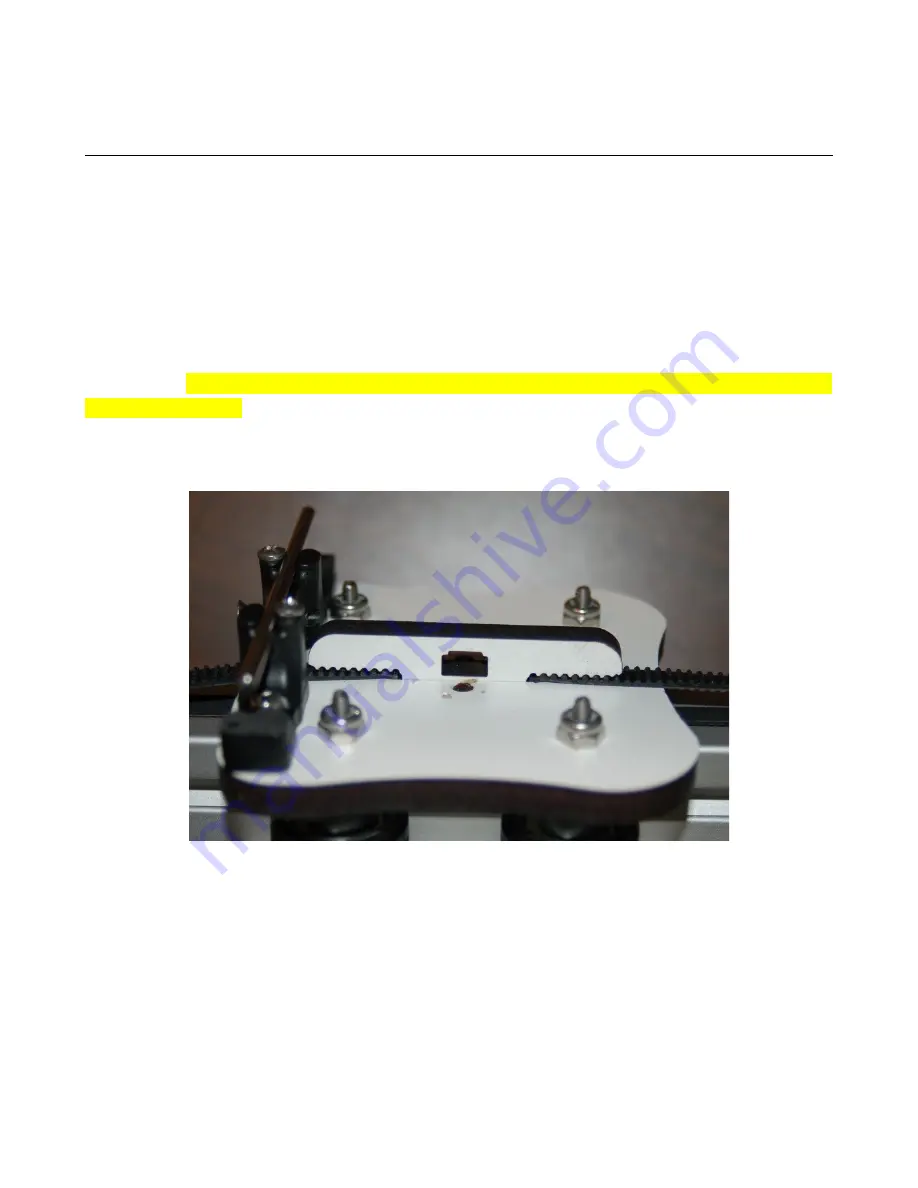
Cheapskate. Take a laser cut belt clamp and install it into the notch, capturing only the “top” end of the
belt. Holding that end of the clamp in place, pull the bottom end of the belt tight and then press the belt
clip in place. You want to pull the belt tight enough that little if any tension adjustment will be required
at the top idler pulley. If you're not feeling especially dexterous today, tape the ends of the belt clamp
in place tightly enough for it to keep a hold on the belt ends. (I have an invisible cat that's very handy,
so you won't see me using tape. I just ask her nice, and she holds down whatever I need held down.)
(Don't see any cat paws do you? Told ya, invisible cat.)
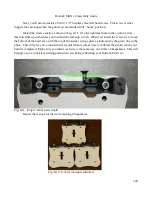
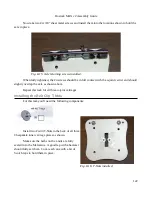
Make sure that the clamp teeth are fitted into the “low” parts of the belt teeth as shown above.
131
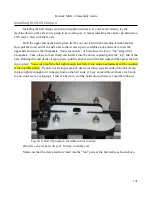
Fig. 9-10: Belt clip in place. Invisible cat not to scale.
Содержание Rostock MAX v2
Страница 25: ...Rostock MAX v2 Assembly Guide Melamine Parts Sheet 1 25 ...
Страница 26: ...Rostock MAX v2 Assembly Guide Melamine Parts Sheet 2 Melamine Parts Sheet 3 26 ...
Страница 27: ...Rostock MAX v2 Assembly Guide Melamine Parts Sheet 4 27 ...
Страница 171: ...Rostock MAX v2 Assembly Guide 171 Fig 14 8 Spool holder support installed ...

