Rostock MAX v2 Assembly Guide
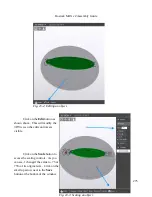
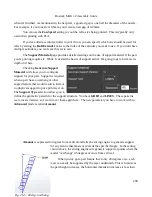
Now if you change the starting angle to 45 degrees, you'll end up
with an infill pattern that looks like the example below.
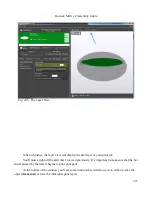
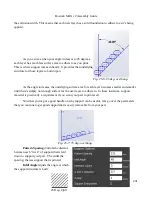
Note that changing the starting angle will also change the angle in which the top and bottom
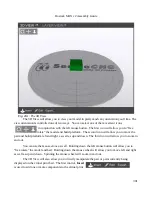
layers are printed. You can see this in the image below – this shows the second layer as it would be
printed.
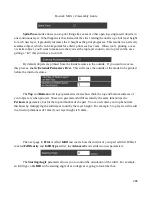
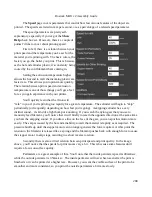
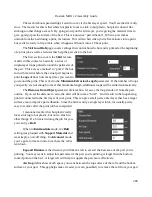
Infill Overlap
is used to adjust how well the infill pattern attaches to the inside perimeter of the
part. A good infill will have a solid connection to the inside perimeter of your part, and the structural
integrity of your part depends on this.
287
Fig. 25-2: Grid infill.
Fig. 25-3: Grid @ 45 degrees.
Fig. 25-4: Top & bottom layer pattern.
Содержание Rostock MAX v2
Страница 25: ...Rostock MAX v2 Assembly Guide Melamine Parts Sheet 1 25 ...
Страница 26: ...Rostock MAX v2 Assembly Guide Melamine Parts Sheet 2 Melamine Parts Sheet 3 26 ...
Страница 27: ...Rostock MAX v2 Assembly Guide Melamine Parts Sheet 4 27 ...
Страница 171: ...Rostock MAX v2 Assembly Guide 171 Fig 14 8 Spool holder support installed ...


