Rostock MAX v2 Assembly Guide
The reason I emphasize “
EXACTLY
” for the power connector is that if you connect it
backwards, the power supply won't notice, but you'll completely destroy the RAMBo controller.
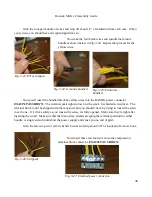
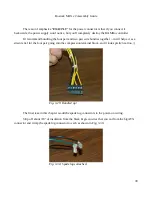
I'd recommend bundling the four pair and two pair wire bundles together – it will help act as a
strain relief for the four pair going into the compression terminal block, and it looks pretty neat too. :)
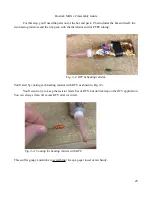
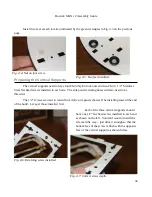
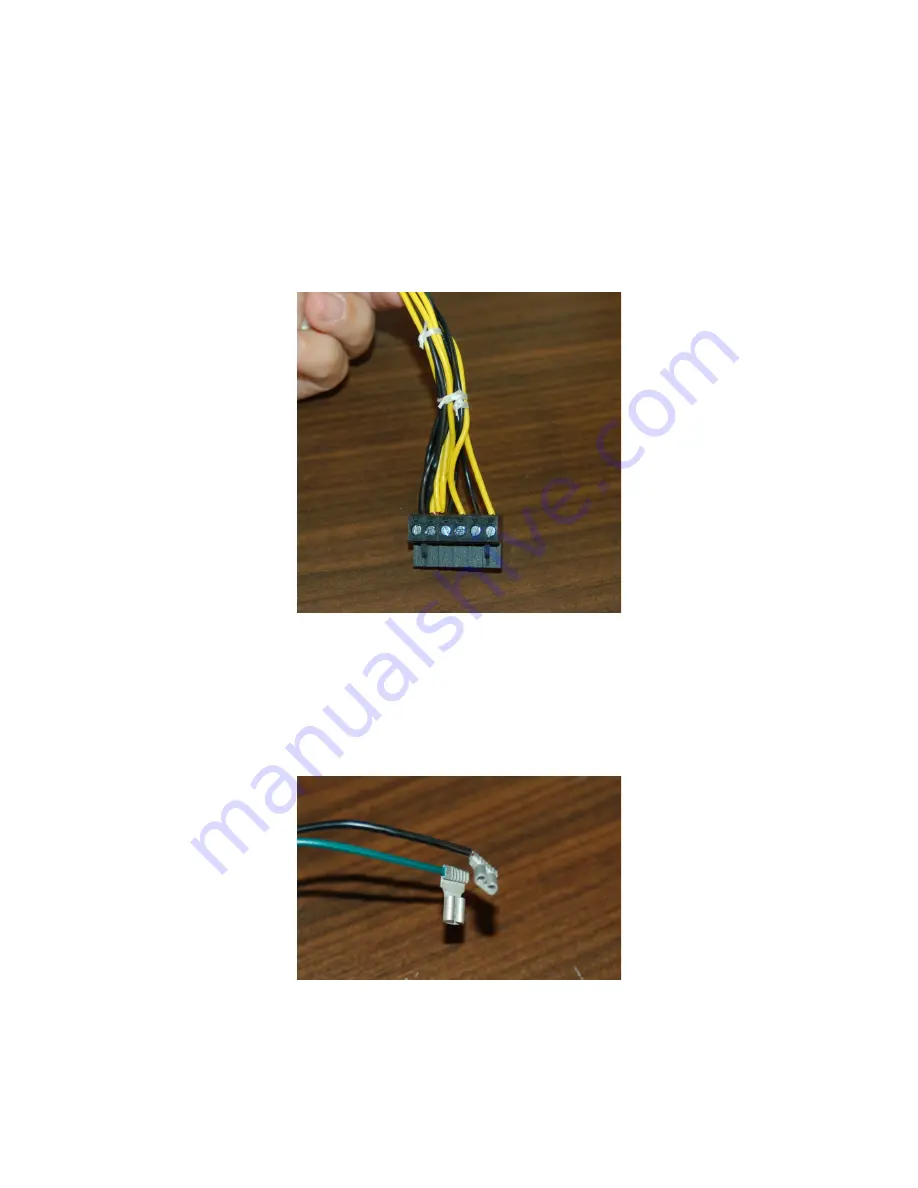
The final task in this chapter is add the spade lug connectors to the power-on wiring.
Strip off about 3/8” of insulation from the black & green wires that you cut from the big ATX
connector and crimp the spade lug connector to each as shown in Fig. 3-30.
39
Fig. 3-29: Bundled up!
Fig. 3-30: Spade lugs attached.
Содержание Rostock MAX v2
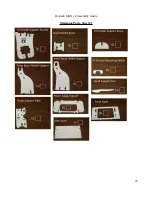
Страница 25: ...Rostock MAX v2 Assembly Guide Melamine Parts Sheet 1 25 ...
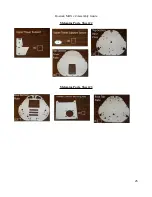
Страница 26: ...Rostock MAX v2 Assembly Guide Melamine Parts Sheet 2 Melamine Parts Sheet 3 26 ...
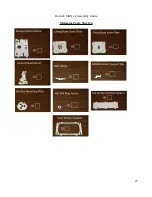
Страница 27: ...Rostock MAX v2 Assembly Guide Melamine Parts Sheet 4 27 ...
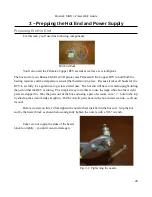
Страница 171: ...Rostock MAX v2 Assembly Guide 171 Fig 14 8 Spool holder support installed ...

