Rostock MAX v2 Assembly Guide
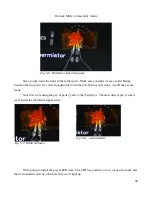
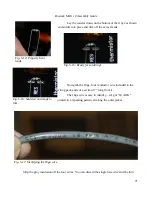
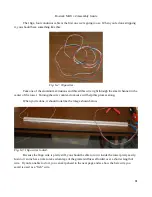
Once you're done installing the LED, you'll notice that it sticks up past the top surface of the
Onyx. The LED needs to be pushed in so it's flush or slightly below the top surface of the Onyx, as
shown below.
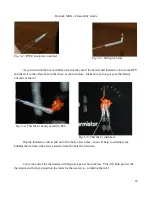
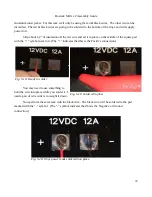
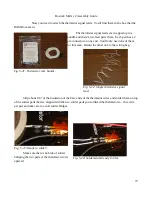
The next step is to install the resistor that the Onyx power LED needs to operate. Take one of
the resistors from the package and bend the leads as shown in Fig. 5-14.
70
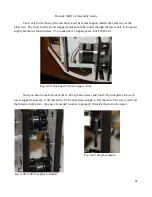
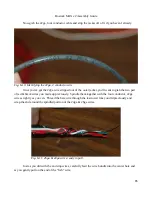
Fig. 5-13: Correct LED depth.
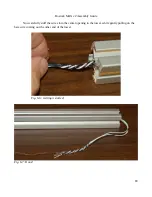
Fig. 5-12: ...and trimmed.
Содержание Rostock MAX v2
Страница 25: ...Rostock MAX v2 Assembly Guide Melamine Parts Sheet 1 25 ...
Страница 26: ...Rostock MAX v2 Assembly Guide Melamine Parts Sheet 2 Melamine Parts Sheet 3 26 ...
Страница 27: ...Rostock MAX v2 Assembly Guide Melamine Parts Sheet 4 27 ...
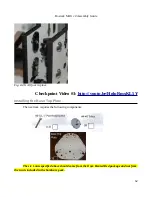
Страница 171: ...Rostock MAX v2 Assembly Guide 171 Fig 14 8 Spool holder support installed ...

