Rostock MAX v2 Assembly Guide
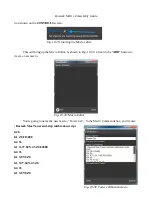
on the “
Start
” button.
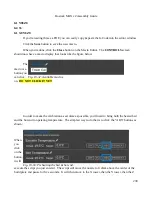
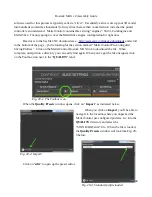
When you click the
Start
button, the hot end and the heated bed will begin to heat. The hot end
will reach its target temperature first because it has much less mass to heat than the heated bed. The
heated bed can take up to 10 minutes or so to reach its target temperature.
Once both the bed and hot end are hot, the printer will home and the print job will begin!
Right before the printer begins to print, the RAMBo controller will “chirp” the LCD speaker
and you'll see a text warning on the LCD controller to keep your hands away. There will be a short
delay after this and the print job will begin!
251
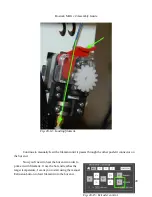
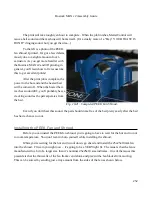
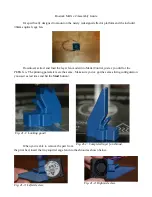
Fig. 20-18: Starting the print job.
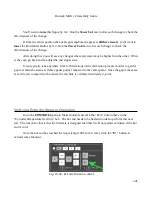
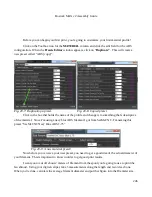
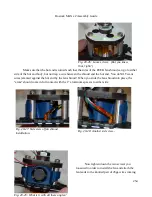
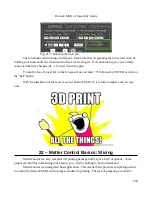
Fig. 20-19: Heating up!
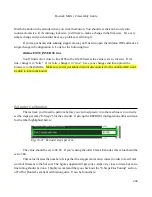
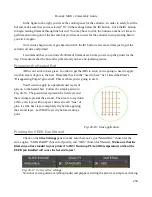
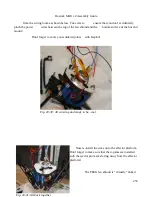
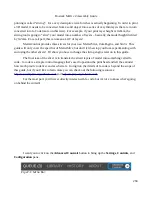
Fig. 20-20: The first layer.
Содержание Rostock MAX v2
Страница 25: ...Rostock MAX v2 Assembly Guide Melamine Parts Sheet 1 25 ...
Страница 26: ...Rostock MAX v2 Assembly Guide Melamine Parts Sheet 2 Melamine Parts Sheet 3 26 ...
Страница 27: ...Rostock MAX v2 Assembly Guide Melamine Parts Sheet 4 27 ...
Страница 171: ...Rostock MAX v2 Assembly Guide 171 Fig 14 8 Spool holder support installed ...


