Rostock MAX v2 Assembly Guide
(that's what the “
S200
” is for).
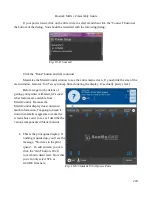
It will begin with the entry, “PID Autotune start”. You'll notice that the temperature in the hot
end will begin to climb. A few minutes later, you'll start to see more information appear in the log
window. IMPORTANT: Your hot end may smoke a
tiny, tiny
amount when reaching temperature. If it
smokes more than just a little, power off the printer immediately and check your wiring and make sure
no damage has been done! Correct any wiring errors you find, repair any damage done and start this
task again.
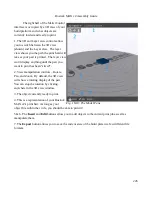
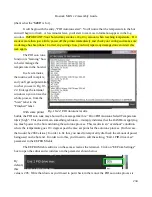
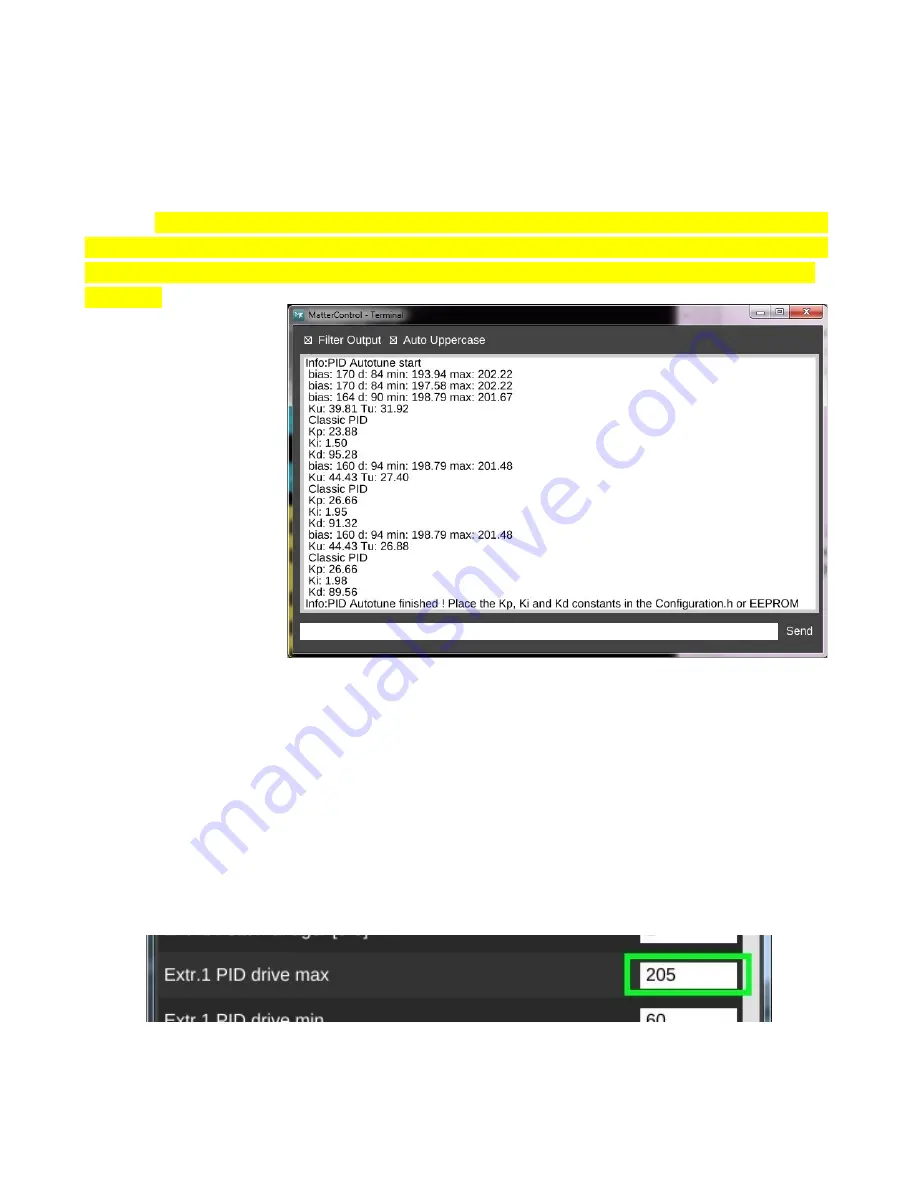
The PID auto tune
function is “learning” how
to better manage the
temperature in the hot end.
In a few minutes,
the routine will complete,
and you'll get output similar
to what you see in Fig. 19-
22. Enlarge the terminal
window so you can see the
whole process, from the
“Start” label to the
“Finished” label.
With some printer
builds, the PID auto tune may abort with a message like this: “Error:PID Autotune failed! Temperature
to[sic] high”. This doesn't mean something is broken – it simply indicates that the RAMBo is applying
too much power to the hot end during the auto tune process. This results in an “overshoot” condition
where the temperature goes 10+ degrees past the max set point for the auto tune process. (In this case,
that would be 200 Celsius.) In order to fix this, you need to
temporarily
dial back the amount of power
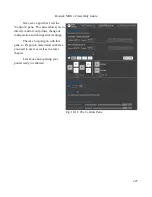
being used on the hot end. In order to do this, you'll need to edit the setting, “Extr.1 PID drive max”
parameter in the EEPROM table.
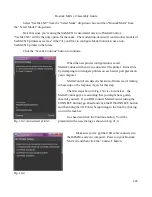
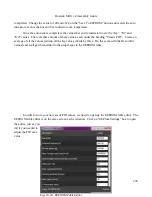
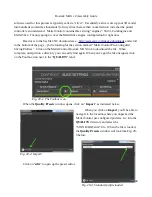
The EEPROM table editor is on the same screen as the terminal. Click on “EEProm Settings”
box to open the editor and scroll down to the parameter shown below.
By
default,
this
value is 205. Write that down as you'll need to put it back in there once the PID auto tune process is
234
Fig. 19-22: PID Autotune results.
Содержание Rostock MAX v2
Страница 25: ...Rostock MAX v2 Assembly Guide Melamine Parts Sheet 1 25 ...
Страница 26: ...Rostock MAX v2 Assembly Guide Melamine Parts Sheet 2 Melamine Parts Sheet 3 26 ...
Страница 27: ...Rostock MAX v2 Assembly Guide Melamine Parts Sheet 4 27 ...
Страница 171: ...Rostock MAX v2 Assembly Guide 171 Fig 14 8 Spool holder support installed ...

