Rostock MAX v2 Assembly Guide
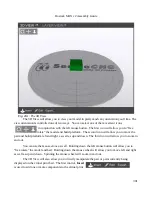
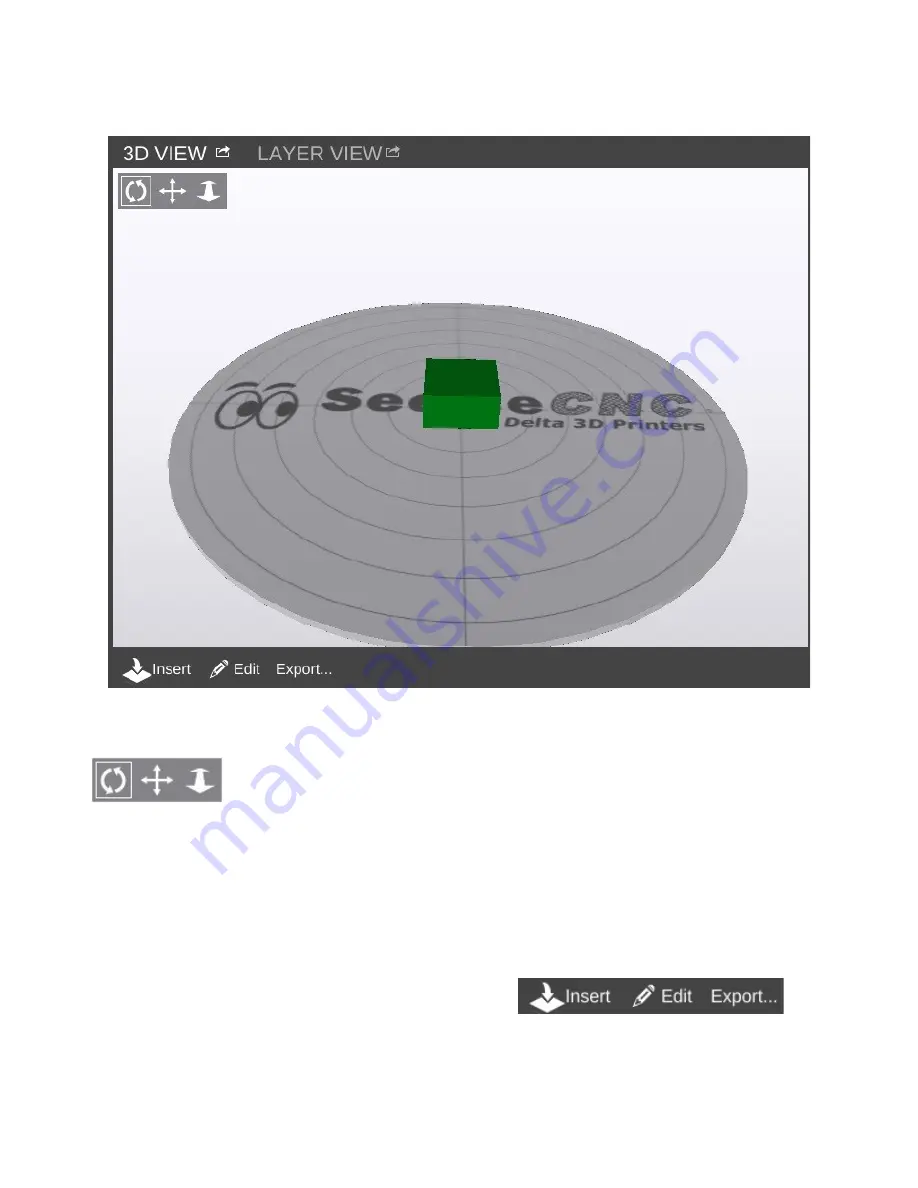
The 3D View will allow you to view your model in pretty much any orientation you'd like. The
view orientation is controlled one of two ways. You can select one of the movement icons
in conjunction with the left mouse button. The first icon will allow you to “free
rotate” the model and build platform. The second icon will allow you to move the
part and build platform left and right, as well as up and down. The third icon will allow you to zoom in
and out.
You can use the mouse alone as well. Holding down the left mouse button will allow you to
“free rotate” the model and bed. Holding down the mouse wheel will allow you to move left and right
as well as up and down. Spinning the mouse wheel will zoom in and out.
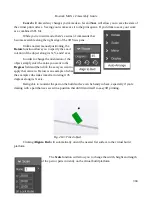
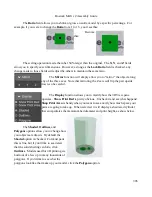
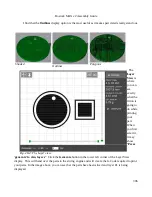
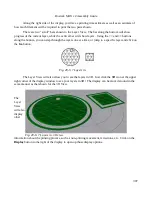
The 3D View will also allow you to directly manipulate the part or parts currently being
displayed on the virtual print bed. The first control,
Insert
is used to add one or more components to the virtual print
301
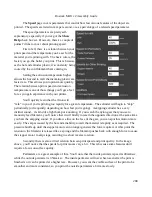
Fig. 28-1: The 3D View.
Содержание Rostock MAX v2
Страница 25: ...Rostock MAX v2 Assembly Guide Melamine Parts Sheet 1 25 ...
Страница 26: ...Rostock MAX v2 Assembly Guide Melamine Parts Sheet 2 Melamine Parts Sheet 3 26 ...
Страница 27: ...Rostock MAX v2 Assembly Guide Melamine Parts Sheet 4 27 ...
Страница 171: ...Rostock MAX v2 Assembly Guide 171 Fig 14 8 Spool holder support installed ...


