Rostock MAX v2 Assembly Guide
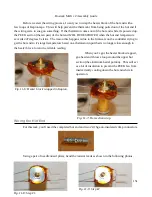
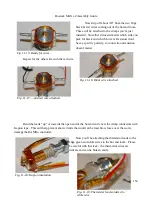
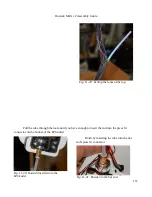
Before we start the wiring process, I want you to wrap the heater block of the hot end with a
few loops of Kapton tape. This will help prevent the thermistor from being pulled out of the hot end if
the wiring were to snag on something. If the thermistor comes out of the hot end while it's powered up,
the PEEK section (the tan part) of the hot end
WILL BE DESTROYED
when the hot end temperature
exceeds 247 degrees Celsius. The reason this happens is due to the firmware on the controller trying to
get the hot end to it's target temperature based on a thermistor input that is no longer close enough to
the heater block to return a reliable reading.
When you've got the heater block wrapped,
go ahead and throw a loop around the upper hot
section (the aluminum barrel portion). This will act
as a bit of insulation to prevent the PEEK fan from
inadvertently cooling down the hot end while in
operation.
Wiring the Hot End
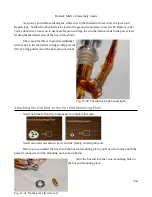
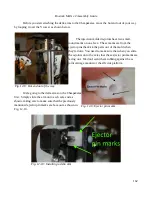
For this task, you'll need the completed hot end and two 22-16ga un-insulated crimp connectors.
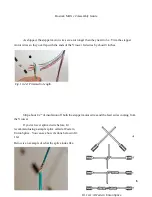
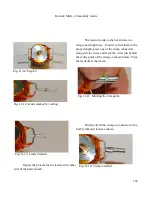
Using a pair of needle nosed pliers, bend the resistor leads as shown in the following photos.
151
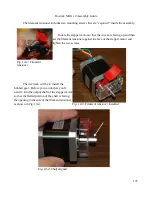
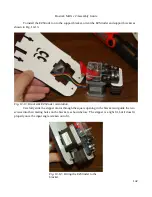
Fig. 11-6: Heater block wrapped in Kapton.
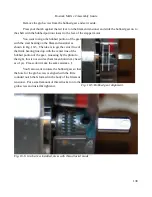
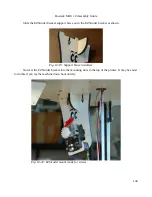
Fig. 11-7: Hot section wrap.
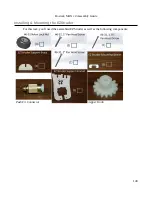
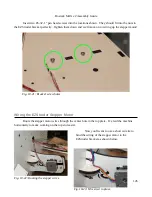
Fig. 11-8: Step #1.
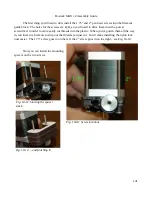
Fig. 11-9: Step #2.
Содержание Rostock MAX v2
Страница 25: ...Rostock MAX v2 Assembly Guide Melamine Parts Sheet 1 25 ...
Страница 26: ...Rostock MAX v2 Assembly Guide Melamine Parts Sheet 2 Melamine Parts Sheet 3 26 ...
Страница 27: ...Rostock MAX v2 Assembly Guide Melamine Parts Sheet 4 27 ...
Страница 171: ...Rostock MAX v2 Assembly Guide 171 Fig 14 8 Spool holder support installed ...

