Rostock MAX v2 Assembly Guide
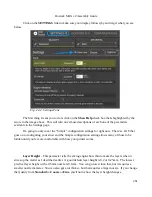
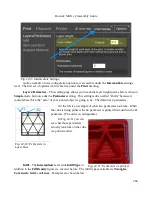
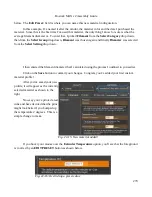
Quite a number of new configuration options are accessible under the
Intermediate
settings
level. The first set of options we'll tackle live under the
heading.
Layers/Perimeters
– This setting page allows you tweak the layer height just as before when in
Simple
mode, but now adds the
Perimeters
setting. This setting is often called “shells” because it
controls how thick the “skin” of your printed object is going to be. The default is 2 perimeters.
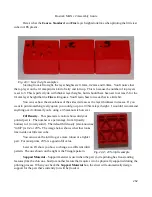
On the left is an example of what two perimeters look like. When
the cube is being printed, the #2 perimeter is printed first and then the #1
perimeter. (The order is configurable.)
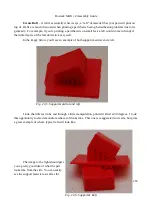
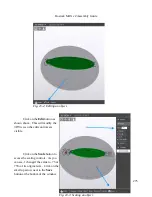
In Fig. 22-11 you can
see what those perimeters
actually look like on the cube
we printed earlier.
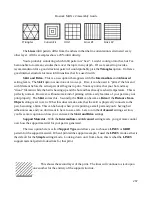
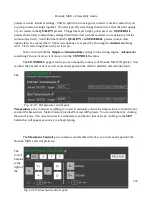
Infill
- The
Intermediate
level adds
Infill Type
in
addition to the
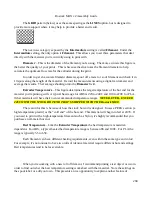
Fill Density
figure we covered before. The infill types available are
Triangles
,
Concentric
,
Grid
, and
Lines
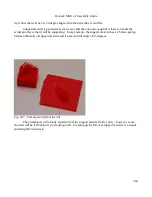
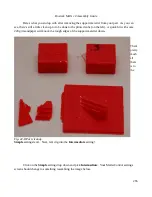
. Examples are shown below.
266
Fig. 22-9: Intermediate Settings.
Fig. 22-10: Perimeters in
Layer View.
Fig. 22-11: Perimeters as printed.
Содержание Rostock MAX v2
Страница 25: ...Rostock MAX v2 Assembly Guide Melamine Parts Sheet 1 25 ...
Страница 26: ...Rostock MAX v2 Assembly Guide Melamine Parts Sheet 2 Melamine Parts Sheet 3 26 ...
Страница 27: ...Rostock MAX v2 Assembly Guide Melamine Parts Sheet 4 27 ...
Страница 171: ...Rostock MAX v2 Assembly Guide 171 Fig 14 8 Spool holder support installed ...

