LSM 510
OPERATION IN EXPERT MODE
LSM 510 META
Maintain Menu
Carl Zeiss
03/06
B 45-0021 e
4-241
(2)
Automatic pinhole and collimator adjustment
The automatic adjustment allows the LSM 510 pinholes to be used with any combination of beam
splitters.
•
Click on the
Adjust Automatically
button.
−
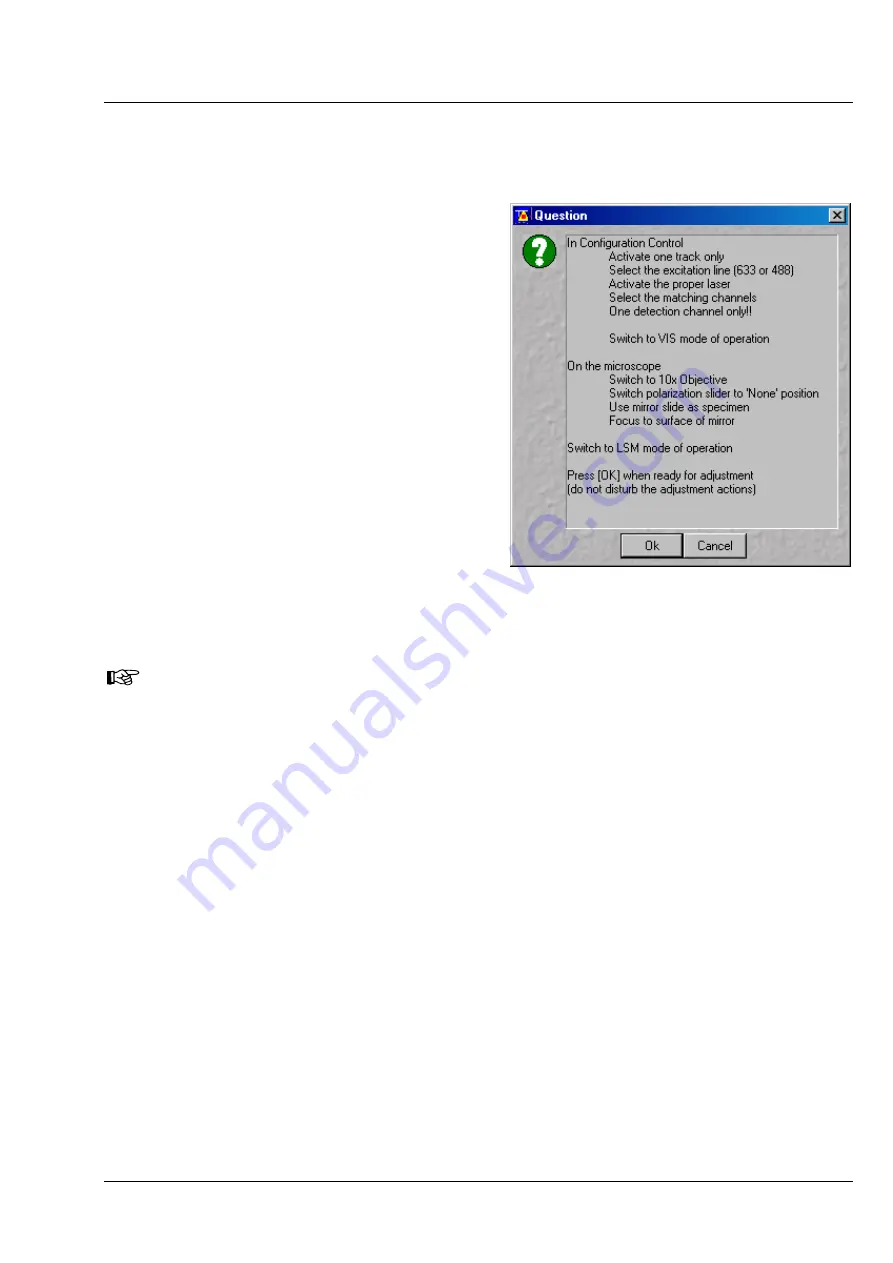
The
Requirements for Adjustment
window will then appear.
•
Meet the requirements listed in the
Requirements for Adjustment
window and
press the
OK
button.
−
Pinhole adjustment will then run
automatically. The adjusting procedure takes
approx. 3 min.
−
The determined data are stored
automatically and will be available for all
further examinations using the same
configuration.
•
Click on the
Move to
Preadjust
button in the
Collimator
panel. Optimum positioning of the
collimator will be performed. The
Default
button enables the collimator to be set back to
the factory-adjustment.
•
Activate the
Fast Adjust Mode
check box for a
faster readjustment.
A change of the pinhole diameter made manually in the
Pinhole
panel will not be activated in
the
Scan Control
window. Therefore, changes must always be made in the
Channel Settings
panel of the
Scan Control
window.
A filter change in
Autoadjust
is not displayed in the
Config. Control
window.
Configuration 1 is equipped in such a way that pinhole adjustment for channel 1 can only be
made with
λ
= 488 nm, NFT 545, NFT 610 or NFT 570.
Please remember that the Z-coordinate for channel 1 is not optimized during the automatic
pinhole adjustment. Subsequent optimization can be performed via the
Move to
Preadjust
button in the
Collimator
panel of the
Pinhole & Collimator Control
window.
Please do not make any program manipulations while the automatic pinhole adjustment is
running (status display is red - busy).
The optimum setting of the collimator must be performed separately for each track via the
Move to
Preadjust
button in the
Pinhole & Collimator Control
window. If several tracks are activated
(Recording), an average value of the positions valid for the various tracks will be set on pressing the
Preadjust
button. When all the tracks have been defined and are active (only the ticked tracks will be
included in the calculation), press the
Move to Preadjust
button.
Fig. 4-241
Requirements for Adjustment window


